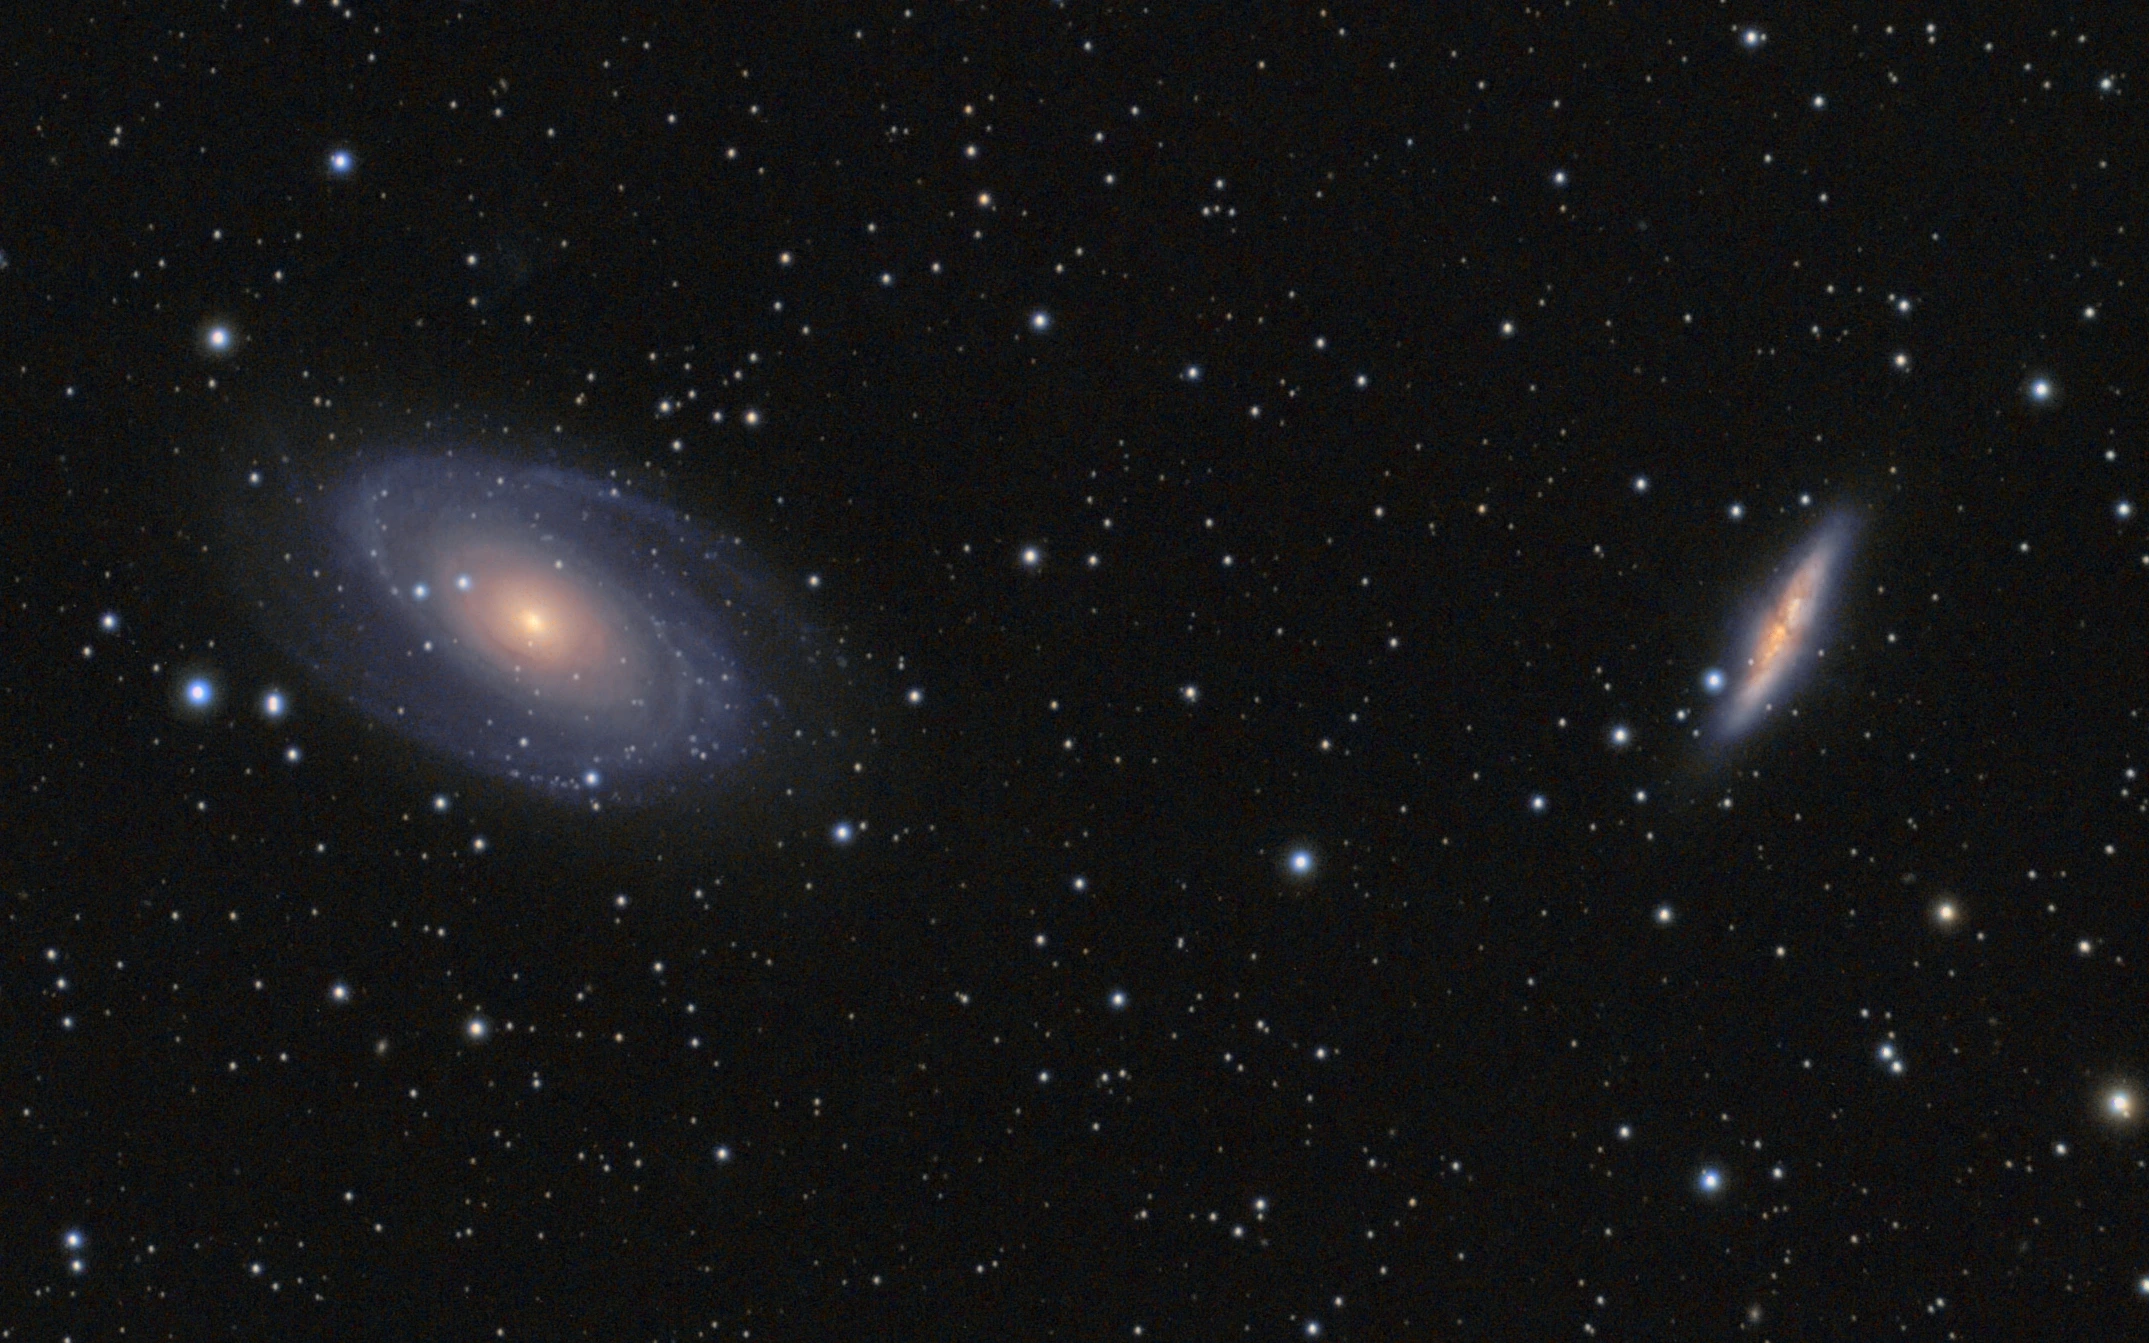
For my first broadband target I chose Bode's Galaxy. The large field of view at 420mm focal length meant I could also capture the Cigar Galaxy. Although typically Andromeda would be the best target for beginners due to its large apparent size and brightness, from the observing site it is currently too close to the horizon.
I hope to collect more data on M81 and M82 in future!
Setting up
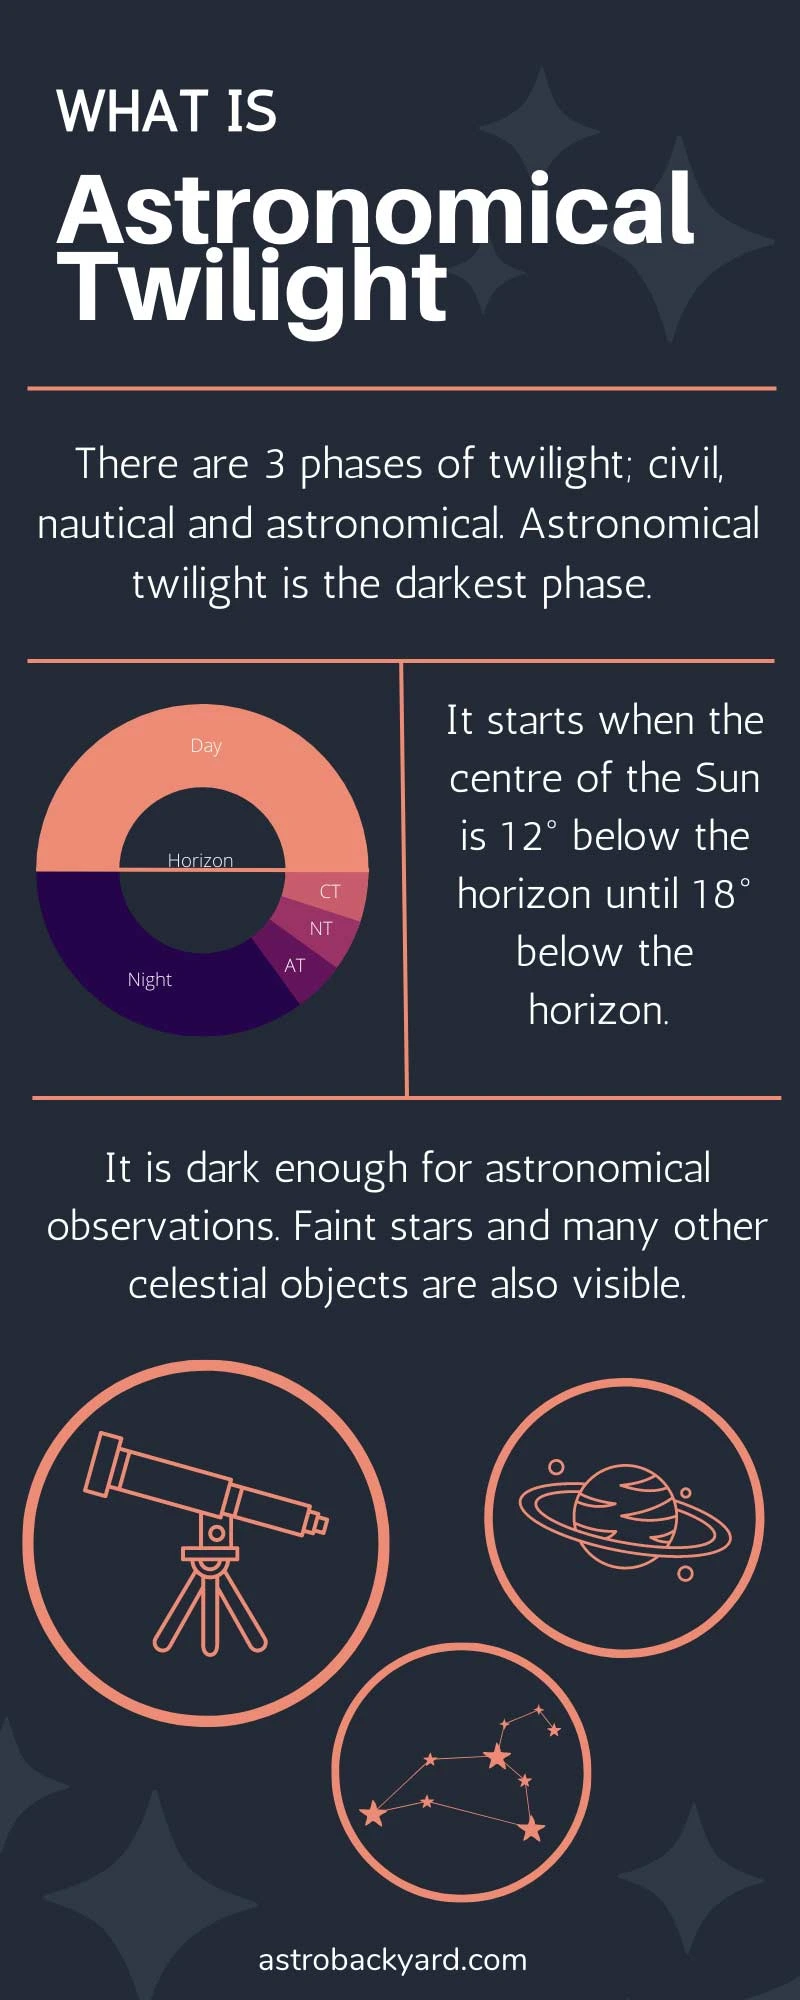
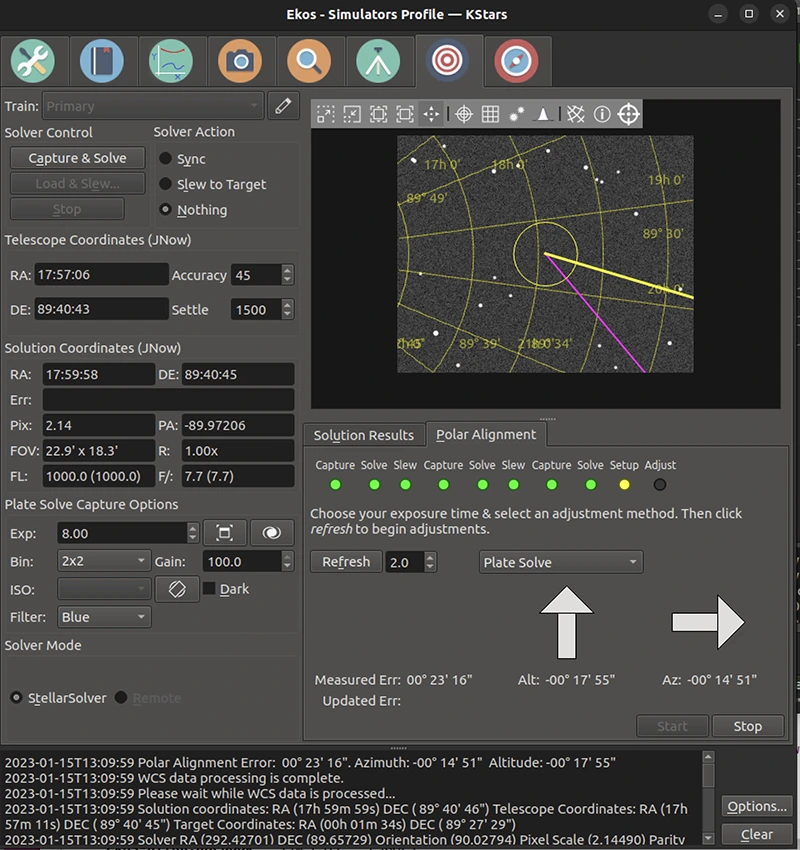
With only a few hours of astronomical darkness available this far North (55 degrees) in May, I set up and polar aligned during astronomical twilight. I use Ekos' polar align assistant to ensure I achieve accurate polar alignment. At first this was a struggle to figure out but now I have a workflow which typically only takes me 20 minutes.
- I use my phone’s compass to roughly point the mount north.
- I start the polar alignment assistant, plate solving through my guide scope. The wide field of view lets me see the full error triangle even if I am several degrees off the north celestial pole.
- Once I have aligned through the guide scope, I repeat the process using the imaging camera through the primary scope to fine-tune alignment to errors below an arcminute.
After polar aligning, I'm ready to slew to and centre my target. To do this I first search for my target in KStars and then tell my mount to slew to this target. Then, in Ekos, I use the Capture and Solve button with Slew to Target checked to ensure the target is properly centred in the frame. Now I'm ready to start imaging!
Imaging
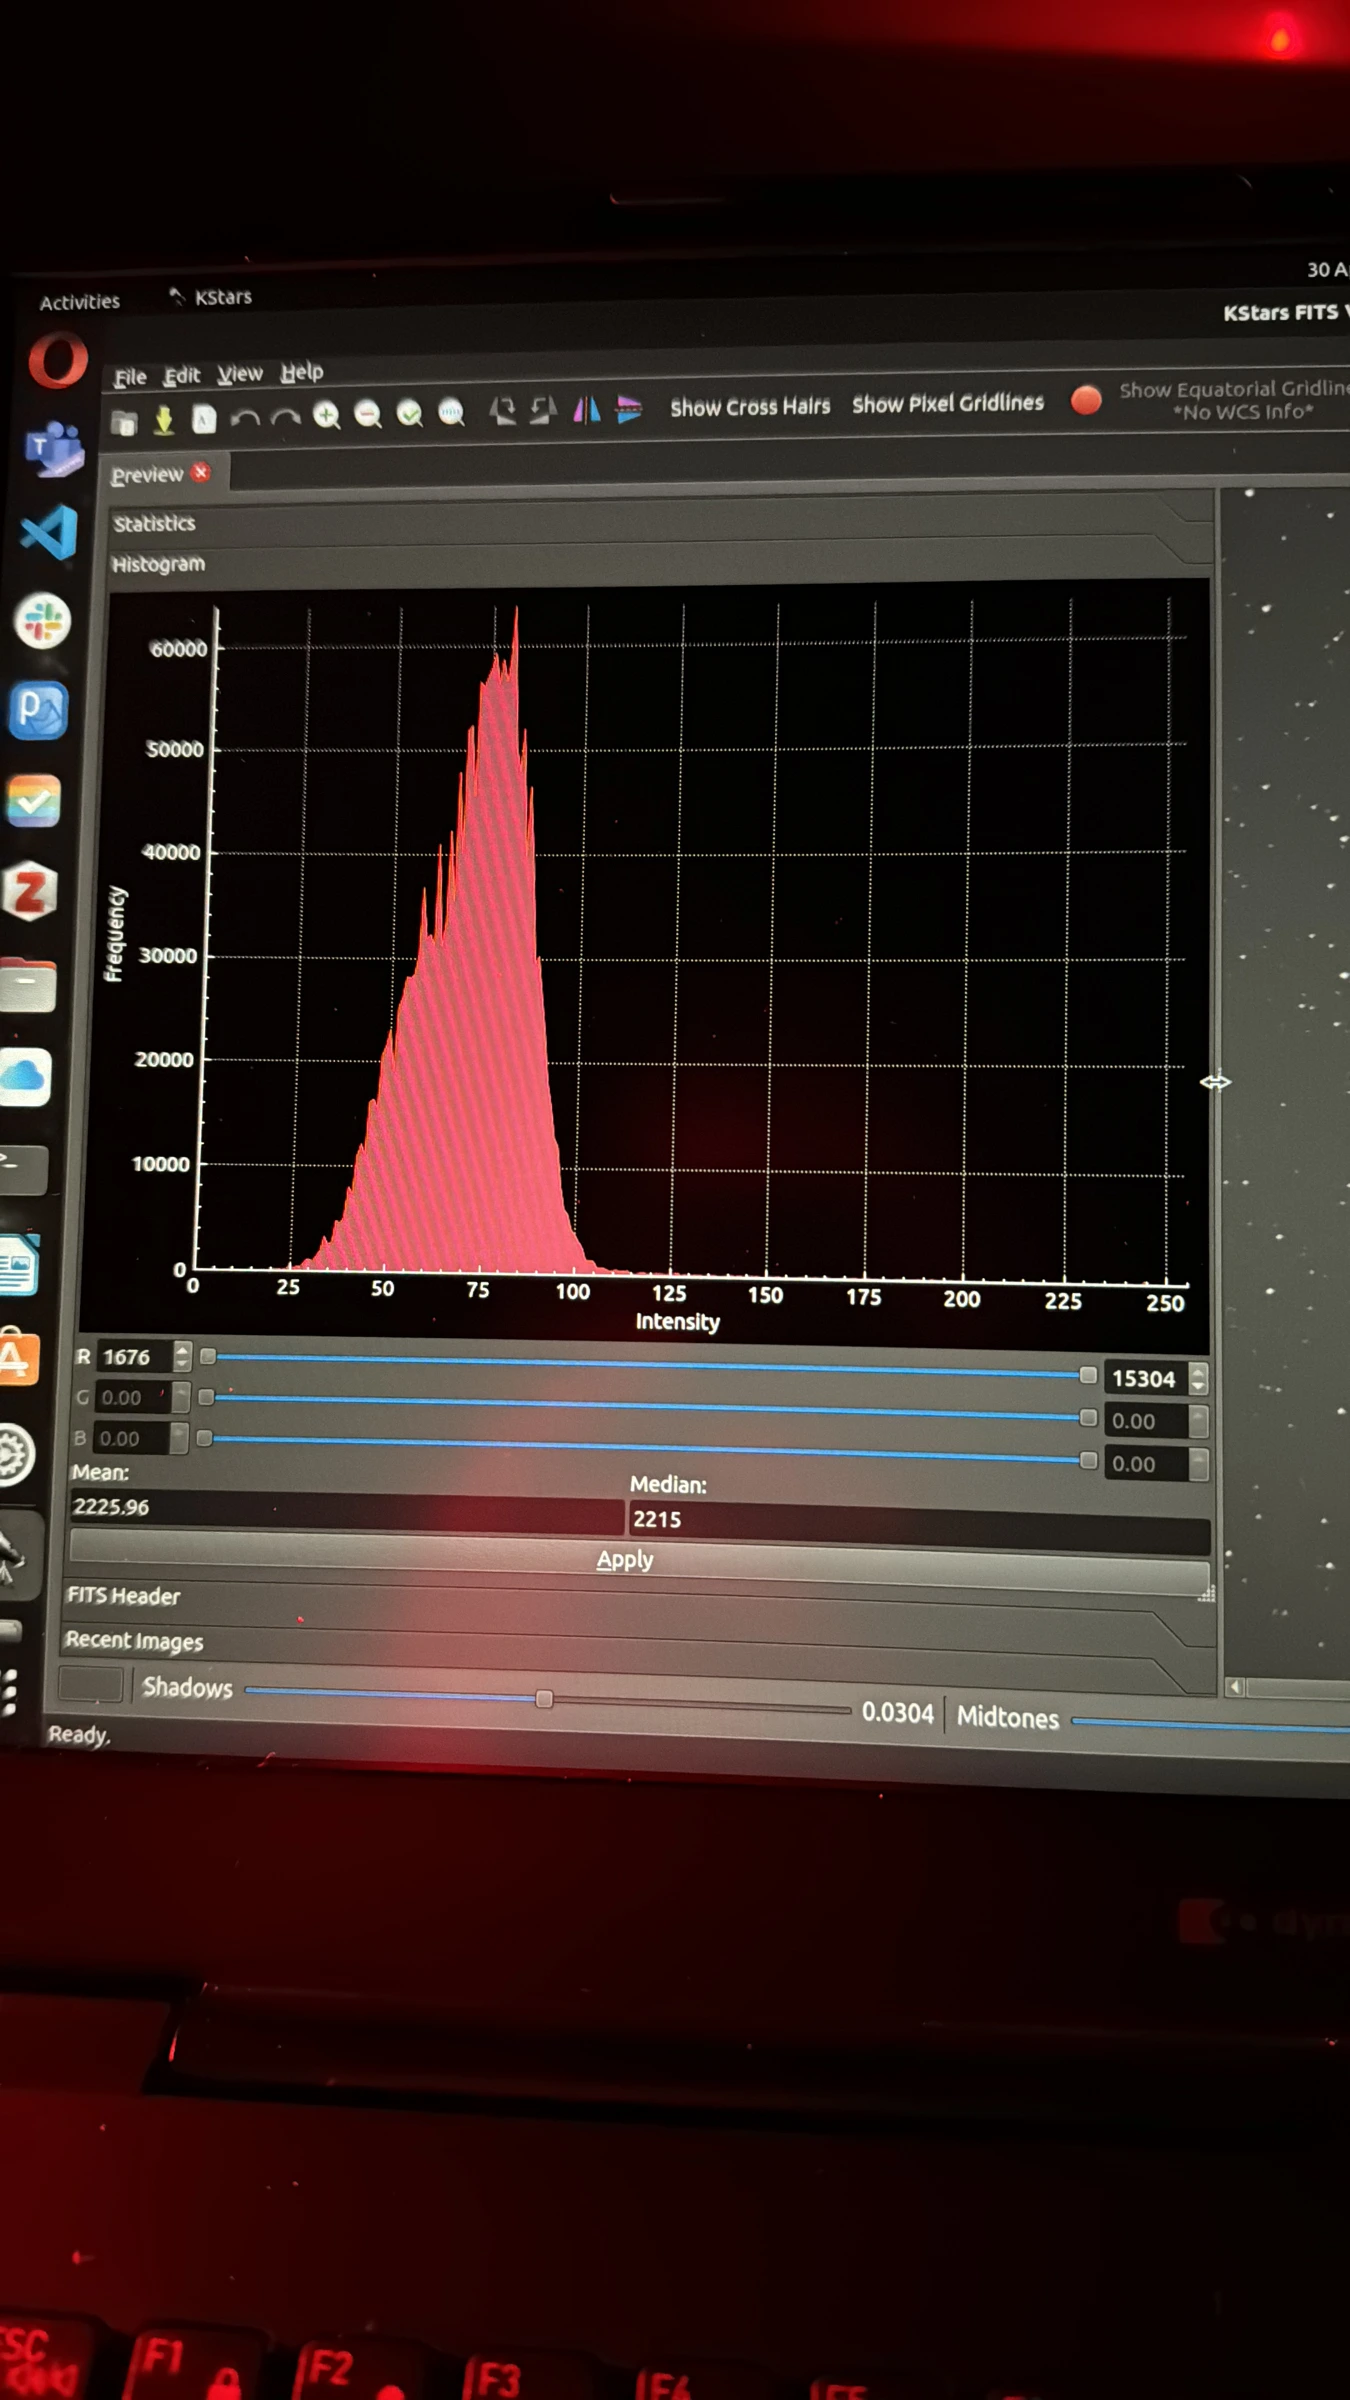
When choosing your ISO (or gain if using a dedicated astronomy camera) and exposure time, it's important to check the histogram of your data is well detached from the left side (where all the noise is). Usually about 1/3 - 1/2 of the way across the x-axis is good. I first tried a 180 second exposure at ISO 1600 and the histogram for this looked good. The galaxies were already faintly visible in a single sub exposure so I decided to stick with this.
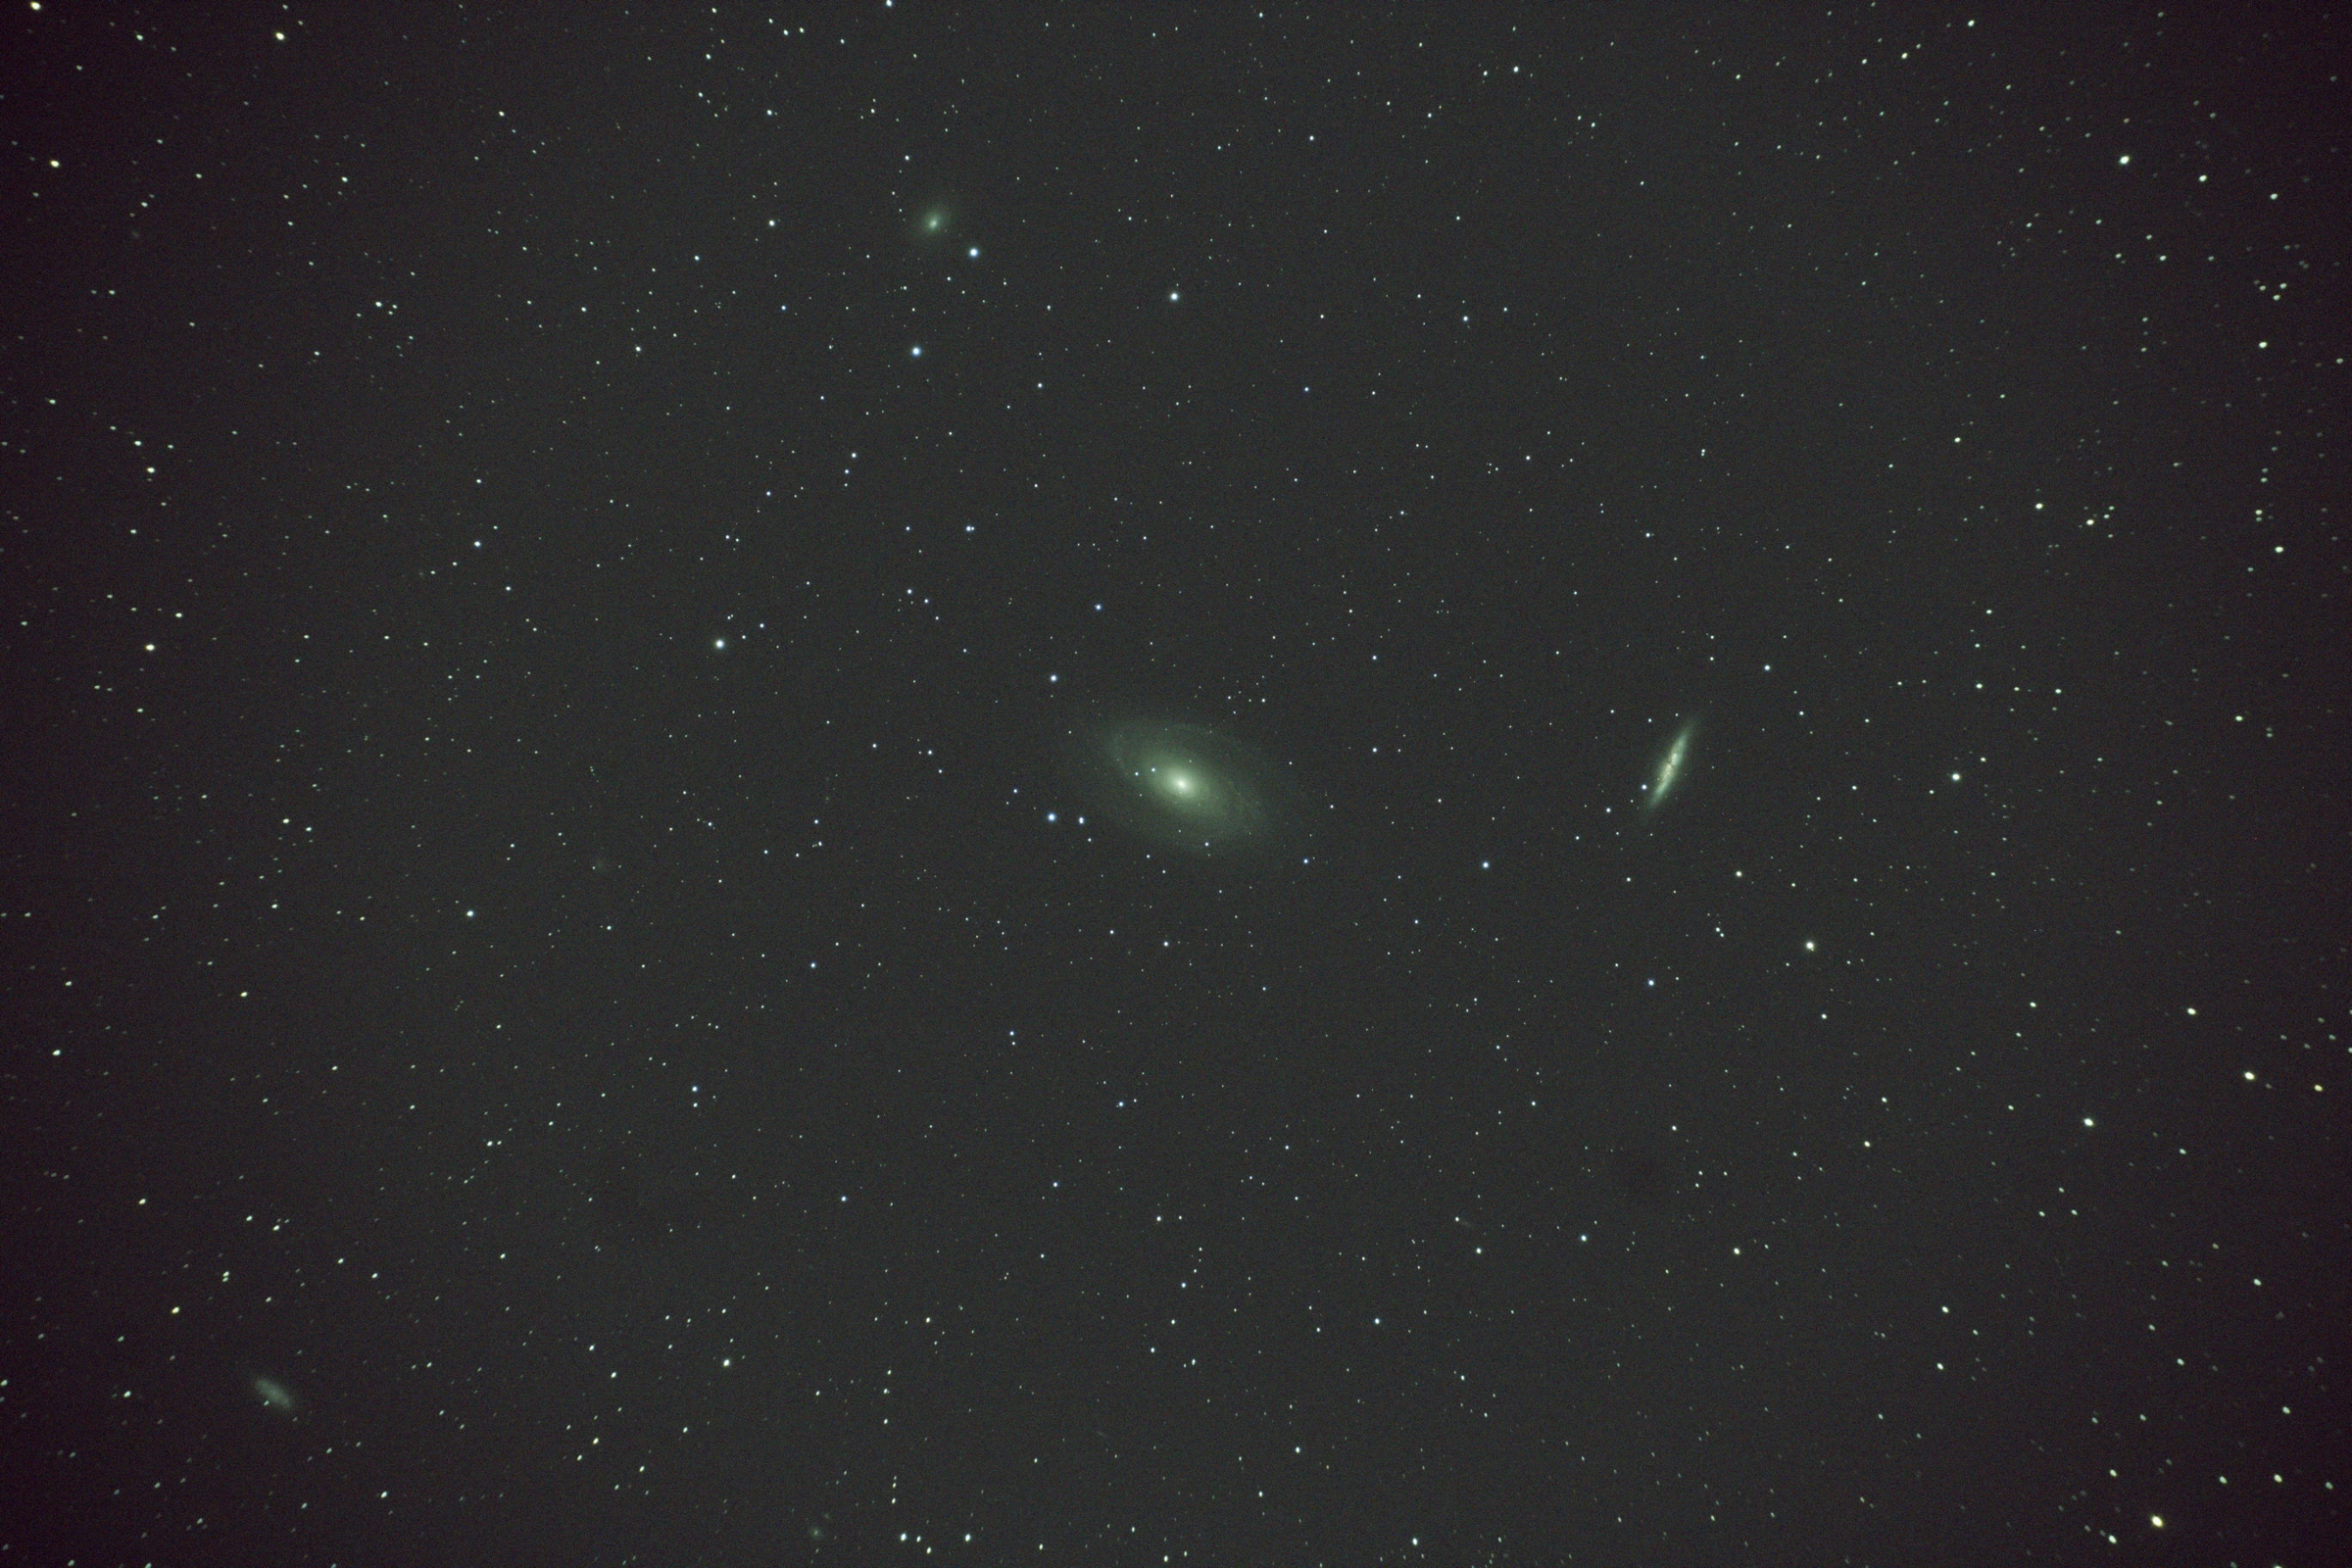
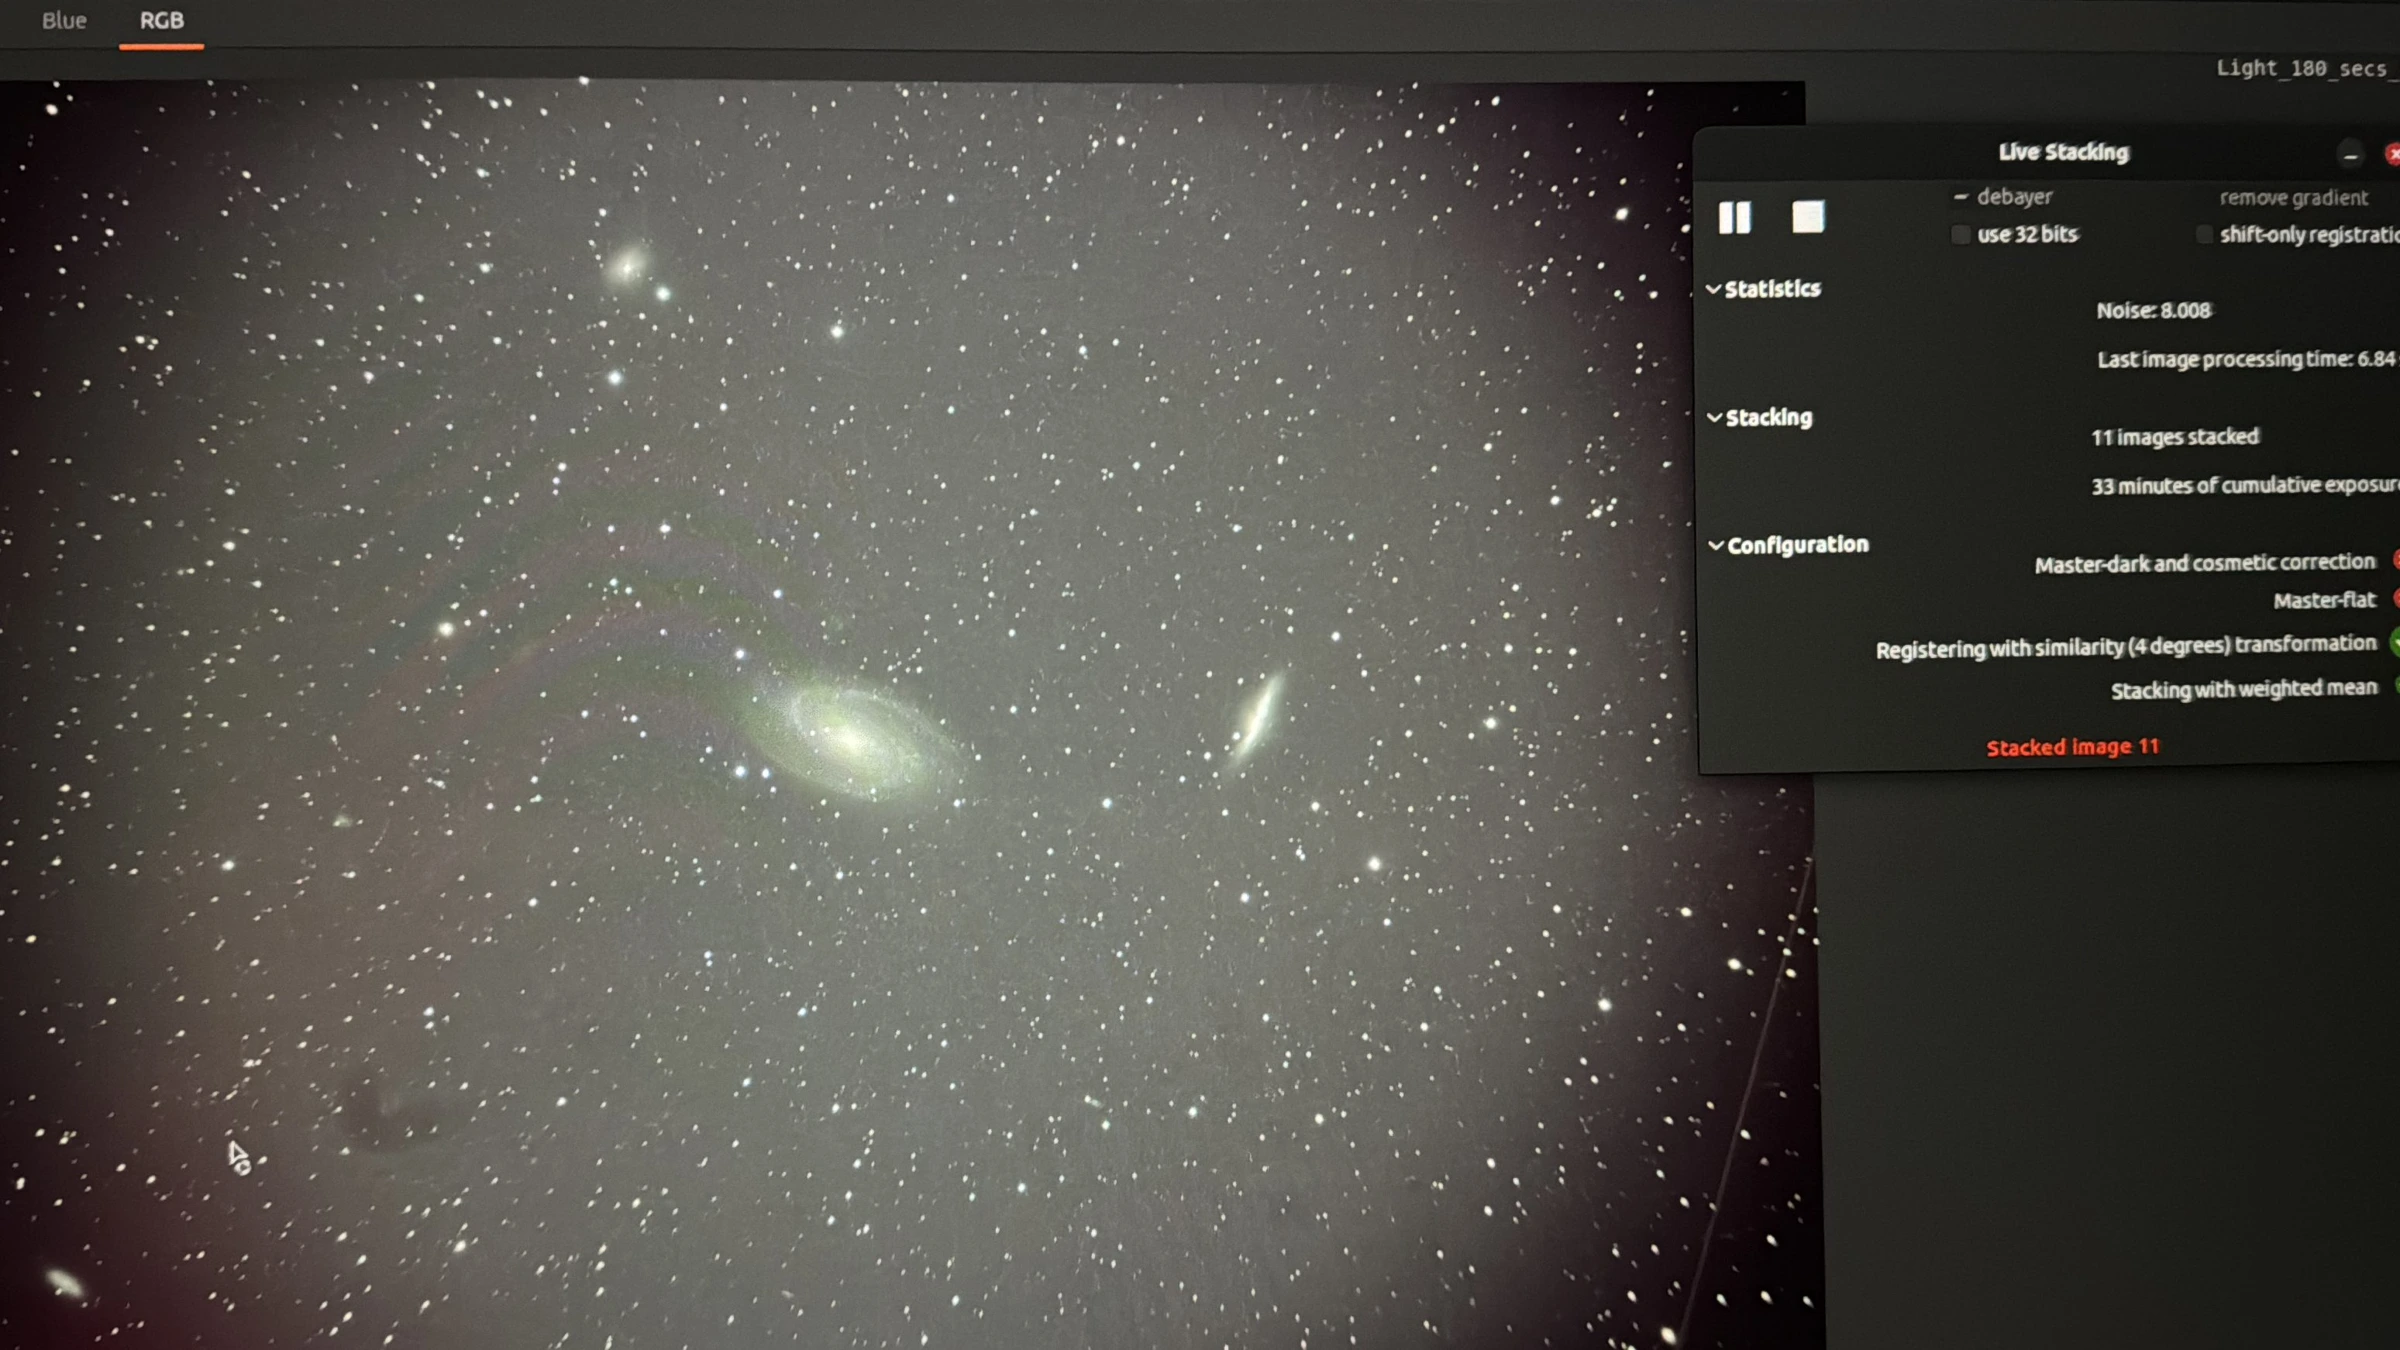
And now all that was left to do was wait! I ended up shooting 35 exposures which took about 2 hours. This is because there is some time between each exposure to download the image and I had to pause at one point to clear dew from my guide scope. While I wait, I like to snap a few pictures with my phone and keep a close eye on the guide graph to make sure it is tracking well. Using live stacking software such as Siril can also be an entertaining way to pass the time as you watch the noise decrease with each new sub.
Finally, after about 3 hours in the field, I decided it was time to shoot my flat frames (frames shot of an evenly lit white background to remove artefacts due to dust, etc. in the optical setup) and finish the session. It's important to shoot your flats before dismantling your set-up to ensure no dust moves in the system. Fortunately I already had darks (frames shot with the cover on to capture thermal noise in the sensor) at the same ISO, exposure, and temperature from a previous session so I saved myself some time on this.
The final image and facts
(Updated with additional exposure time taken on 28/05/24. Now, Holmberg IX is just barely visible directly above Bode's galaxy!)
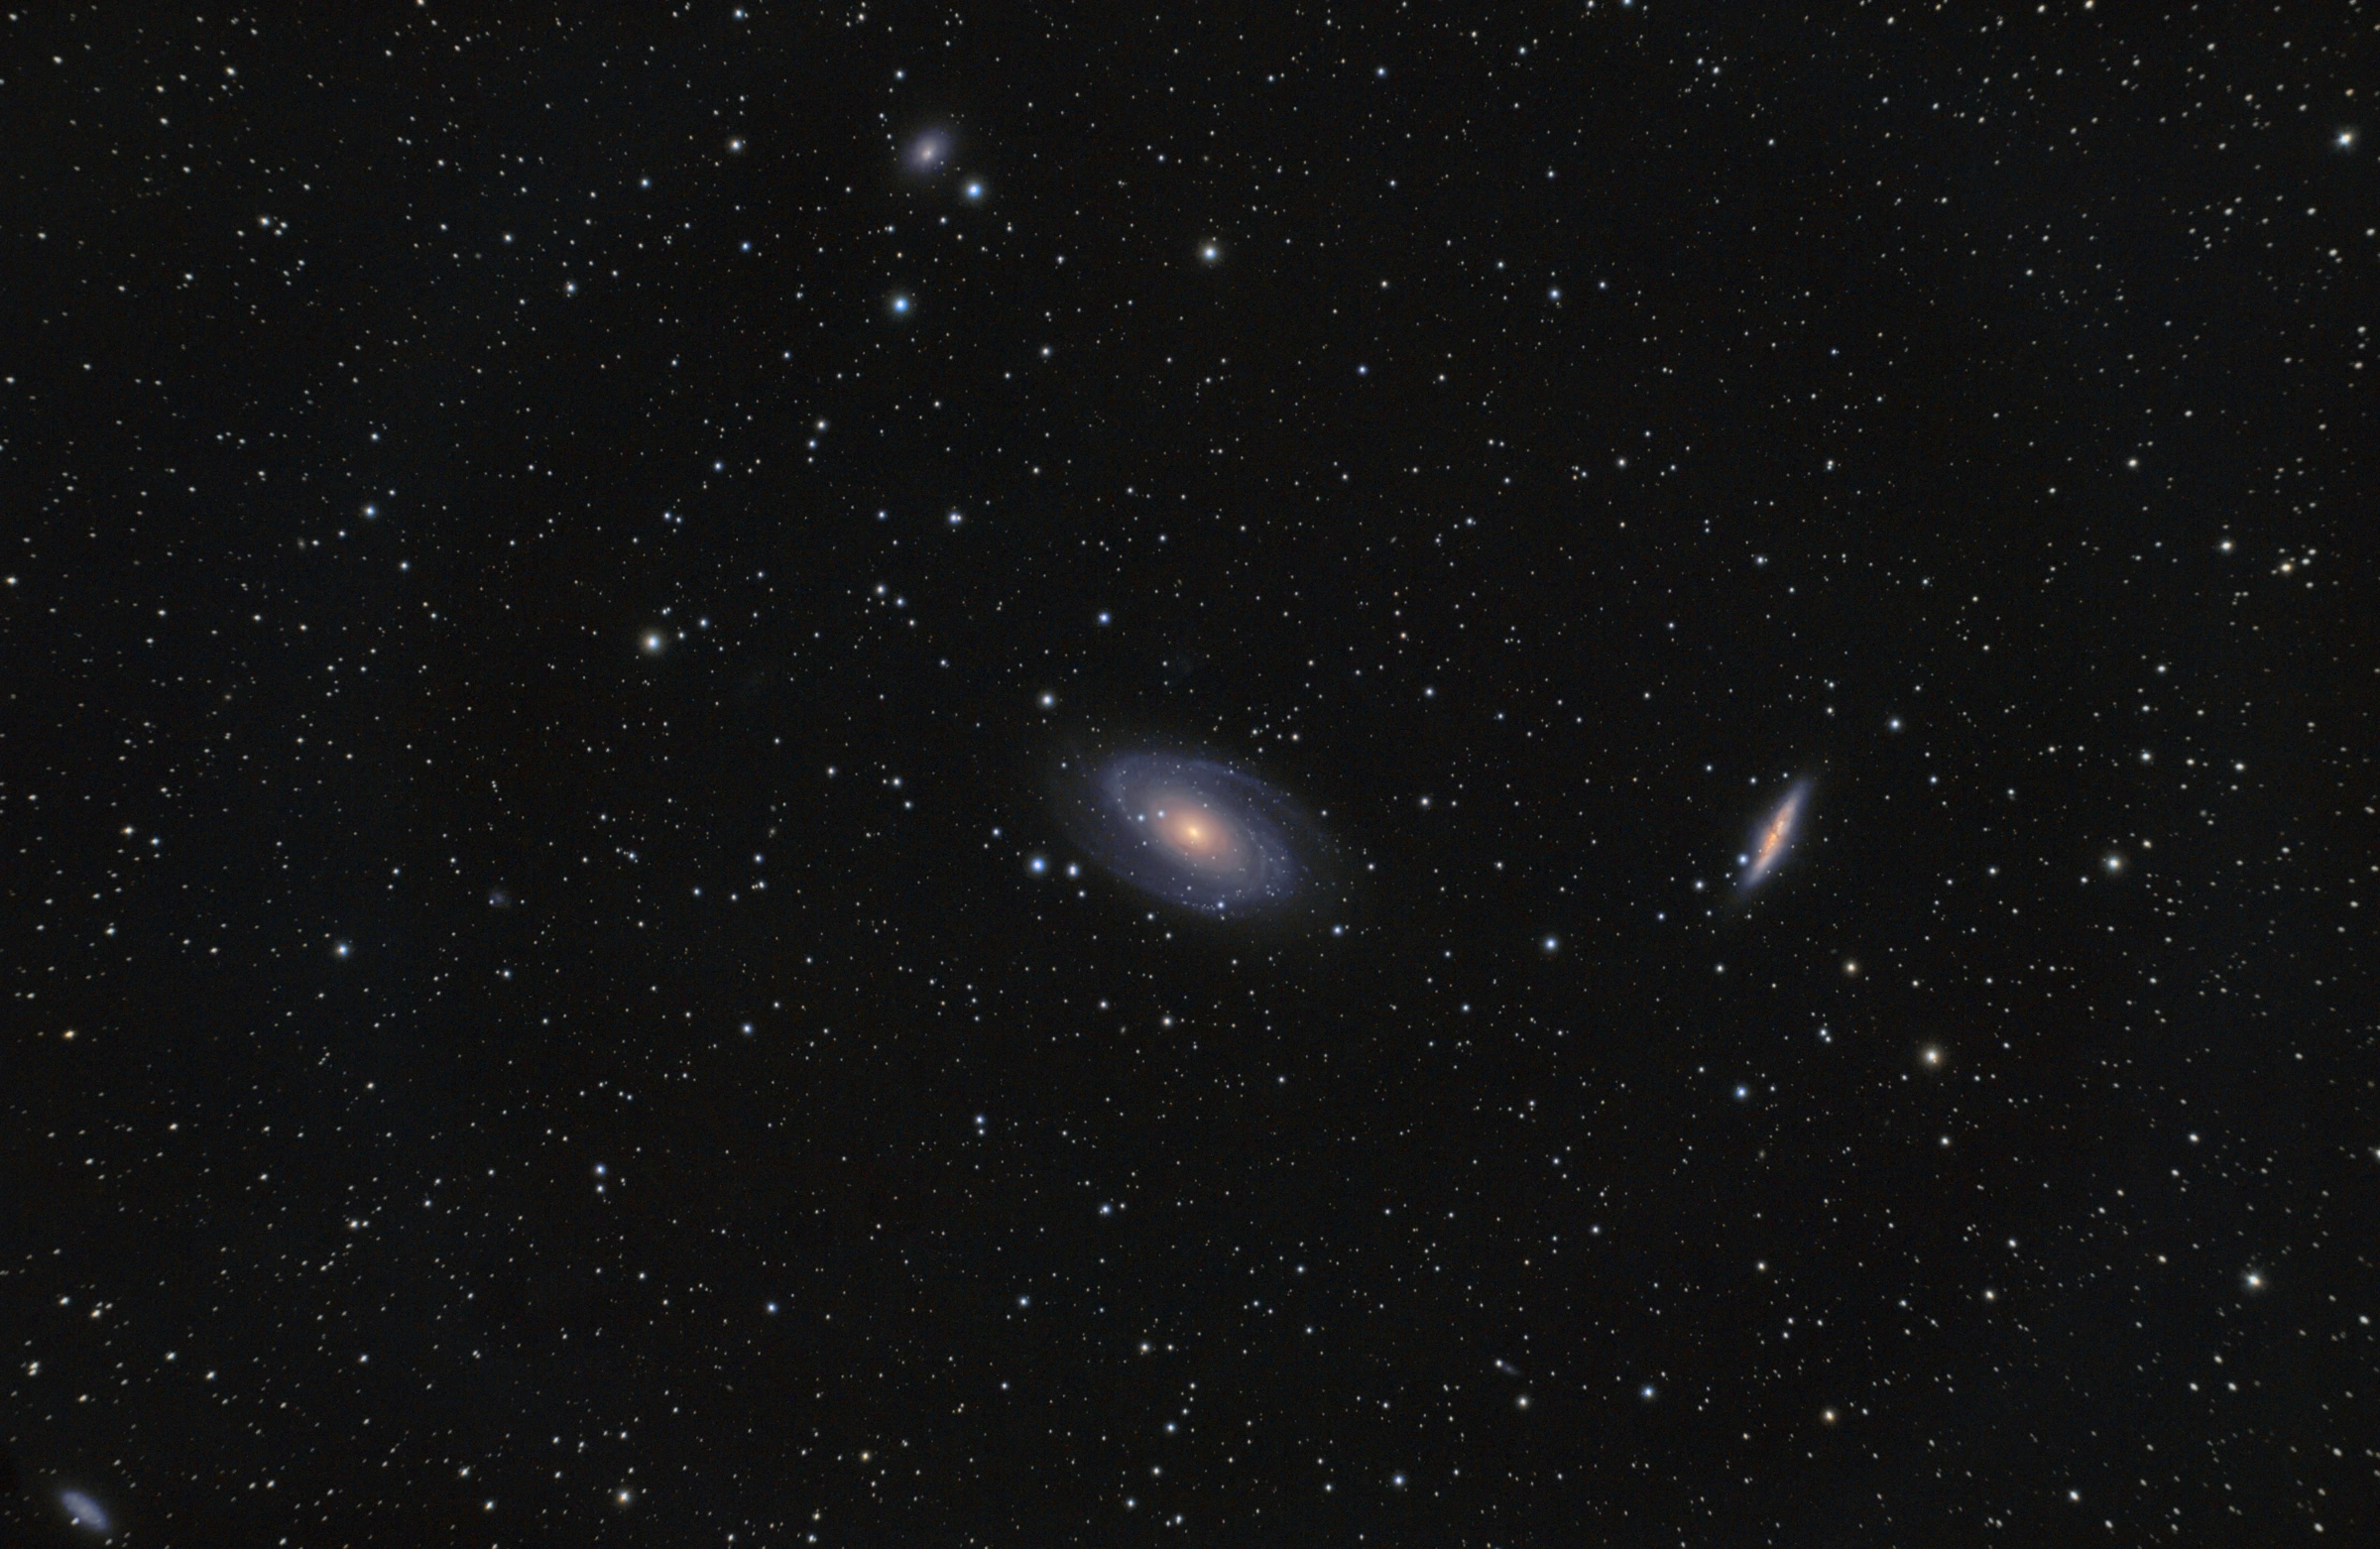
(More details here: https://telescopius.com/pictures/view/190771#annotated)
Above is the final image, shot and processed using the following:
- ISO 1600
- Integration time: 3 hours 30 minutes (70 x 180 seconds)
- Light pollution: Bortle 4
- Telescope: SkyWatcher EvoStar 72ED
- Camera: Canon EOS 2000D
- Mount: Explore Scientific iEXOS100-PMC8
- Software: KStars/Ekos, Deep Sky Stacker, Siril
Bode's Galaxy is known as a 'grand design spiral' galaxy because of its long and intricate spiral arms. It is 12 million light years away and appears almost face on to us, unlike the nearby Cigar Galaxy which is almost edge on, hence its cigar-like appearance.
M82 is currently in a starburst phase, meaning it is forming new stars at its core 10 times faster than the Milky Way! This is believed to be the result of gravitational interactions with its neighbour, M81. The red/orange structure seen in the image is hydrogen gas illuminated and irradiated by the vast numbers of stars forming.
As a beginner, I am sure there are many things I could improve on. Once I collect more good data on other objects, I'll share more posts detailing those imaging sessions. I'll also write about my image processing workflow, how I use KStars/Ekos, and the equipment I use.