On Friday I was checking the cloud forecast. It looked clear for a night of astrophotography so I was excited to go out and capture some images of deep sky objects. Right before I set off, I saw an alert about a possible aurora. I didn't look into it too much so assumed it would be a fairly slim chance and packed up my telescope to set off.
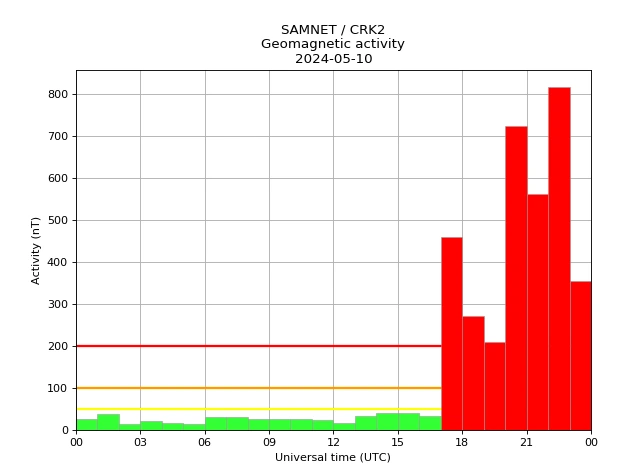
Driving to my favourite imaging location, I saw many more people than usual (i.e. more than just me) and as soon as I got out of my car, it was clearly way too bright to image any deep sky objects! It turns out I managed to arrive right at the peak of geomagnetic activity.
Aurora photos
I started by taking a few pictures with my phone. I think in terms of focus and sharpness these actually turned out the best! As you'll see shortly, I struggled to properly focus the DSLR lens (I'm used to shooting through a telescope!)
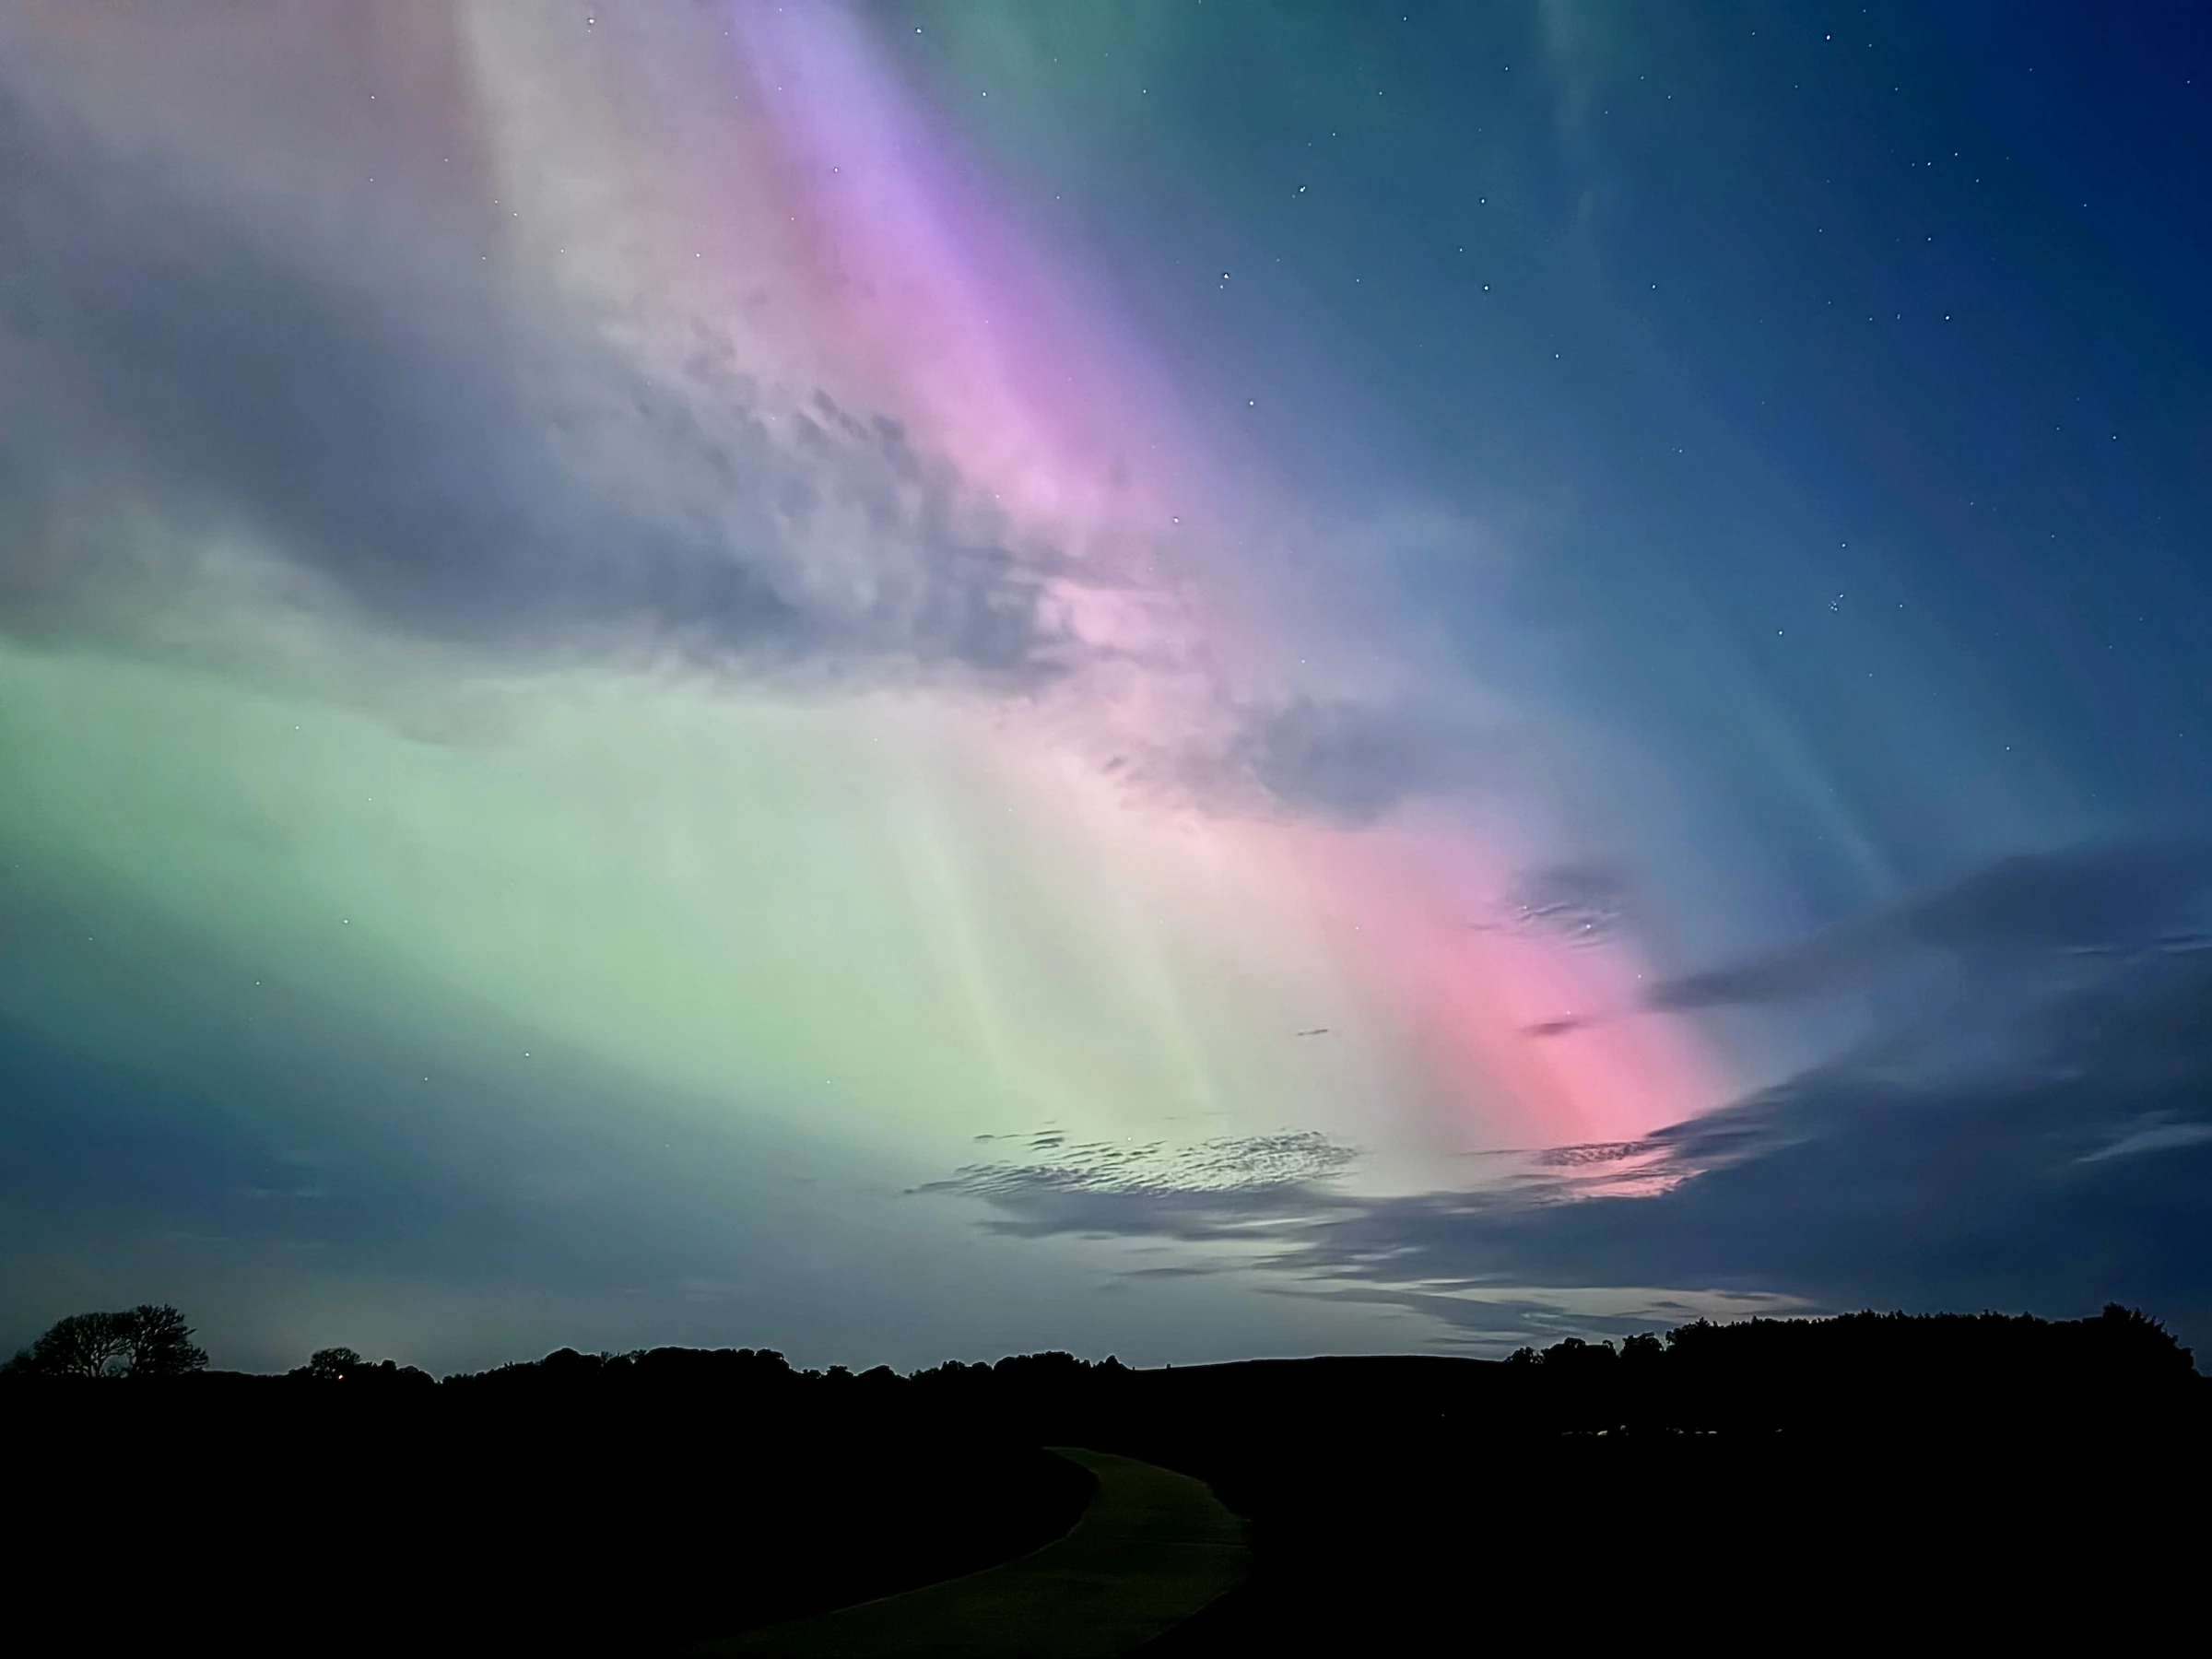
It's really impressive how good smartphone cameras have become. Since I wasn't expecting this, I hadn't done any research on how to properly shoot aurora images. I wish I had tried to do some timelapse shots. Hopefully with Solar maximum happening there'll be one more opportunity like this!
Of course I also tried shooting with a Canon EOS 2000D DSLR. This was tricky, as I basically had to piggyback it on my telescope (there is a screw for mounting accessories on the tube rings). This is not quite an ideal setup for framing wide-angle shots, as I soon learnt.
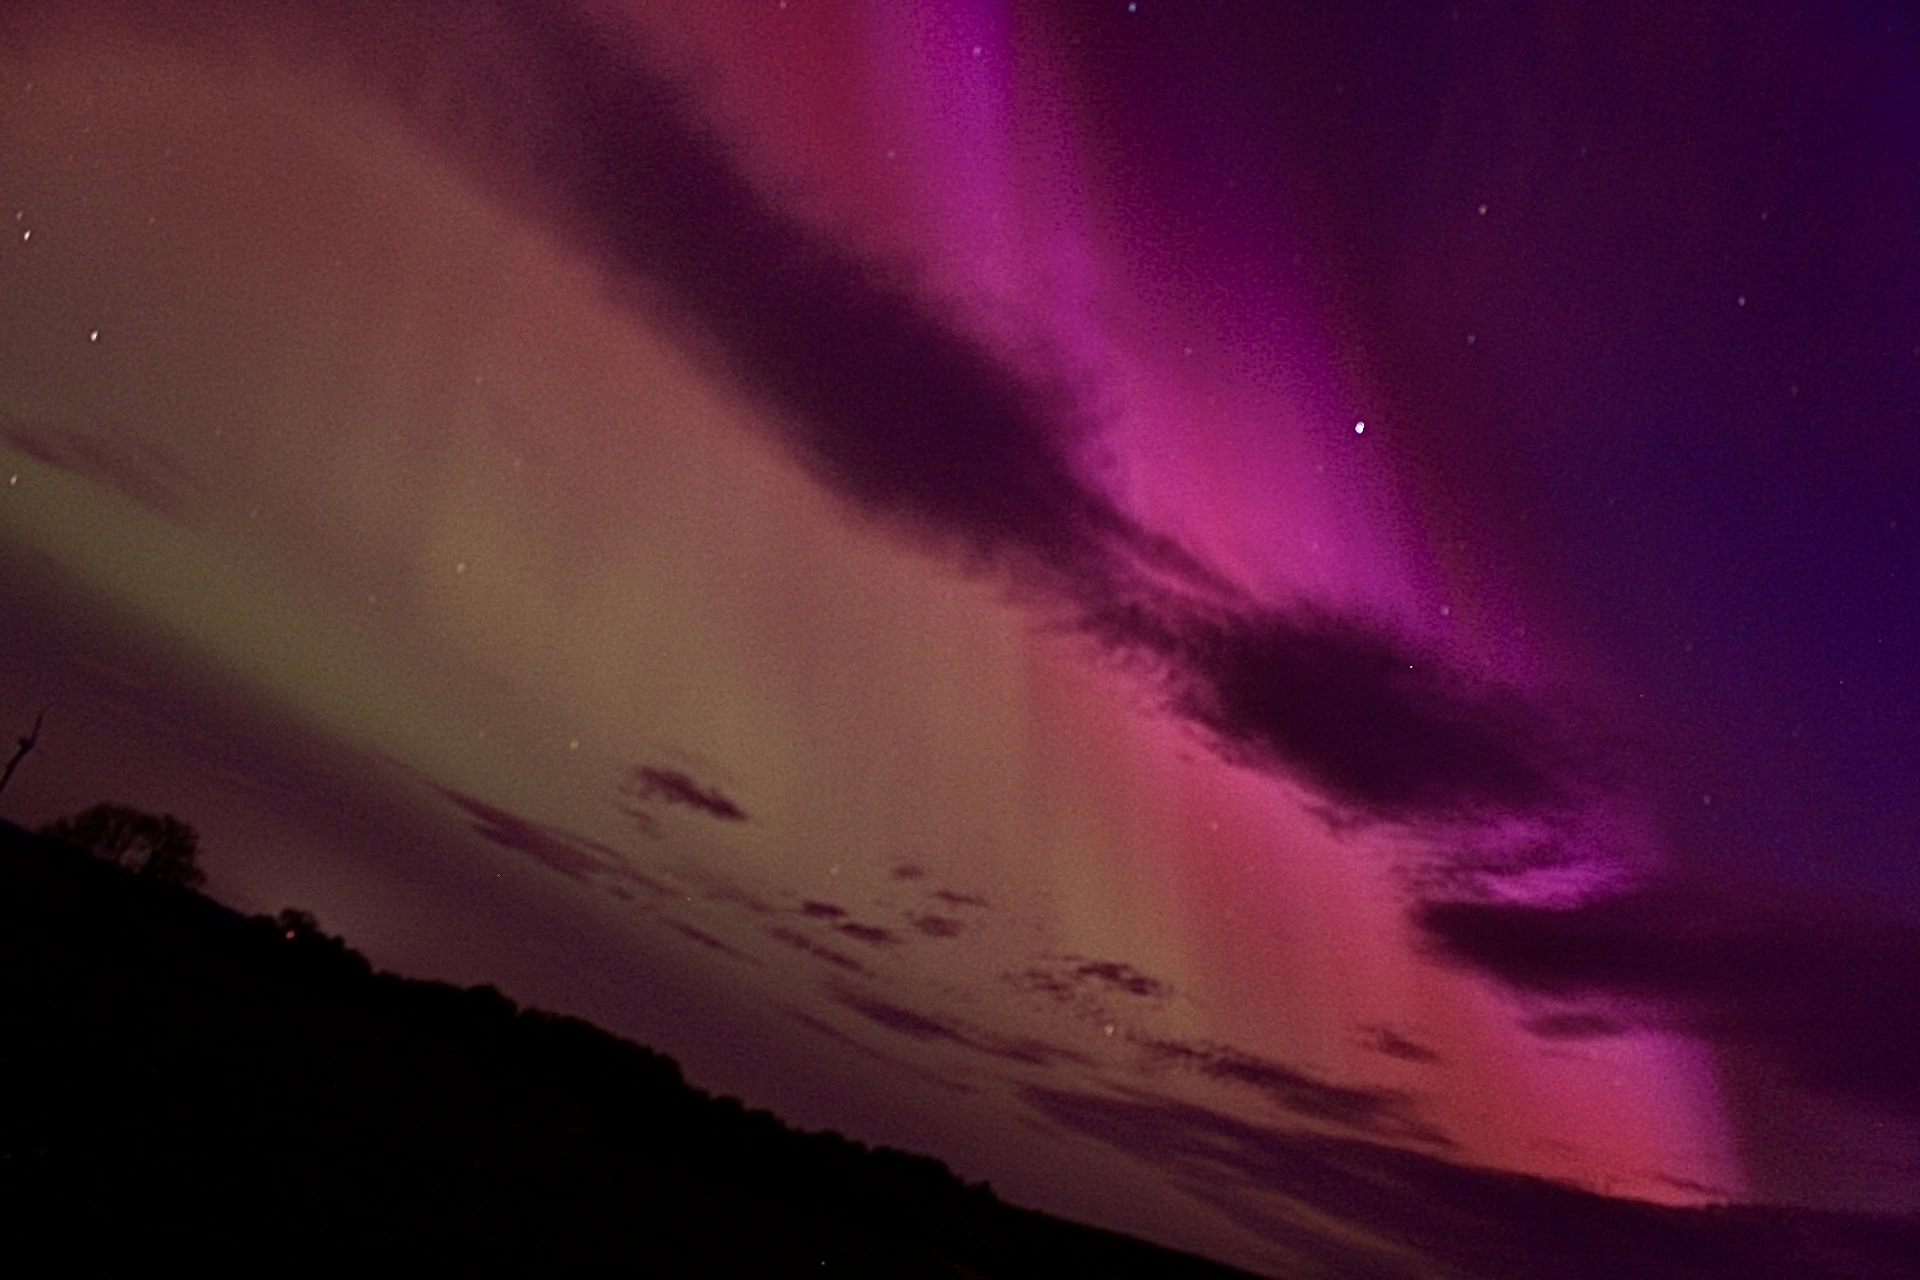
Although I love the colours in this shot, it's very grainy and out of focus. In the dark, the small previews on the DSLR screen looked fine, but once I saw them in full size on my computer I was a bit let down. Lesson learnt to inspect them more closely next time!
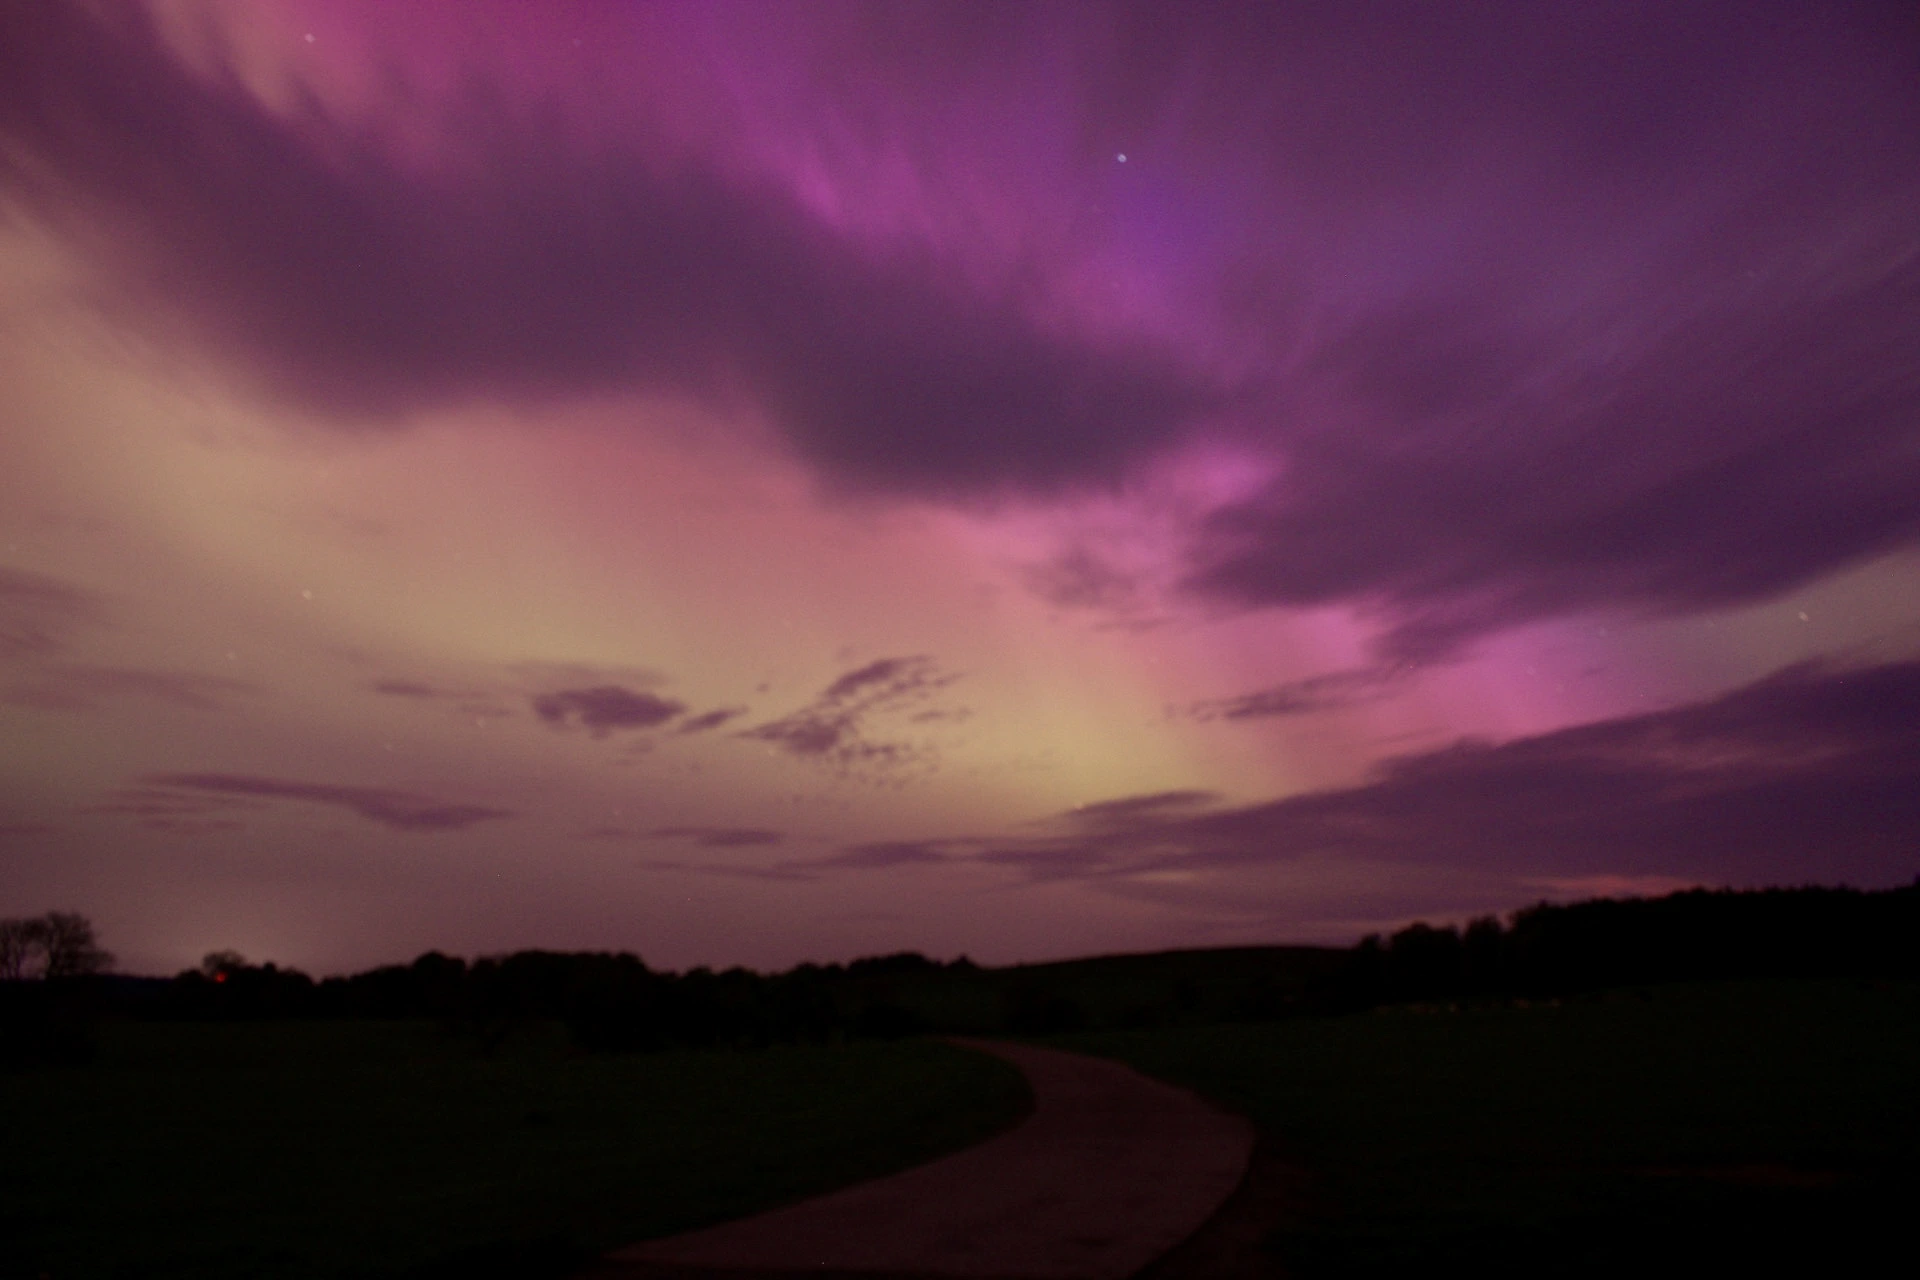
I used a range of ISO settings between 200 and 800 and exposures from 10 to 40 seconds. I later learnt exposures beyond 30 seconds will lead to star trailing even with only 18mm of focal length. Despite this I think the most vivid images were those with ISO 400 and a 20-second exposure time. Although, having seen other people's incredibly sharp results, I likely could have used a far shorter exposure and lightened things up in processing.
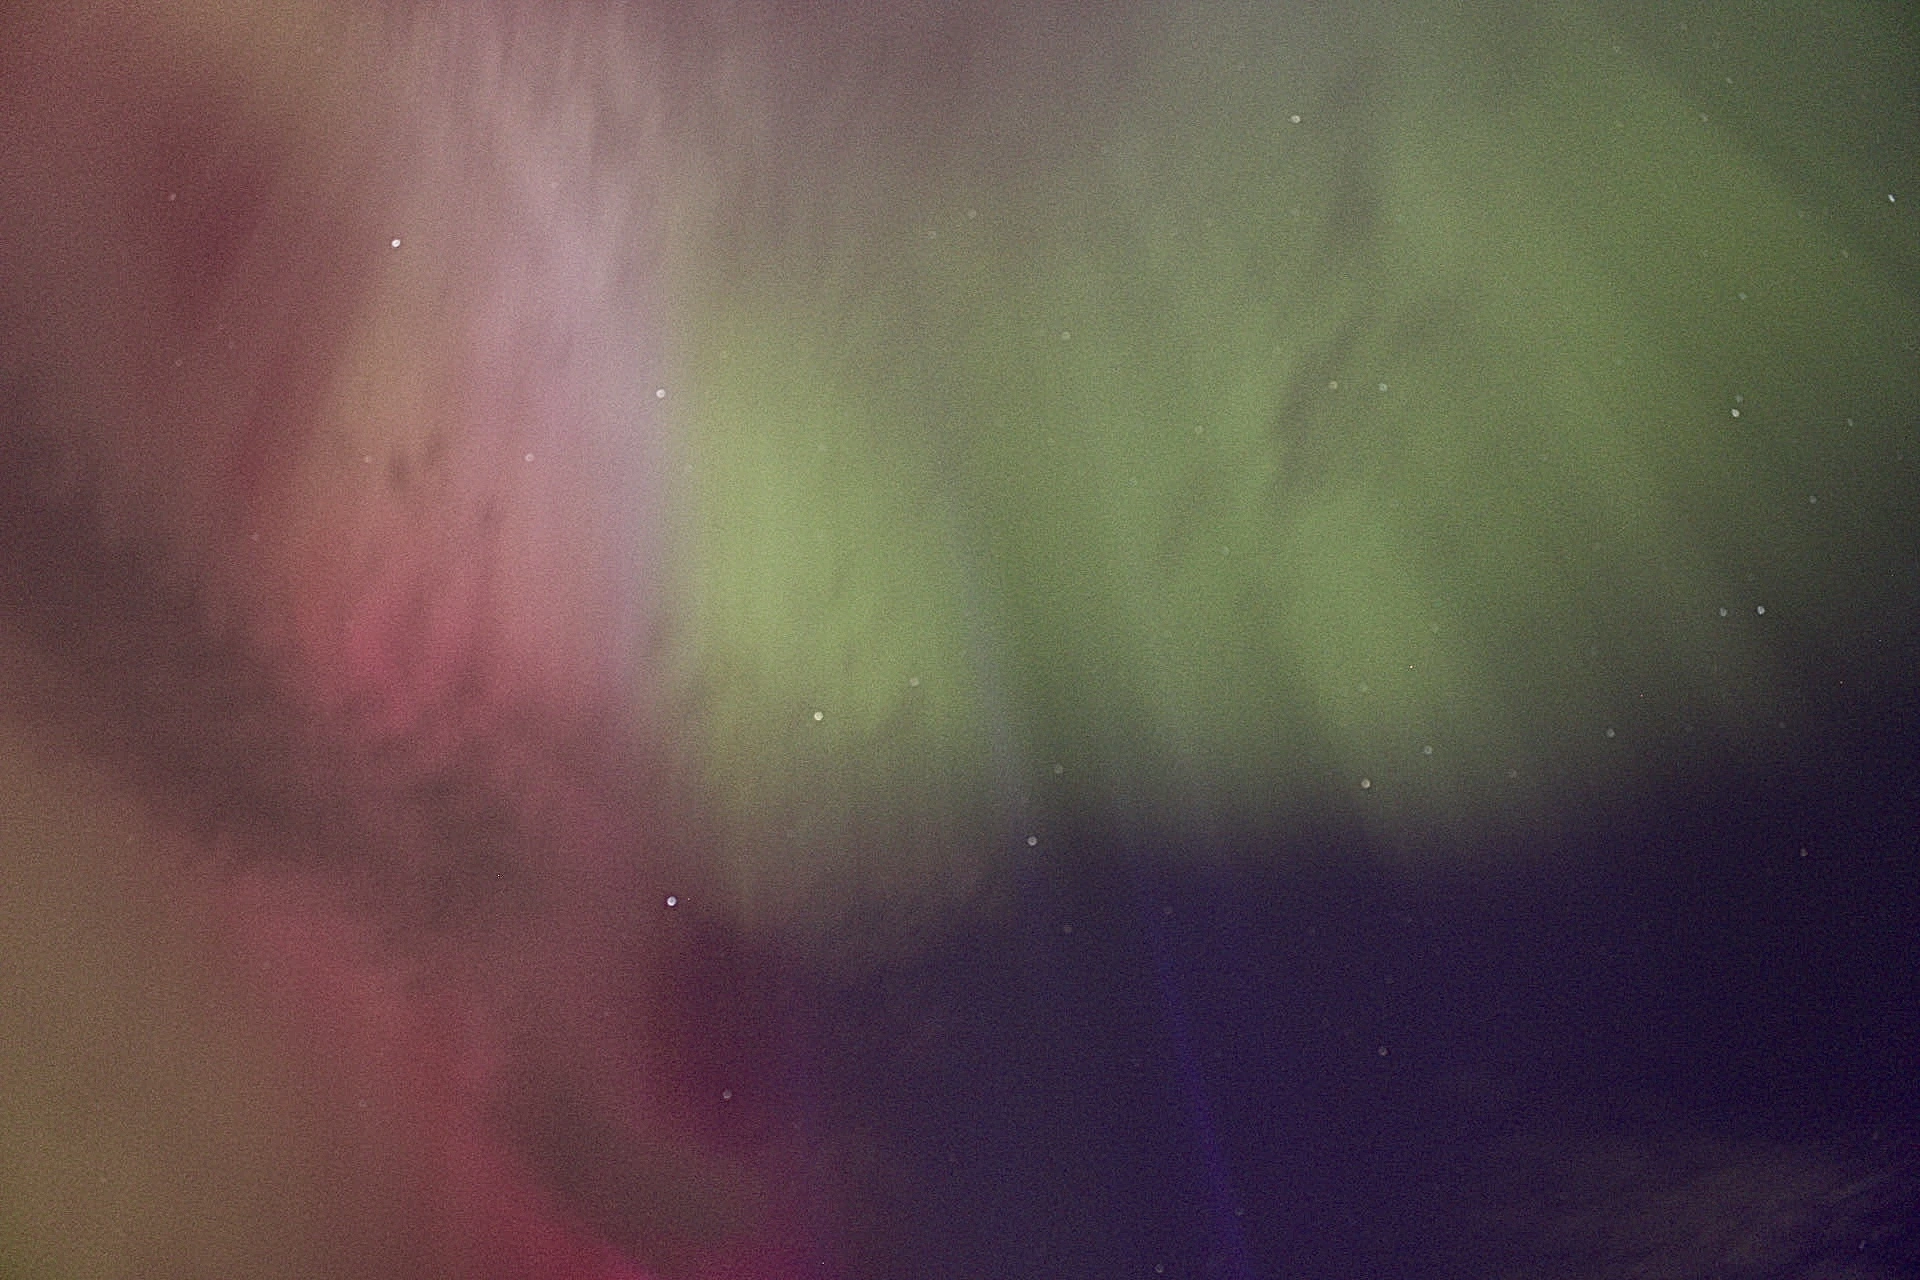
After reading up a lot more on aurora photography, I'm hoping to get another chance soon! Although if not, another 20 years should hopefully have sharpened my photography skills enough to capture much better shots. Next, I'll explain what causes the aurora.
How Are Auroras Created?
Auroras originate from the sun. The sun's surface experiences explosions and solar flares that send charged particles out into space. These particles travel towards Earth and, when they encounter Earth's magnetic field, they are directed towards the polar regions, creating the aurora borealis (or northern lights) in the Northern Hemisphere and the aurora australis in the Southern Hemisphere (southern lights).
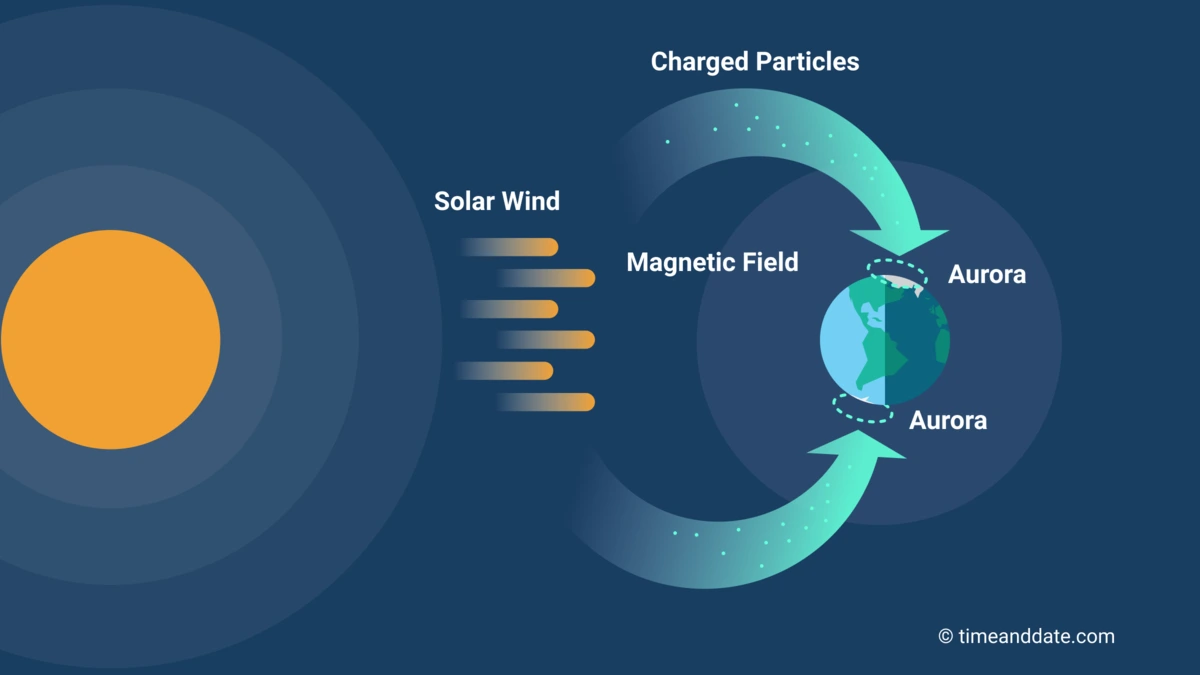
When these charged particles collide with gases in Earth's atmosphere, they create the lights we see. The type of gas and the altitude of the collision determine the colour of the lights.
The Colours of the Aurora
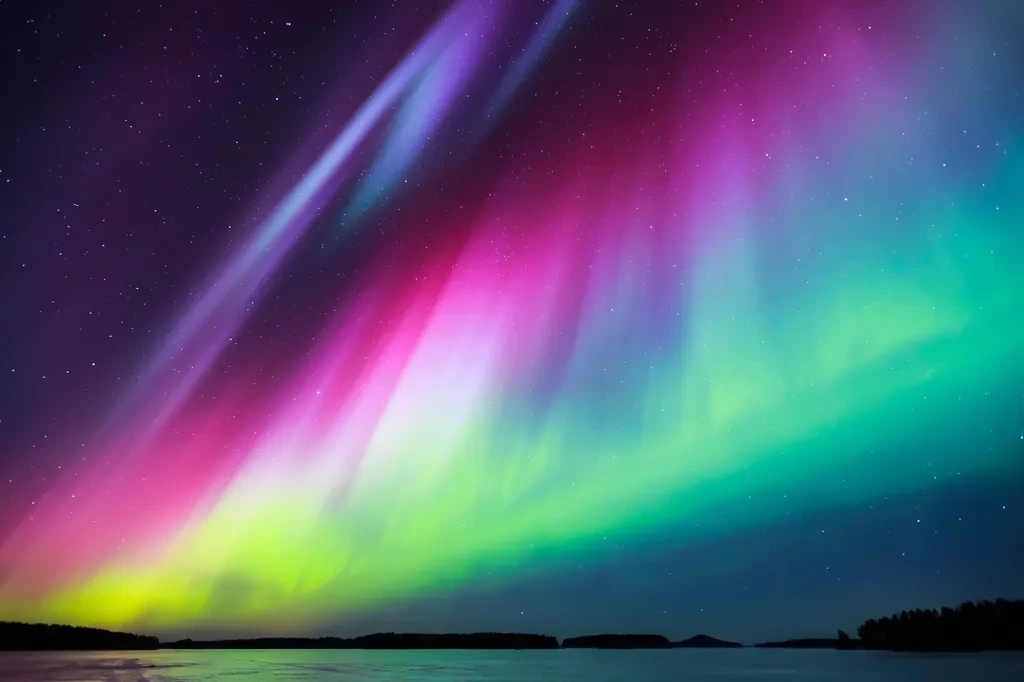
The colours of the aurora are due to interactions with different gases and occur at various altitudes:
- Green: This is the most common colour, produced when solar particles collide with oxygen molecules at altitudes between 60 and 150 miles.
- Red: This colour occurs at higher altitudes, above 150 miles, and is also due to oxygen molecules.
- Purple and Blue: These colours result from collisions with nitrogen molecules. Purple appears at higher altitudes, while blue is seen at lower altitudes.
Some people report hearing faint sounds, like crackling or whooshing, during intense auroras. While auroras occur too high for sound waves to travel to the ground, recent research suggests these noises might be real. Disturbances in Earth's magnetic field during strong auroras could create audible sounds close to the ground.