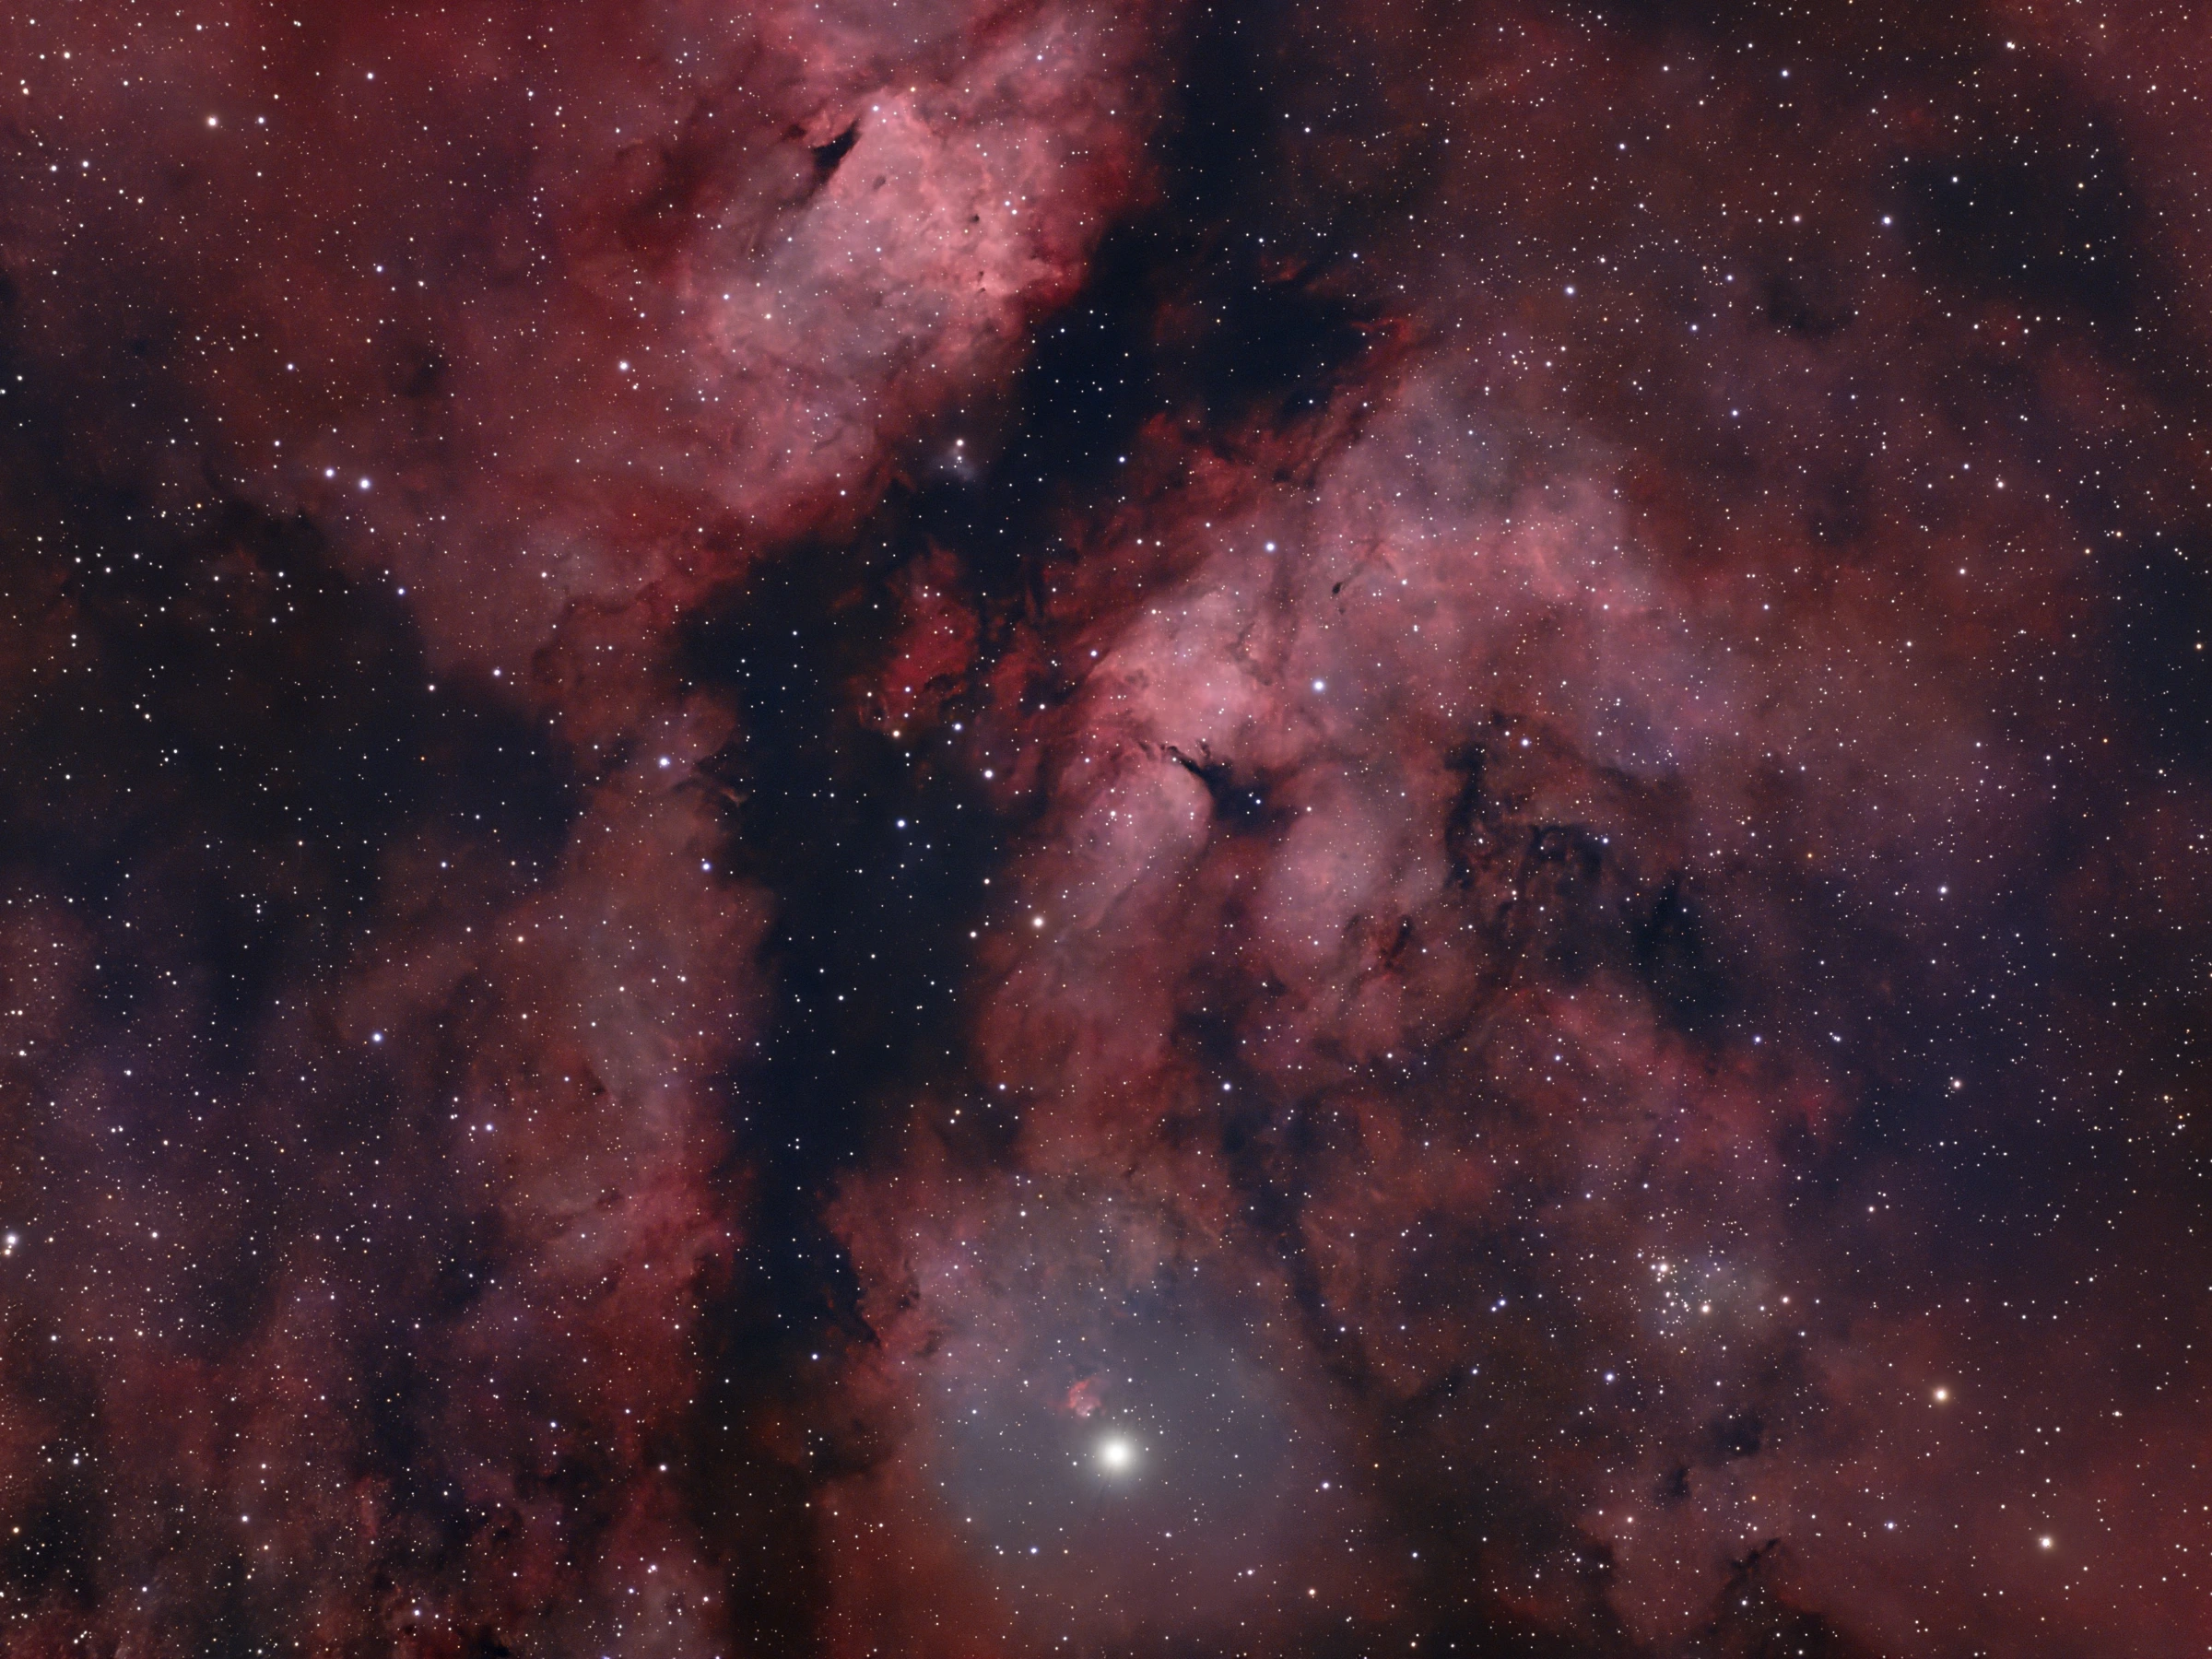
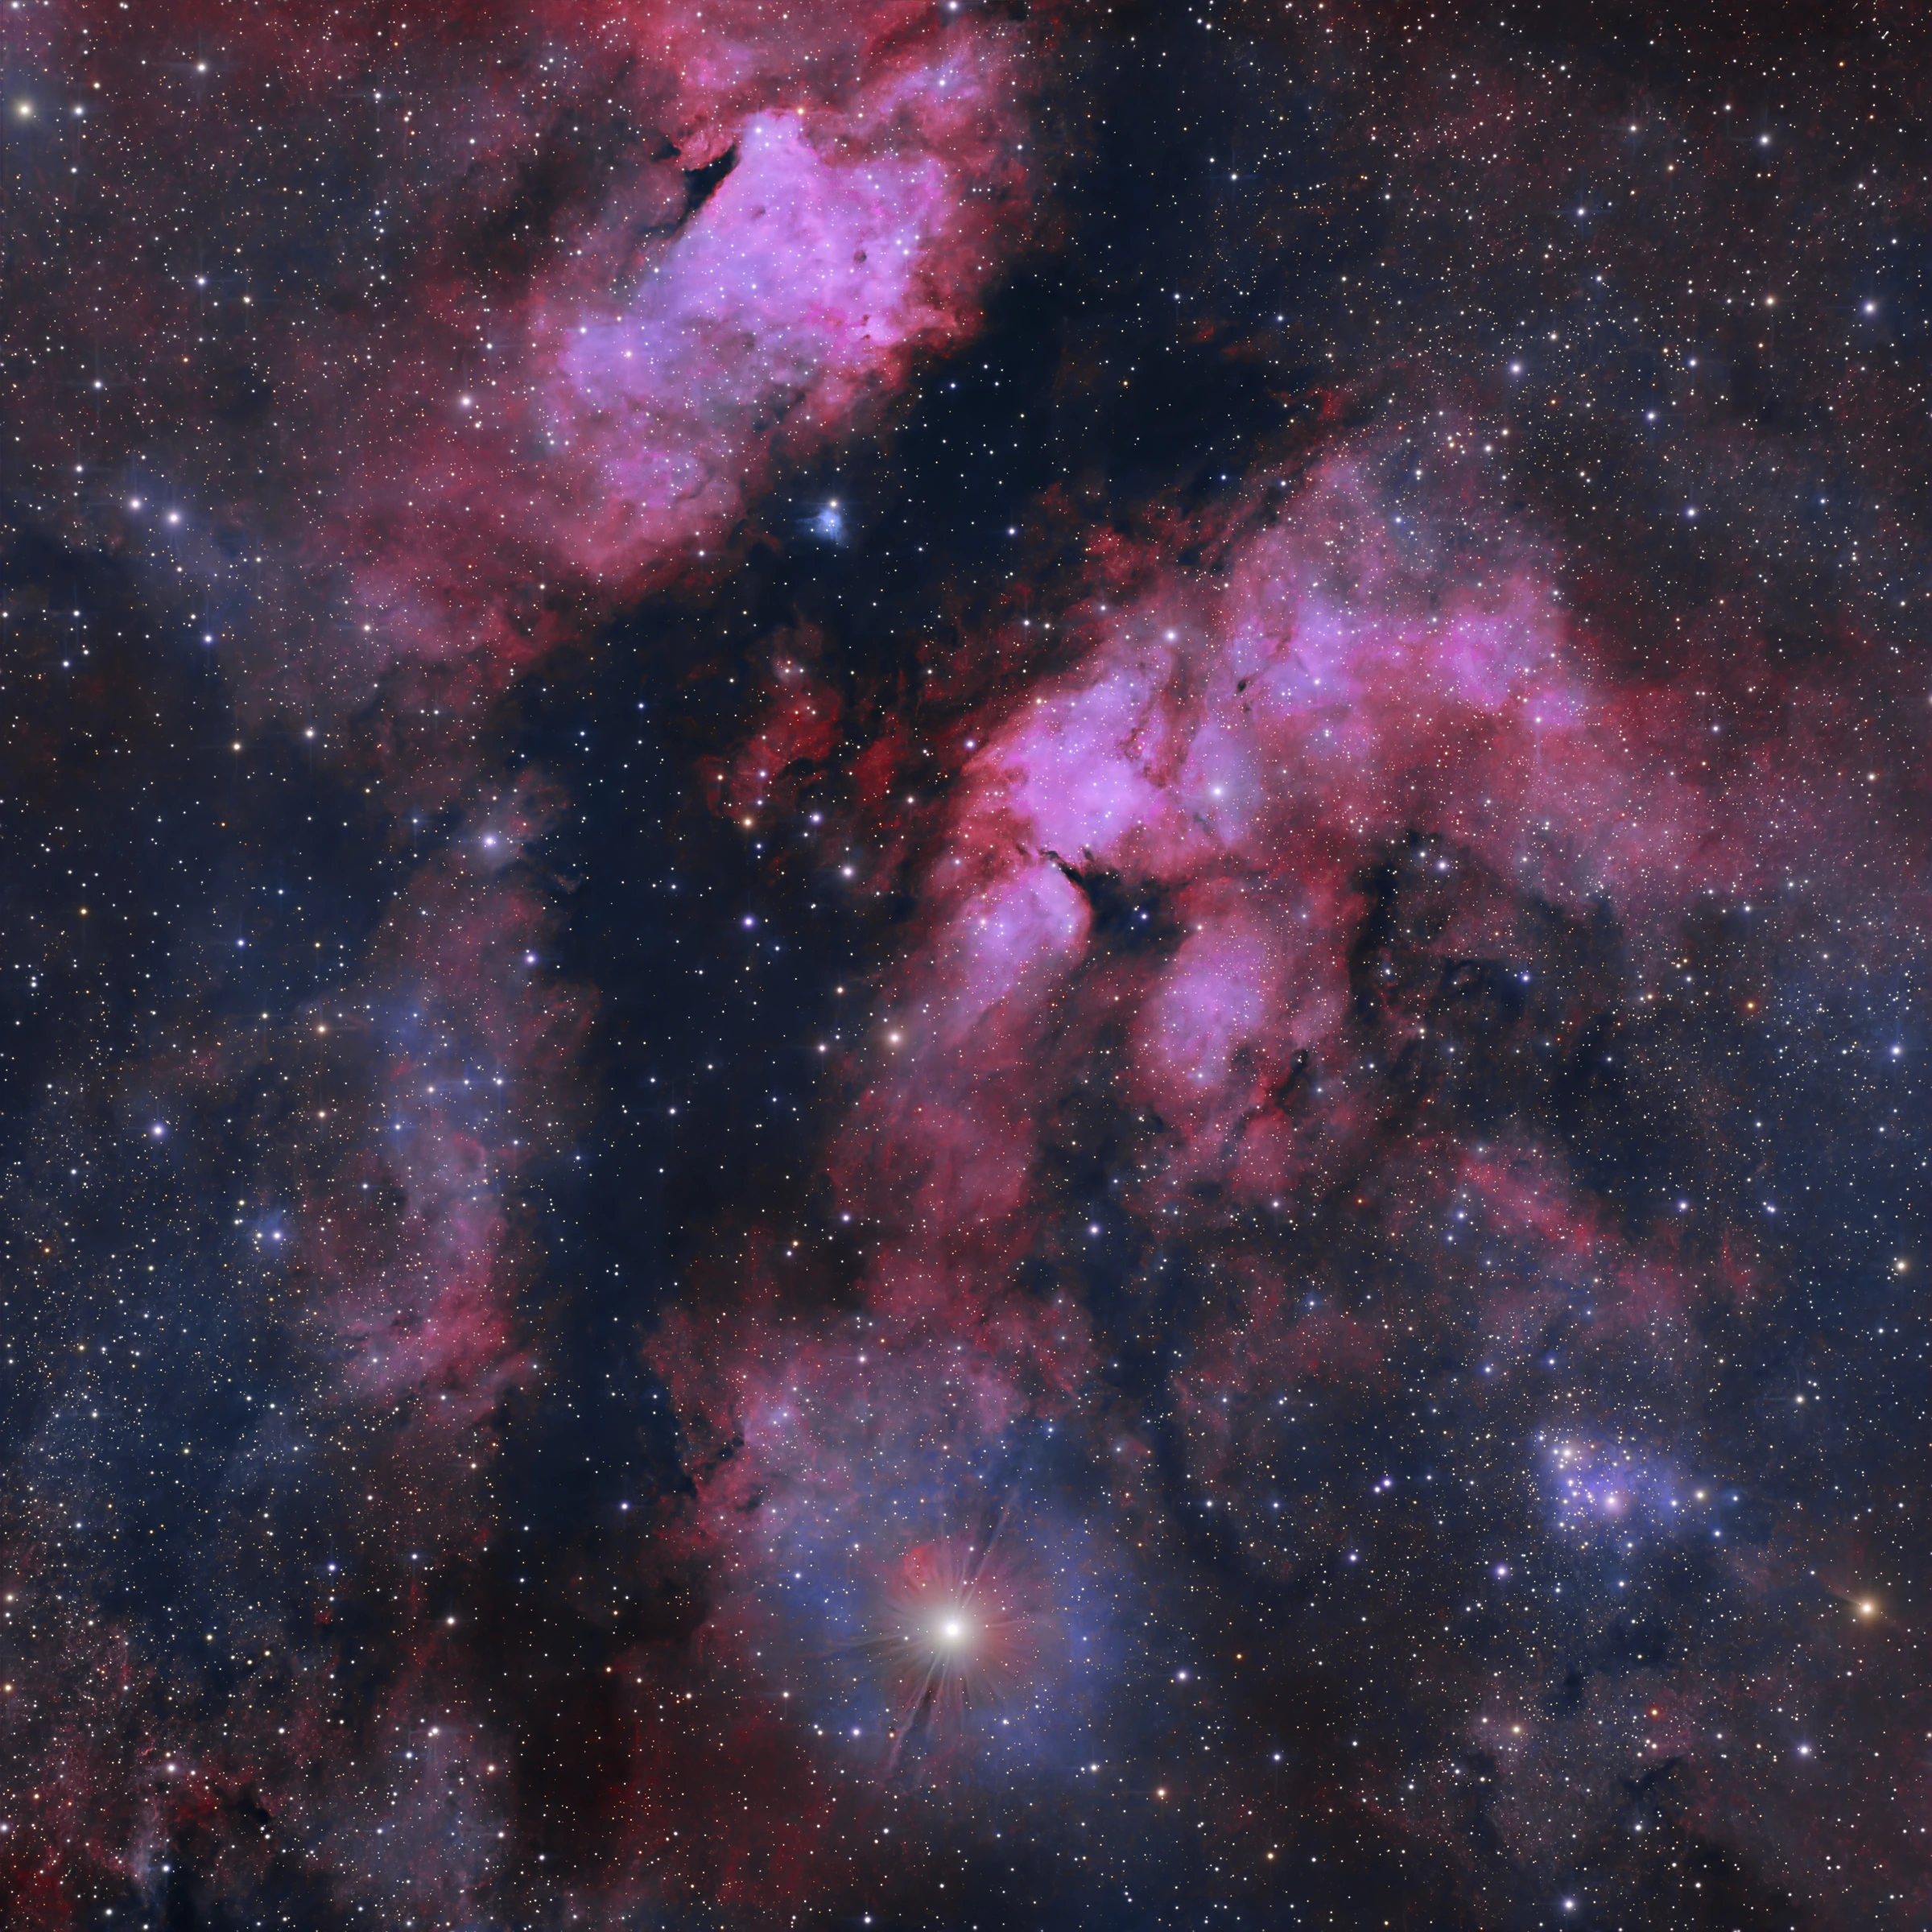
Above you see my latest astro image, nearly 7 hours of exposure on the Gamma Cygni nebula (sometimes also known as the Butterfly nebula). The interestingly shaped structure shown is one small section of a much larger region of nebulosity called the Sadr region, named for the star Sadr which is the brightest star in the image and 150 times the size of our Sun.
Sadr itself is actually a few thousand lightyears closer to us than the nebula, giving you an idea of just how huge this cloud of space dust and gas is. The red-pink areas of the nebula are the glow of hot hydrogen gas, and the dark wispy structures that cut through the hydrogen are large particles of dust which are blocking the light behind them.
High resolution version is available here: https://telescopius.com/pictures/view/195605/deep_sky/bright-nebula/the-gamma-cygni-nebula-ic1318/by-exposingspace?revision_id=247288
The Acquisition Story
Summer at 55 degrees North is far from the ideal time of year to do astrophotography. Not only are the days long, but from early June until early August there is no astronomical twilight, let alone true astronomical darkness, as the Sun does not go more than 16 degrees below the horizon.
Whether imaging is even worthwhile on such bright nights is definitely a point of contention, but provided your target is brighter than the background sky, with enough exposure time, it should be possible to overwhelm the added sky noise from the Sun's glow.
I had access to a Bortle 7 observing site, with substantial suburban light pollution. Despite this and the lack of true darkness, I decided to have a go at imaging anyway to see what was possible in these poor conditions.
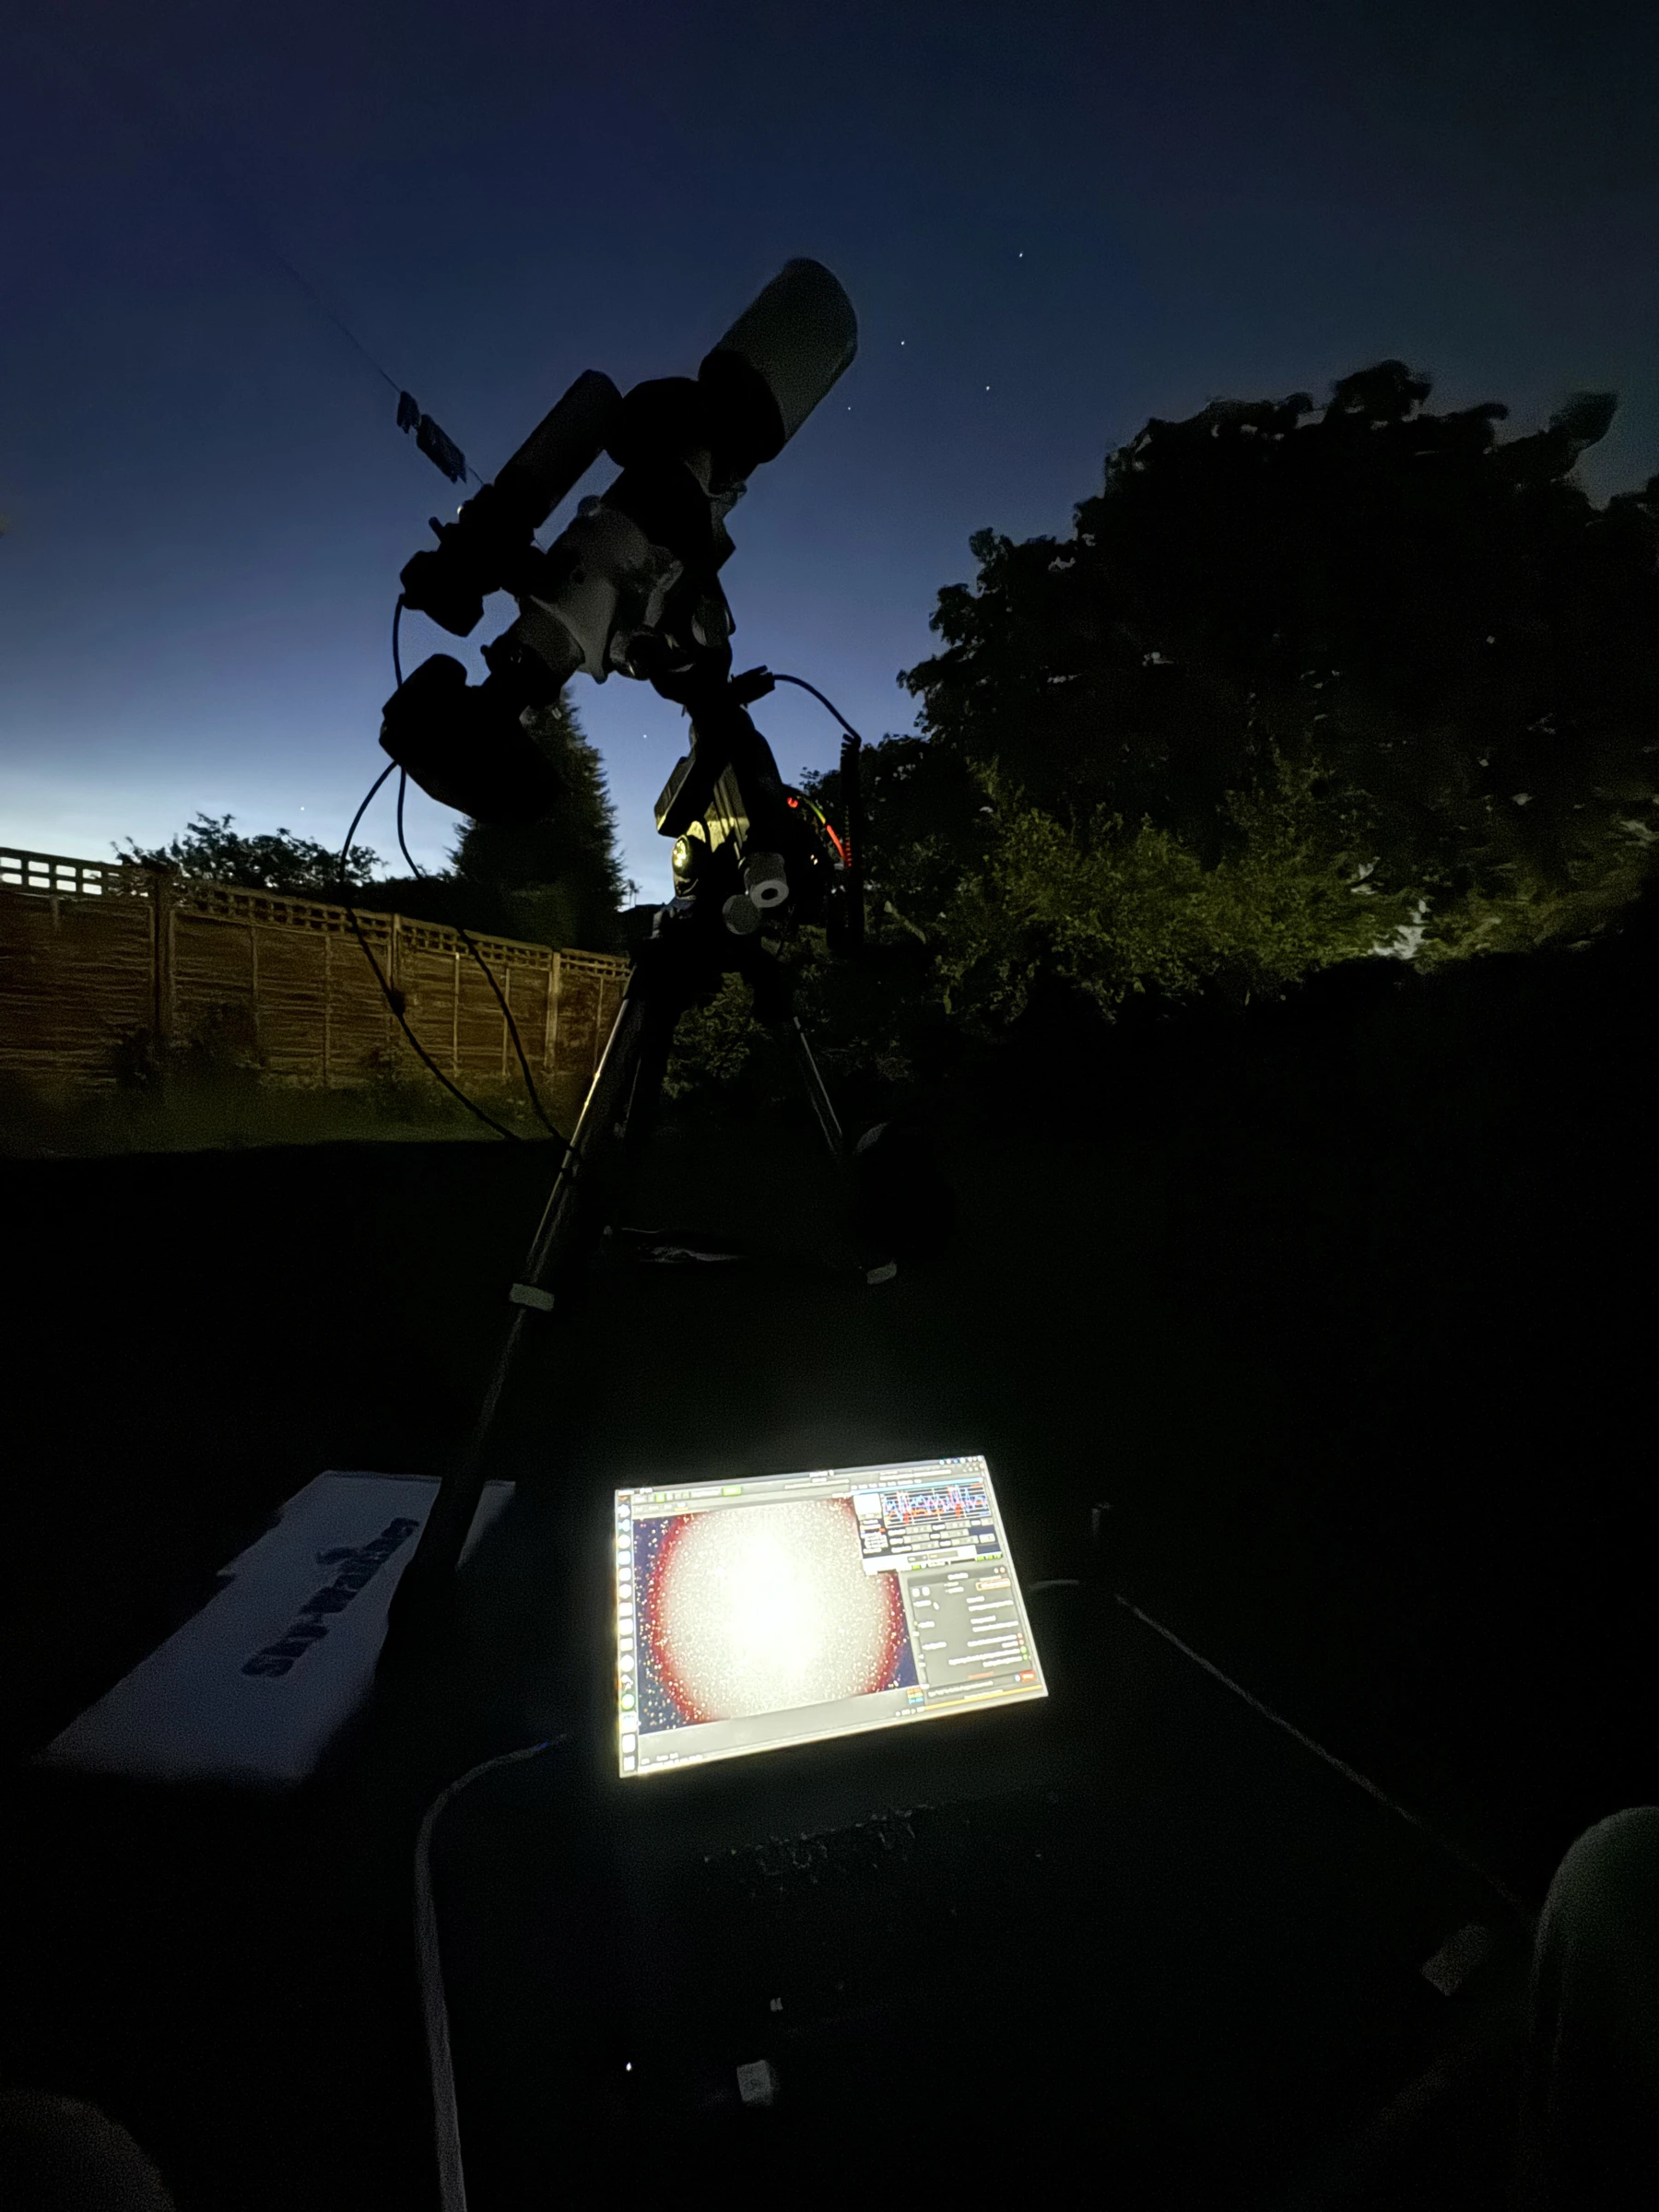
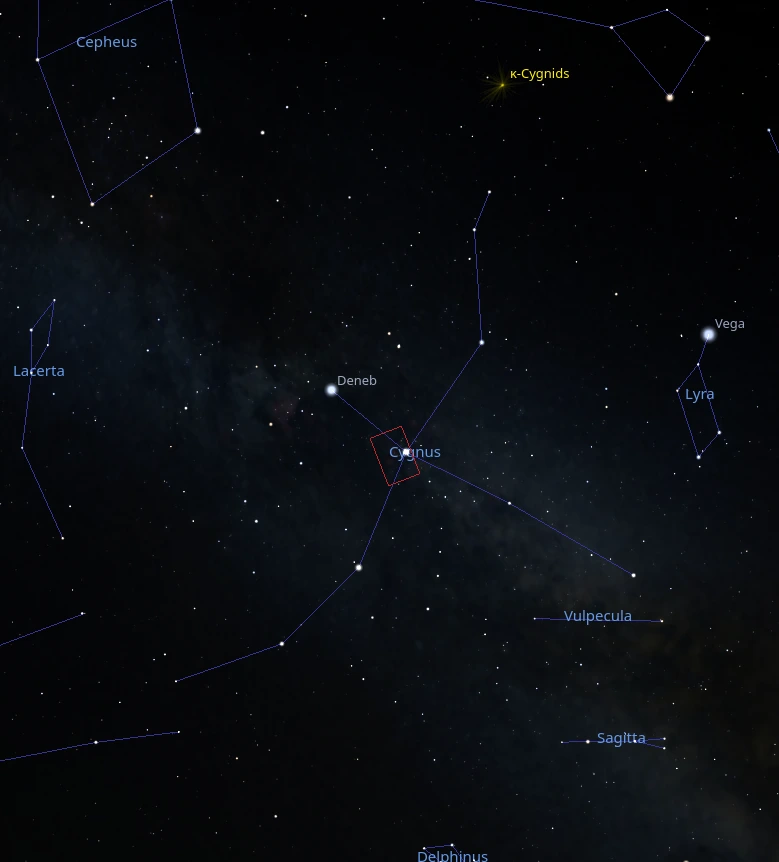
To give myself the best chance of getting something worthwhile, I needed to choose a bright target near the zenith, as far as possible from the Sun's glow on the horizon and the city's light pollution.
After some research on possible targets, I settled on the Gamma Cygni Nebula. This region of nebulosity around the star Sadr (although Sadr itself is actually much closer to us than the nebula) hosts an interesting structure sometimes referred to as the Butterfly Nebula. As soon as I saw this, I decided I had to give it a go. It was a bright target, close to the zenith, and the structure was so interesting I knew I could stay committed and sink many hours of exposure into capturing it and drawing out as much detail as I could.
I only had 2 hours between midnight and 2am when the sky was even dark enough for the whole constellation of Cygnus to be visible, meaning this would be a multi-night project. Being something of a test of what was possible in these less than ideal skies, I committed to collecting data until I was satisfied that I had revealed the faint structures in the darker parts of the nebula.
I chose to shoot 60s exposures at ISO 800 with an unmodified Canon EOS 2000D DSLR and no filter. A dual narrowband filter, which only allows the very specific colours of light nebulae glow in to reach your camera sensor, would have helped significantly with this project, but I did not have one available.
Normally at a dark site it would be preferable to shoot 3 - 5 minute exposures at ISO 1600. But, given how bright the sky was, ISO 800 was still enough to overwhelm the read noise of the sensor and meant I could retain more dynamic range (essentially contrast in the image), which was important as the bright background would lead to the image being washed out. In retrospect, shooting 30s exposures or even going down to ISO 400 might have been preferable, but I'll say more on that later...
For this project I also began dithering, where the pointing of the scope is shifted a few pixels between exposures. This helps to reduce the impact of fixed pattern noise (i.e. noise that looks the same between every exposure) as it means when the images are stacked, the noise pattern is slightly offset and smoothed out.
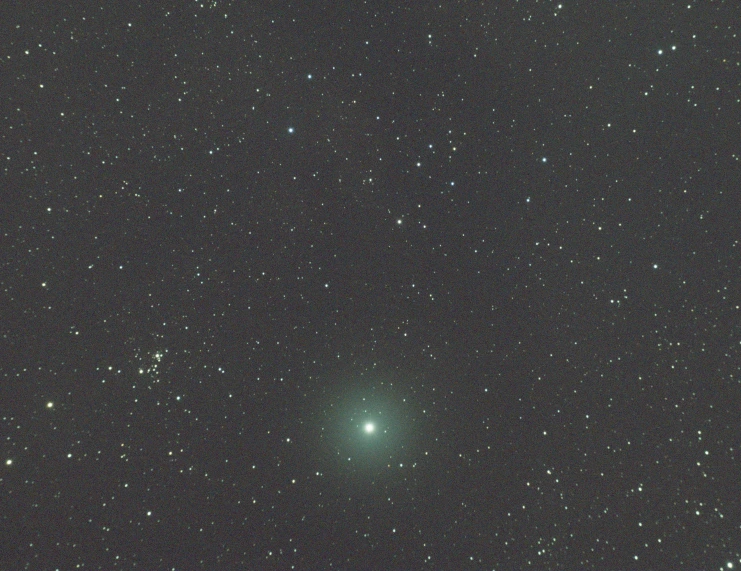
My first night of data collection went smoothly, despite some tracking hiccups. In the end I was out for close to 2 hours and ended up with 81 minutes of total exposure (since dithering between frames takes some time and I had to adjust my guide settings a few times). From here on I decided to dither every 2 frames instead to try to get more exposure per session, since for such short sub exposures dithering every frame is not essential. The next morning it was time to see whether this endeavour was going to be worthwhile...
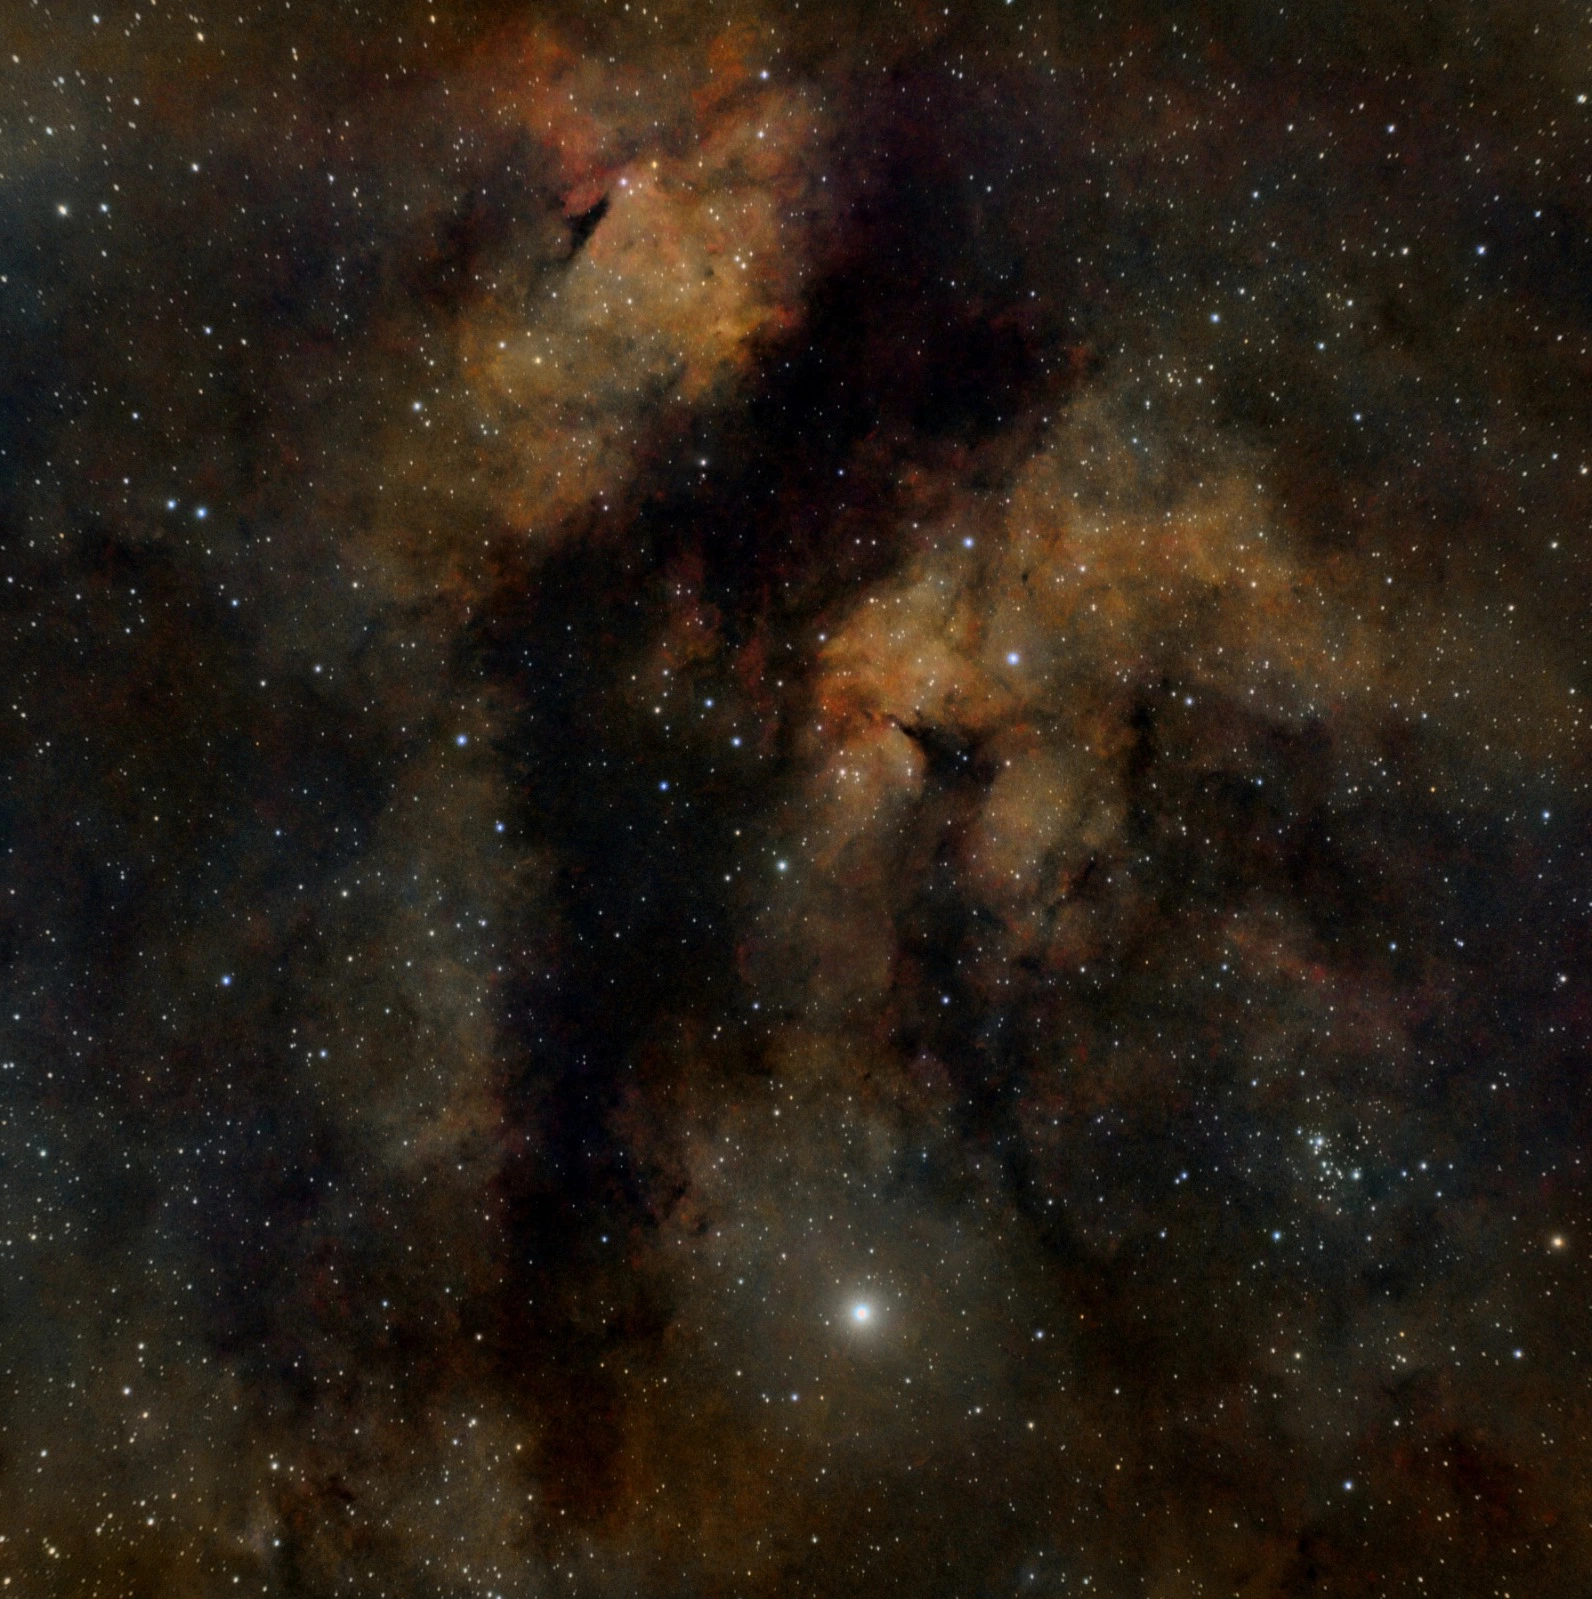
As expected, the image is very noisy. I stacked and processed this in Siril using GraXpert for background extraction and de-noising. It was far from what I was aiming for eventually, but, all things considered, I was impressed with how much detail I'd captured after just 81 minutes, when the glow of the Sun was still clearly visible on the horizon. With several hours of exposure time, I was excited to see what this could become.
Session 2 unfortunately was plagued by small, fast-moving clouds and I ended up shooting between breaks in the cloud cover. In the end I only managed to get 60 minutes of exposure, 40 of which were usable (i.e. didn't have clouds in them).
Sessions 3 and 4 were now into early July and were subject to better sky conditions (although still less than ideal). I managed to collect 95 minutes of exposure in session 3 and 99 minutes in session 4. Unfortunately, while I was inside watching the UK election votes be counted, some high wispy cloud blew over, and it wasn't until the next morning that I discovered I would have to throw out half of my session 4 exposures because of huge halos around Sadr due to the reflection of light by high clouds.
For my next processing attempt, I combined the data from sessions 1 and 3 for a total of 180 minutes (3 hours) of exposure time. I first stacked the frames in Siril, having learnt a few new tricks since my Bode's galaxy project.
Siril's dark frame optimisation was a game changer here and enabled me to reuse a wider range of darks from previous sessions. For a long multi-session project like this where I knew temperatures would be fairly consistent each night, it meant I could gradually shoot my dark frames, taking 5-10 each session. Then by the end I had roughly 50 darks covering about a 5-degree range of temperatures, and dark frame optimisation could adjust the resulting master dark to match my lights for better calibration.
To process the stacked exposure, I decided to finally try out PixInsight (paid but very well-regarded processing software for astrophotography) and BlurXterminator, an AI-powered deconvolution (a process where you try and estimate the atmospheric and optical distortions that blurred your image and then remove them) and sharpening tool.
PixInsight provided a very nice interface (although a bit intimidating at first) and I really liked the range of plug-ins available. The ability to manage all my processing steps and have multiple copies of the image at different processing stages open in my workspace made the flow much smoother.
The main reason I have decided to get a PixInsight licence as my next upgrade though is because of BlurXterminator (which is only available in PixInsight). I can't overstate how impressive this software is. It not only deconvolves and sharpens your image, it is also capable of correcting for egg-shaped stars occurring due to tracking issues and comatic aberration.
Comparing the price of PixInsight and BlurXterminator to a field flattener and a better star tracking mount, it suddenly seems like very little to pay for the difference it can make to your images. And it has the added bonus of fixing blur due to poor seeing (turbulent atmosphere) as well!
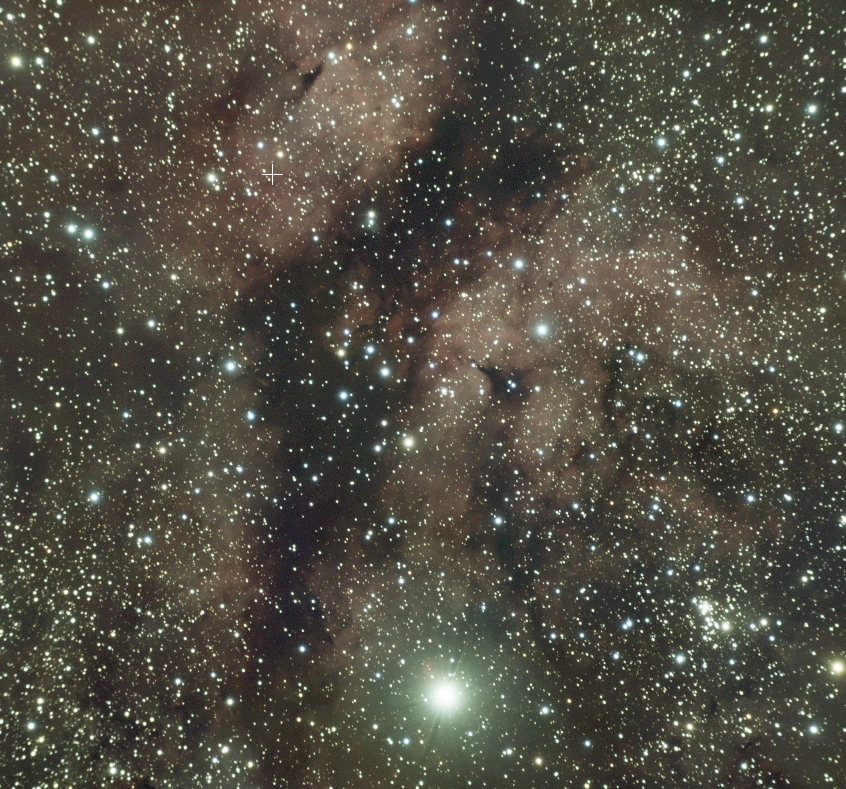
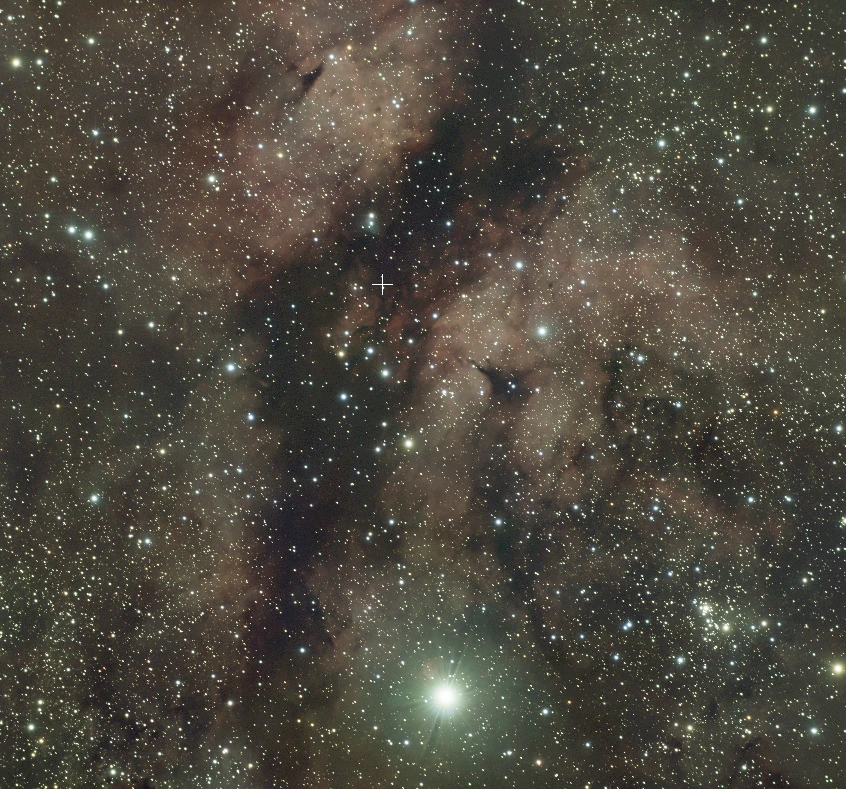
For this intermediate processing attempt, I decided to have some fun with colour. Astronomers often use false colour palettes to help distinguish different areas of nebulosity more clearly. One such palette is HOO, where the light emitted by Hydrogen is mapped to the red channel of an image and the light emitted by Oxygen is mapped to the green and blue channels (HOO -> RGB).
To do this properly you need narrowband filters which only pass the specific colours of light emitted by Hydrogen and Oxygen. But, even in broadband colour images, we can roughly assume that more Hydrogen light is picked up by the red pixels, and more Oxygen is picked up by the green and blue pixels.
We can therefore make a HOO(ish) image by splitting the colour channels of my broadband image and creating an "Oxygen" (although in reality this won't really be just Oxygen) channel by combining the green and blue channels. To do this I used pixel math to combine the pixels of each channel with the function:
O = (2*B + G) / 3
I increased the contribution of the blue channel, as the green was more likely to have picked up some Hydrogen emission too, and then divided by 3 (the number of frames being combined, 2 blue 1 green) to ensure the final pixel values were not so bright as to overwhelm the Hydrogen channel. To create further distinction, since Hydrogen is such a strong signal (being the most abundant element), I slightly down-weighted the red channel using pixel math to get my Hydrogen channel.
H = 0.85 * R
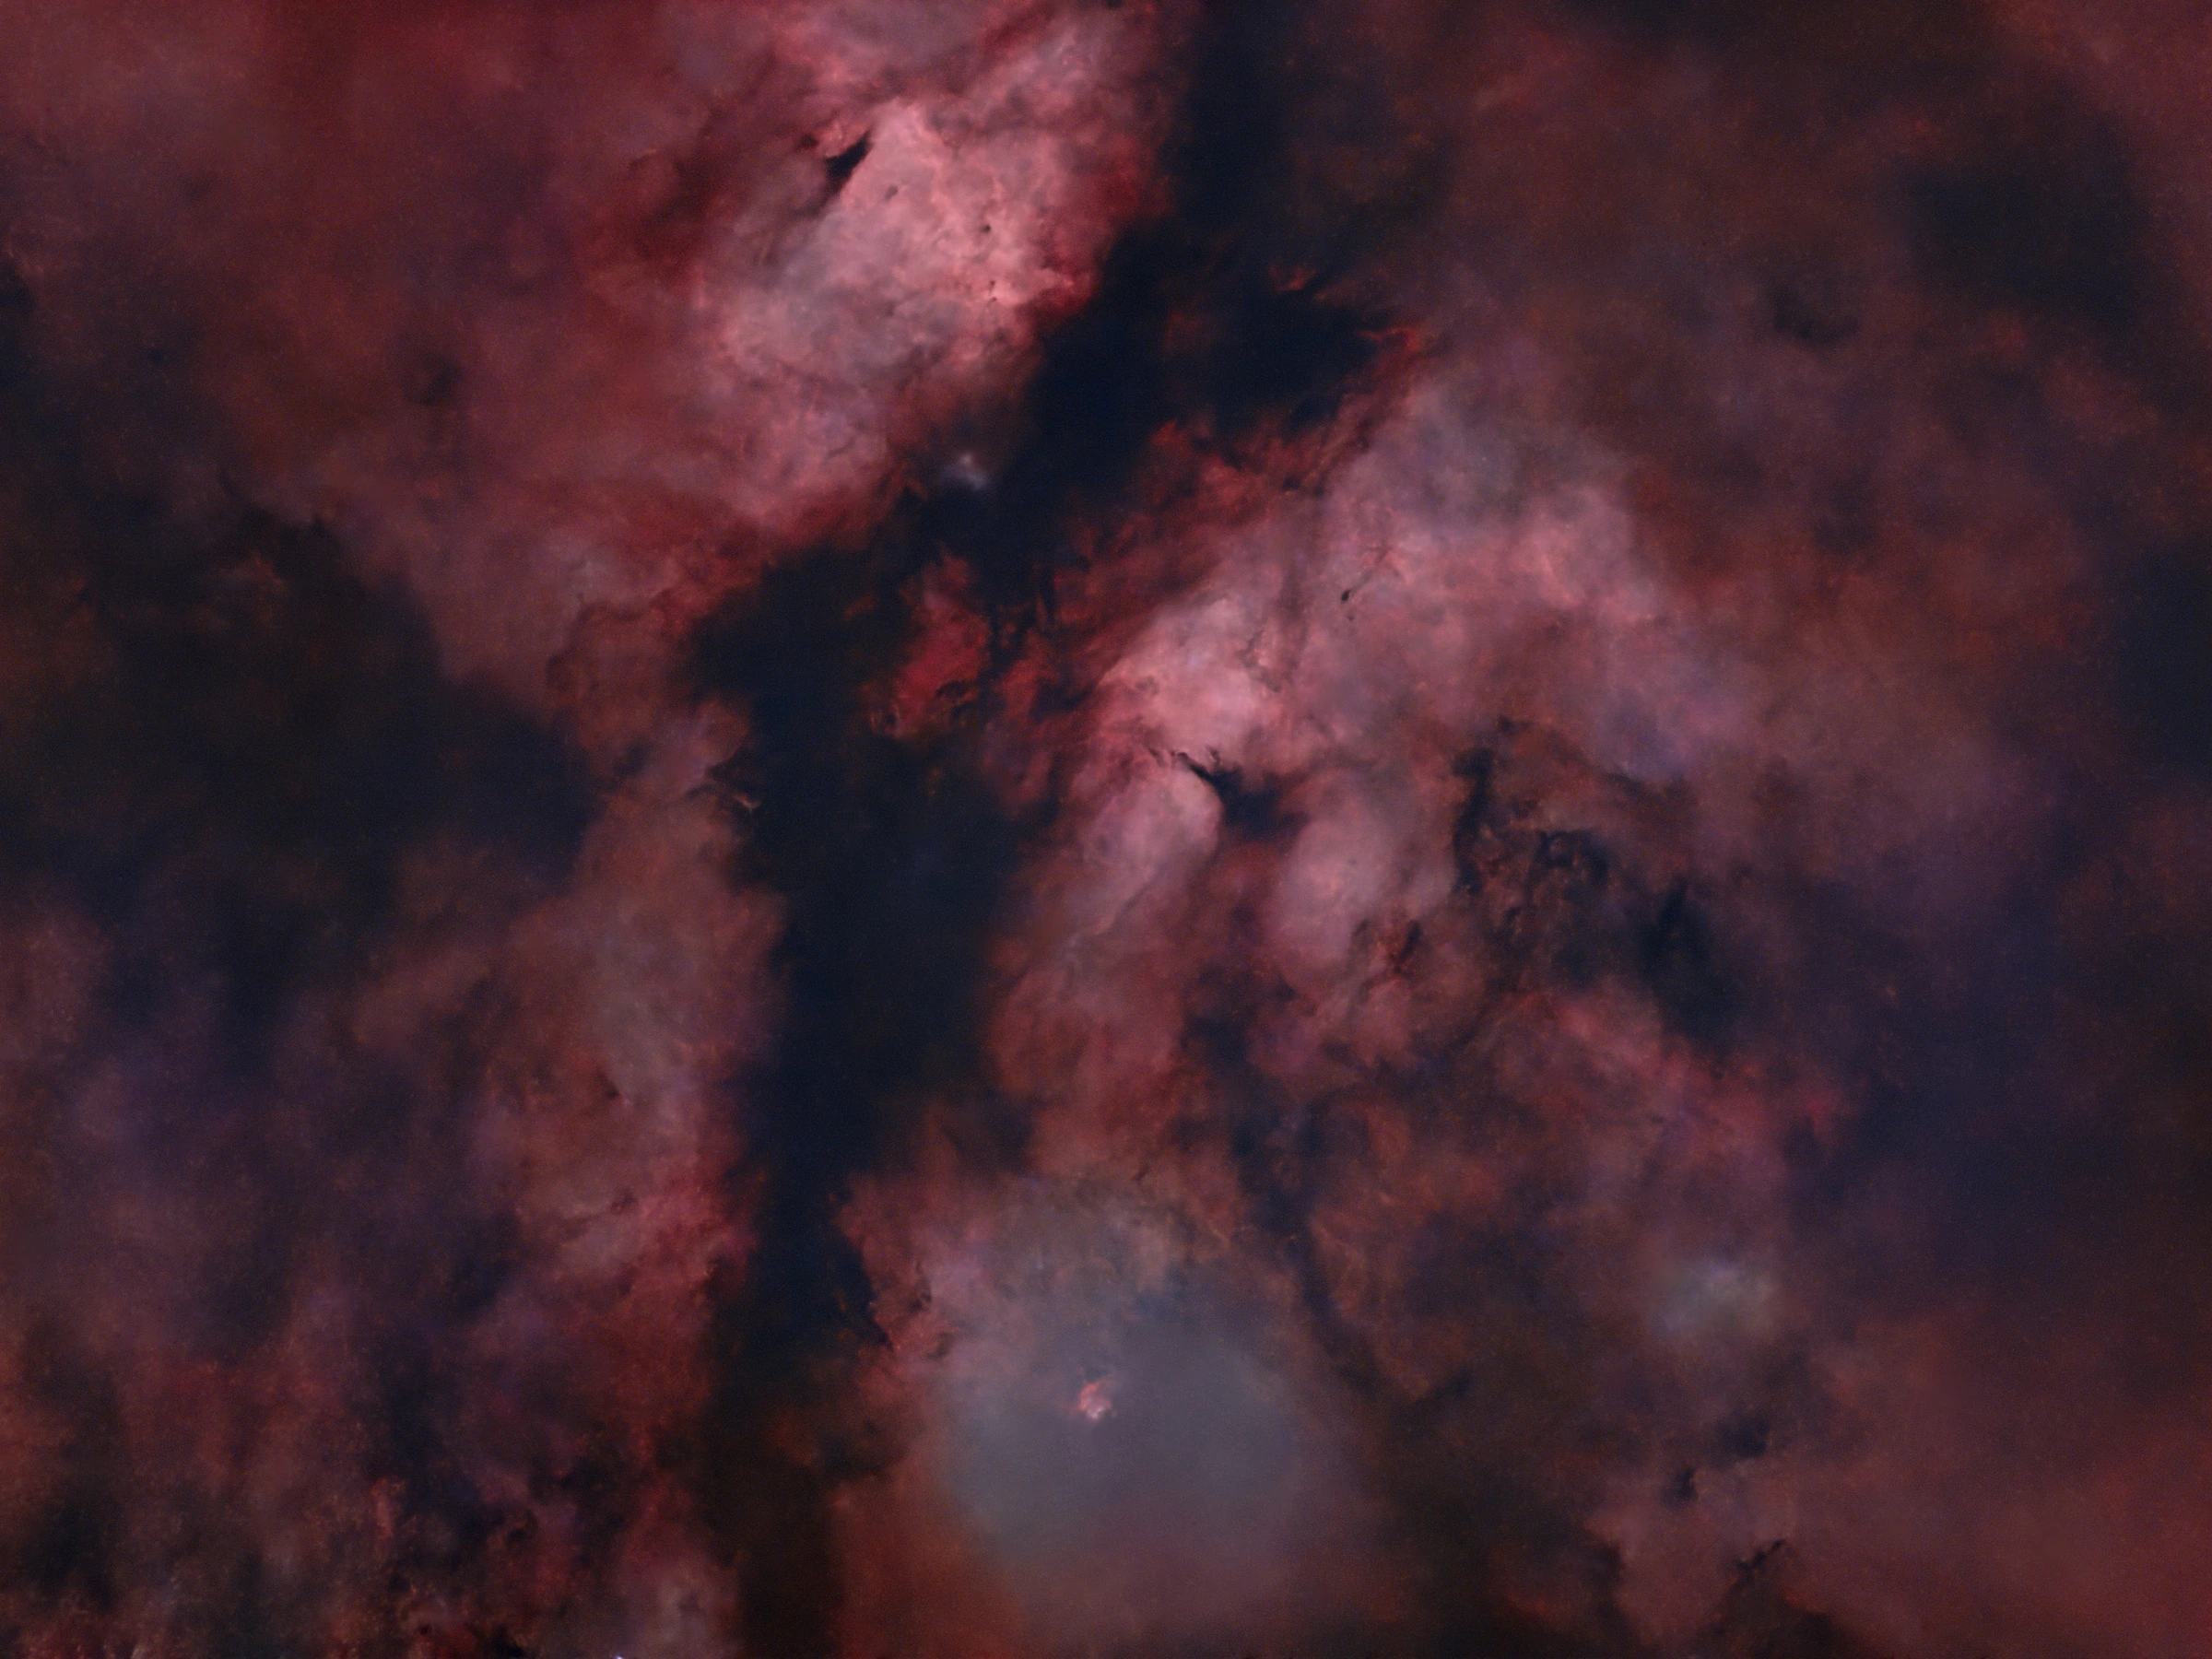
I now had my H and O channels which I could recombine into a HOO image. Since this can lead to strange star colours, I did the above process on the starless image produced by first running StarNet, and then later recombined the true colour stars with the processed HOO nebula. The result is shown below.
Wow! I was really impressed with how well this was coming along (and the power of BlurXterminator). Compared to my first attempt with session 1's data, there is so much more detail, and I could brighten the nebula far more without the noise becoming very noticeable.
While some people dislike the idea of a false colour image, it's important to remember there's no such thing as true colour really! What we consider true colour is only relative to the wavelengths of light we are sensitive to, and the number of red, green, and blue cells in our eyes. A different animal (terrestrial or otherwise) could see this nebula completely differently, as might someone who is colour-blind! In my opinion, as long as what I'm seeing uses the underlying data without adding anything new, then it is true to reality.
At this stage I was happy with how the image was looking and Cygnus was beginning to move into a region of sky difficult to target from the observing site. I decided I would collect one more night's worth of data before calling the image complete.
So on the 1st of August, with true darkness beginning to return, I pointed my scope at the butterfly one last time (at least for a while). Fortunately, it ended up being my best session yet! The mount guided well, displaying some of the lowest tracking errors I've seen with it so far, and in the end I captured just over 2 hours of data, only losing 3 minutes' worth due to high clouds.
For my final processing attempt I had 6 hours and 58 minutes of usable data, and 100 minutes had been thrown away due to high clouds or substantial tracking errors. After hours trying to get something I was happy to call finished, this is what I ended up with.
Note this is not a HOO composition, but is redder than the first image I showed because I have used spectrophotometric colour calibration, a feature available in PixInsight but not Siril. Spectrophotometric colour calibration additionally accounts for the colour response of the filters in a camera sensor, and as such produces a redder image, since an unmodified DSLR is less sensitive to the red-pink light emitted by Hydrogen.
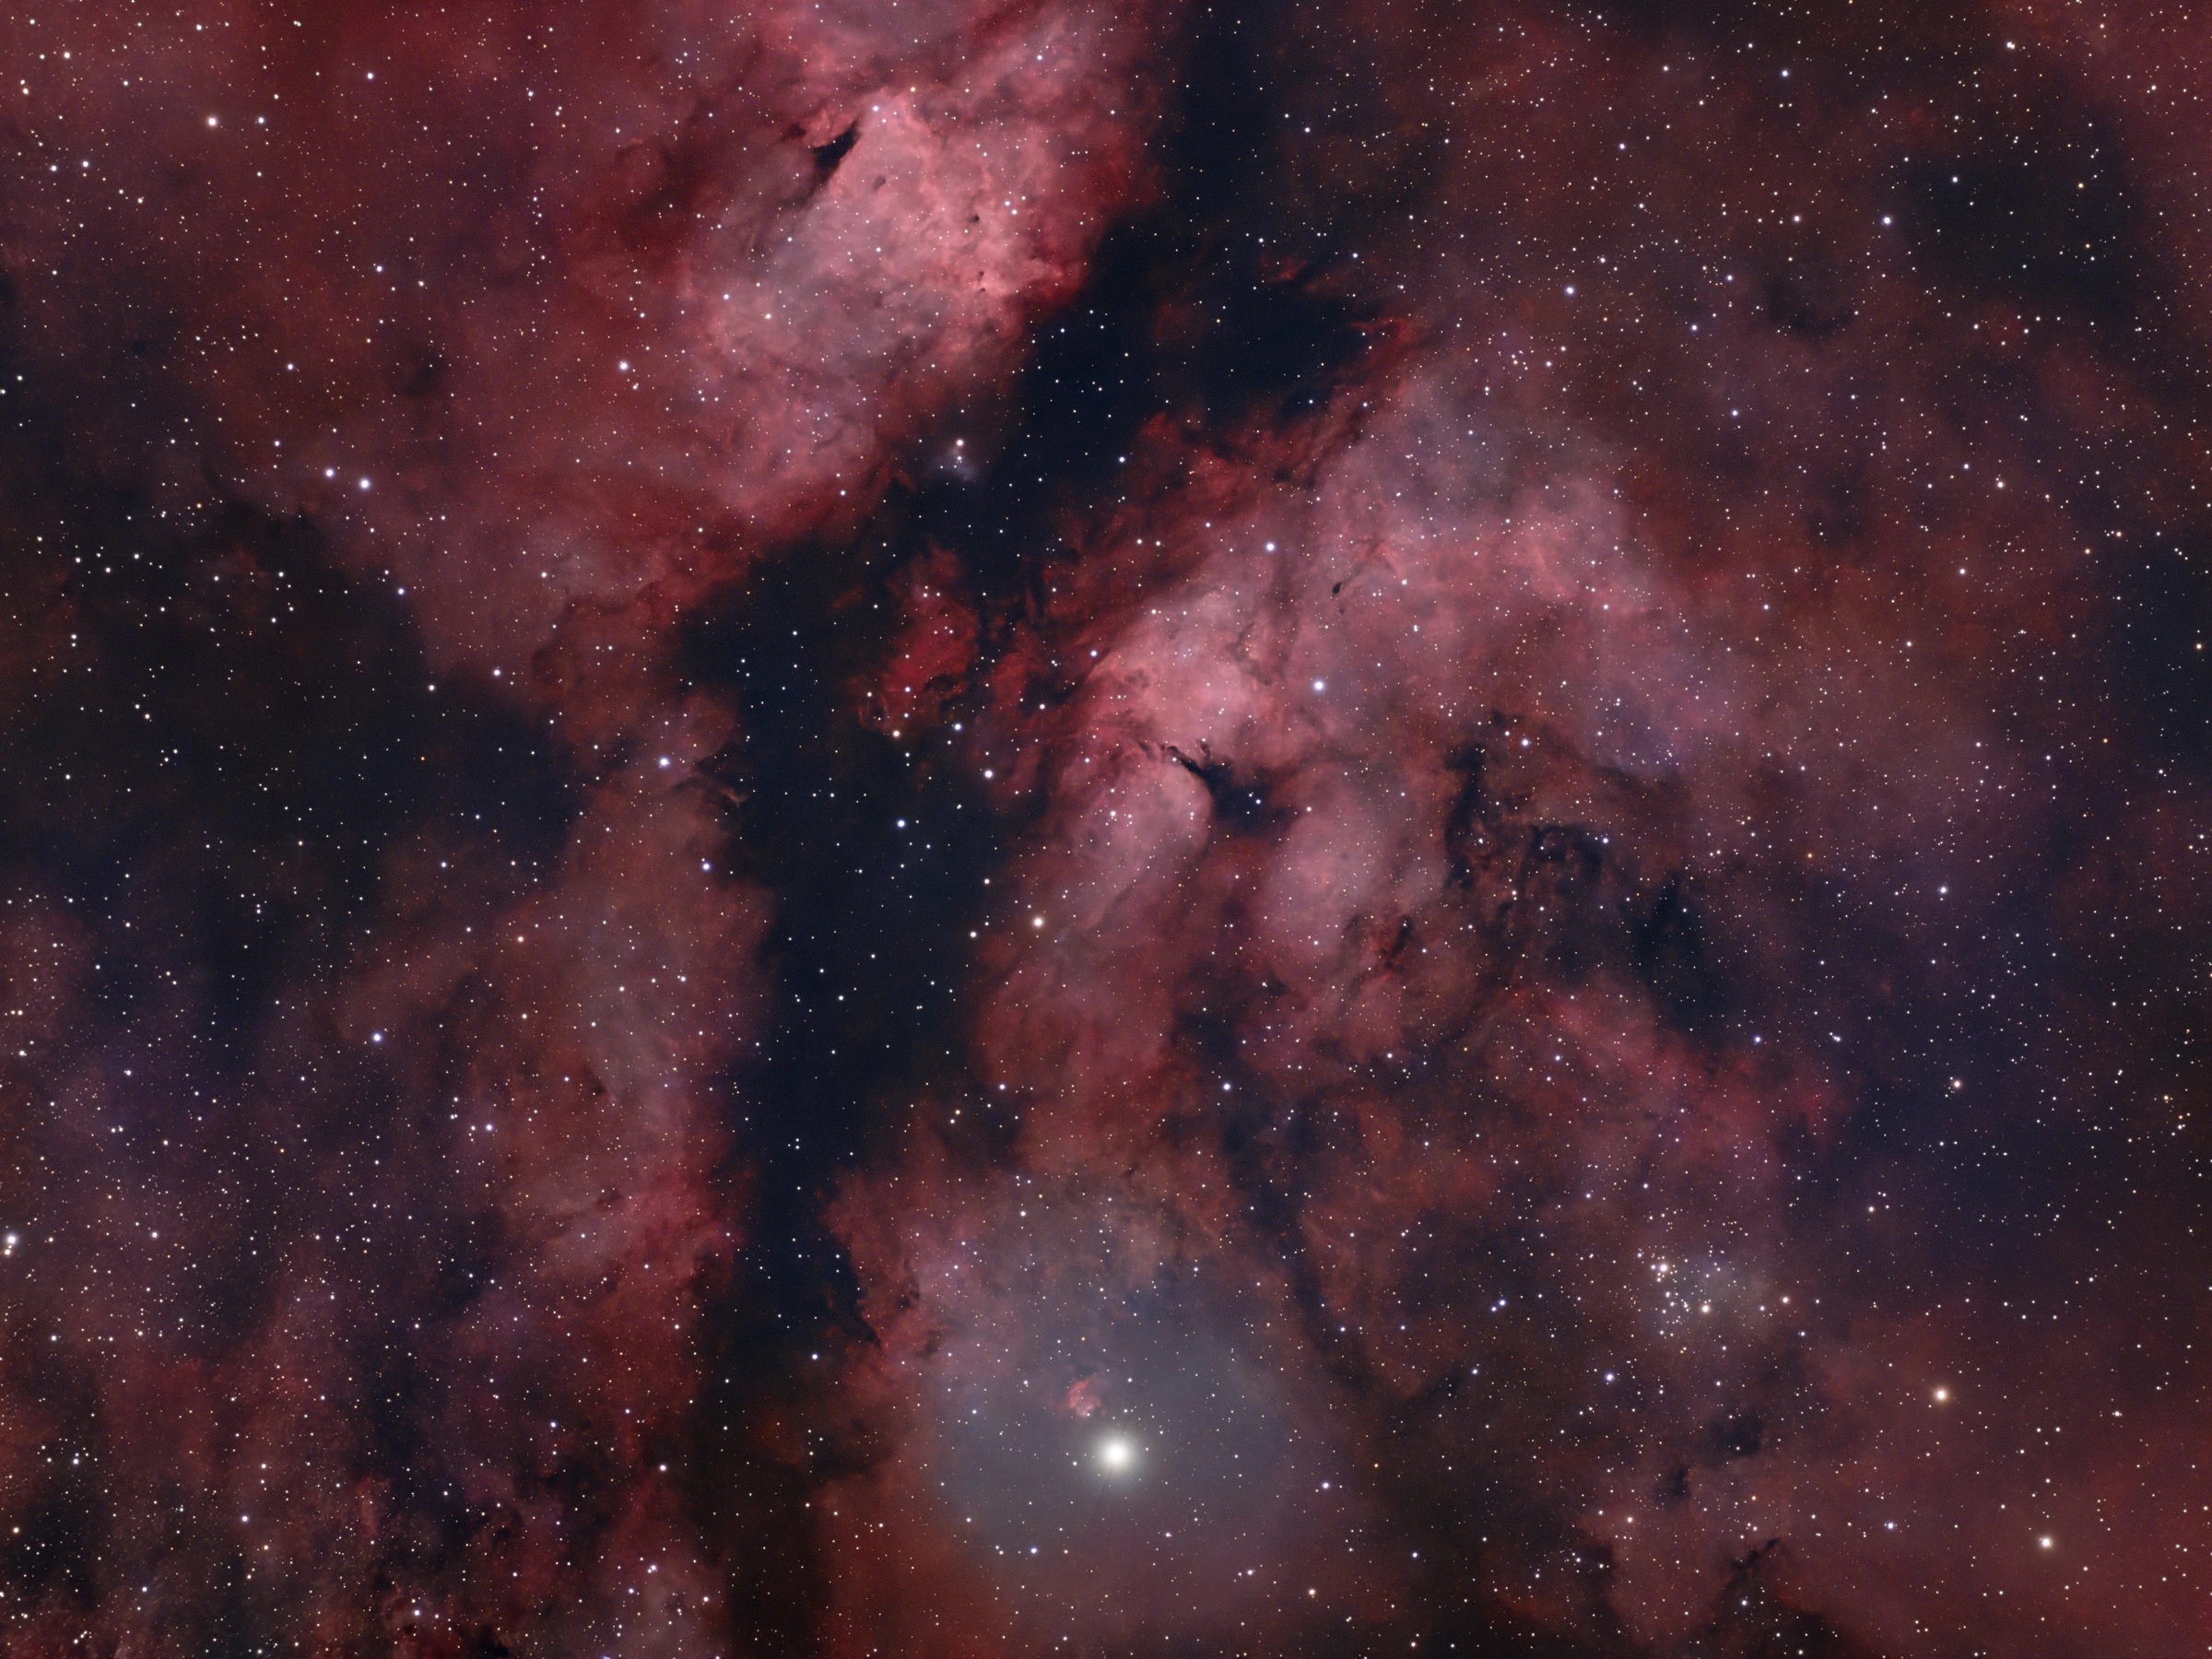
Given everything that was going against me (lack of darkness, city light pollution, unmodified DSLR), I'm super pleased with what I managed to get by committing more time to the image. My only major annoyance with this image is that the area around Sadr ended up saturated, leading to this blue disc. This could be some high cloud in frames which I didn't notice in my initial inspection, or possibly using a lower ISO and shorter exposures might have helped avoid this. The capture and processing details are as follows.
- 418 x 60s exposures at ISO 800, unfiltered with an unmodified Canon EOS 2000D
- Shot over 5 sessions. 20 flats, 40 biases and 10 darks per session (darks ended up being reusable between sessions due to similar temperatures)
- Pre-process in Siril with dark frame optimisation, register and stack with noise weighting for each frame.
- Background extraction with GraXpert AI
- Spectrophotometric colour calibration in PixInsight using F8I star white reference (as this is Sadr's classification) and Canon 600D Bayer filter profiles (2000D profiles are not currently available).
- BlurXterminator followed by GraXpert AI denoise
- StarXterminator to remove stars and create star mask
- Generalised hyperbolic stretch on starless and star images
- Masked saturation adjustments on Starless image
- Rescreen stars and do a final light touch of BlurXterminator and GraXpert denoise.
And with that I'll draw this rather long post covering multiple nights of imaging to a close! I hope you enjoyed reading and perhaps learnt something new!