Last week I had the pleasure of attending the Kielder Spring Starcamp, an astronomy camp lasting several days in the darkest dark sky site in England. I had previously attended the Autumn Starcamp in October, but unfortunately the sky was completely overcast throughout the event.
This time, however, I was much more fortunate and ended up with two nights of clear skies. Several weeks before star camp, I had ordered the new SeeStar S30 smart telescope, the smaller sibling of the very popular SeeStar S50.
I had been dreaming for a while about a highly portable astrophotography set-up, something I could fit in an airplane carry-on bag and take on holiday to access new targets in places where the seeing and weather might be much better than in the UK. However, most set-ups like this can be expensive, involving fancy lightweight mounts, small lightweight refractor telescopes, and large portable batteries. The SeeStar S30 is all these things and more, for only £370.
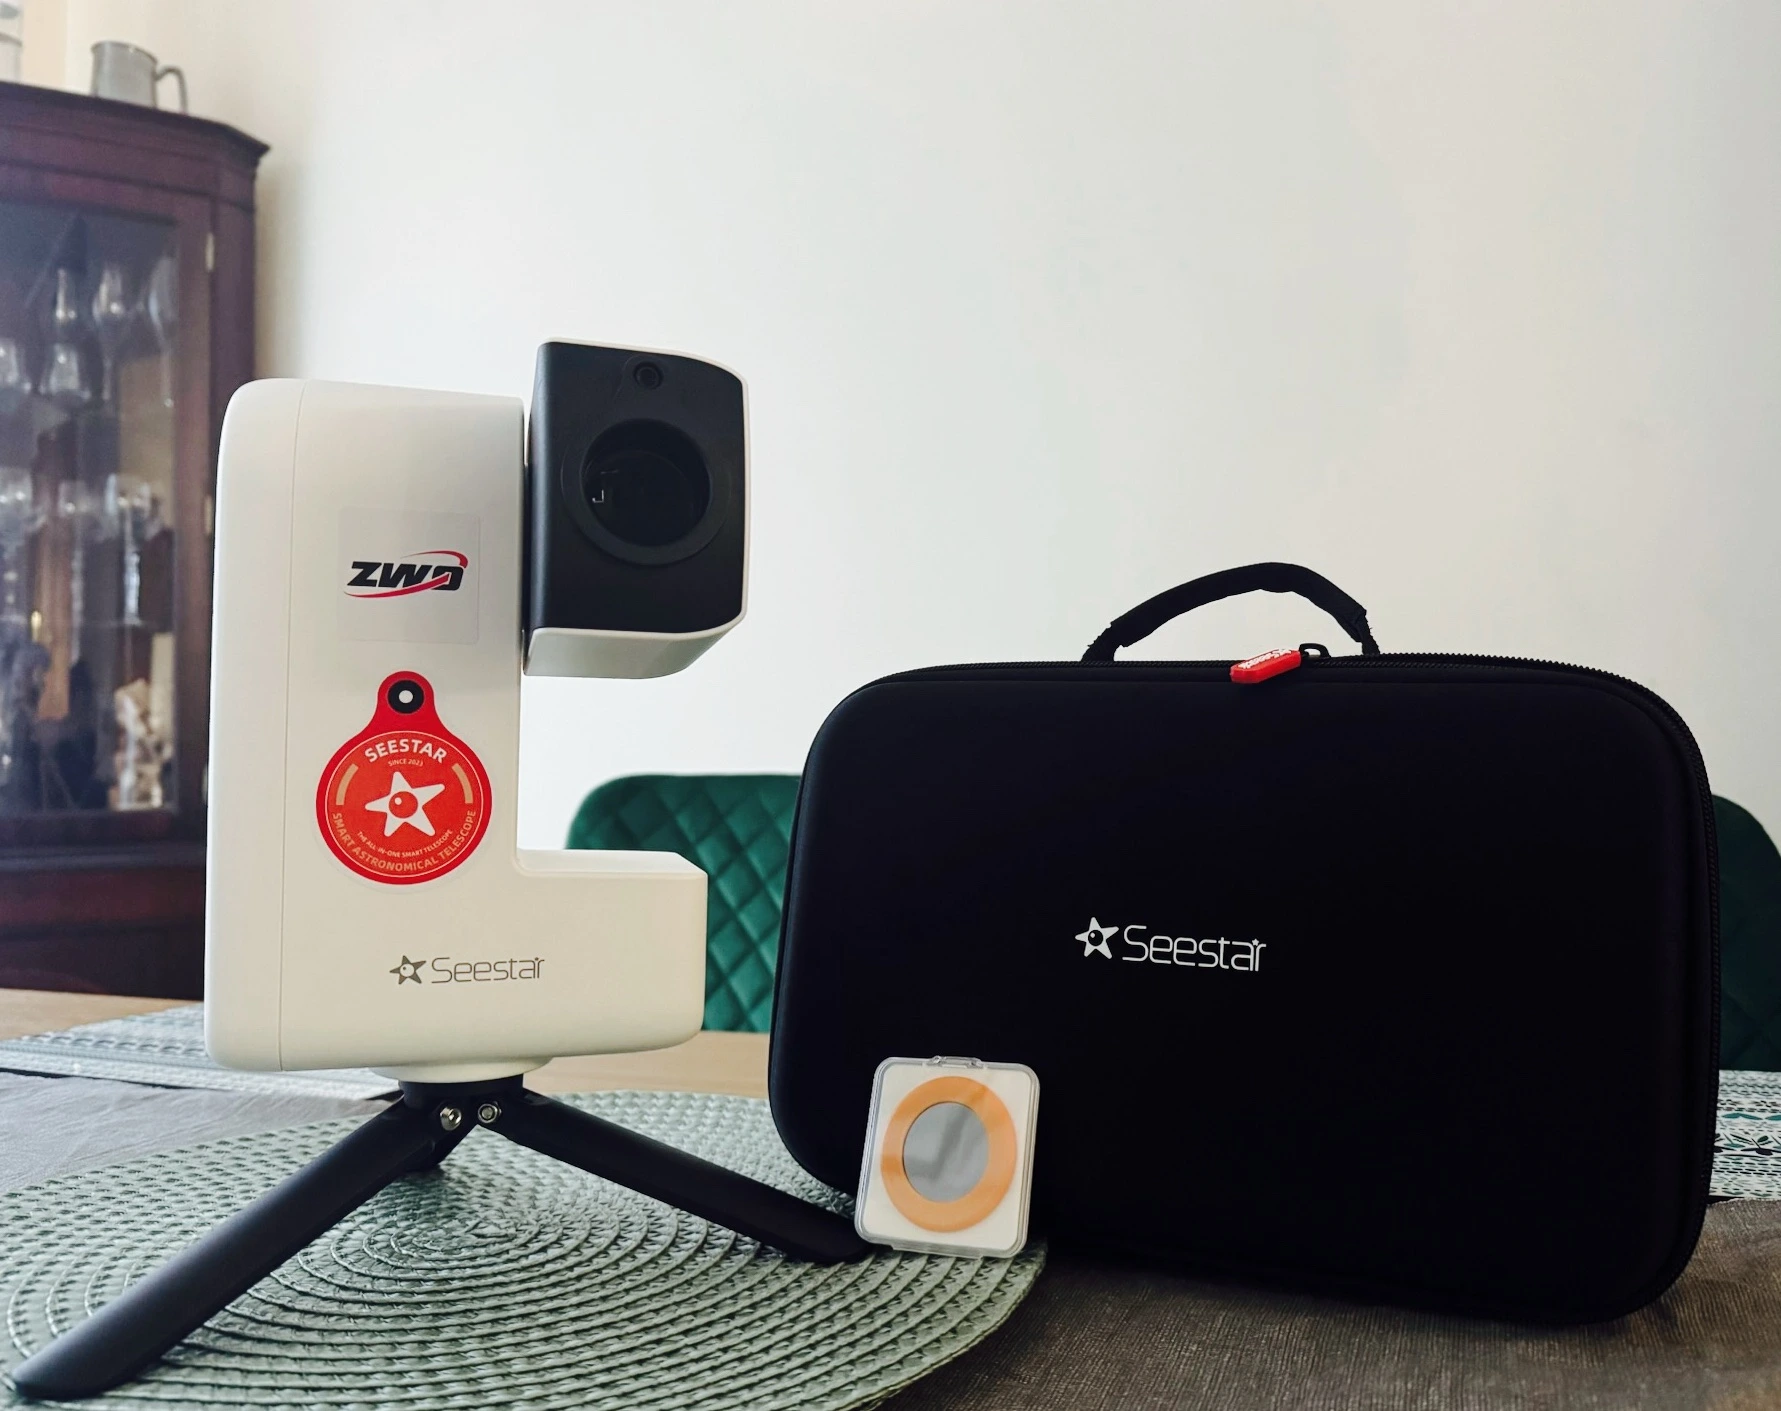
The SeeStar is designed to be an all-in-one astrophotography system that is simple to use and beginner friendly. At about the size of a shoe and weighing 1.6kg, the S30 model provides:
- A modern, low-noise CMOS camera sensor (Sony IMX662), without any of the filters found in DSLRs that block Hydrogen alpha light.
- A 30mm aperture, 150mm focal length triplet refractor telescope.
- Motorised base and arm for tracking the night sky.
- Built-in dew heater to prevent the lens fogging up.
- Built-in filter wheel with a dark filter (for capturing dark calibration frames), a UV/IR cut filter (used to improve sharpness), and a dual-narrowband H-alpha/O-III filter for imaging emission nebulae in light polluted skies.
- Computerised control system that automates alignment, tracking, shooting, dark calibration, and live stacking. Connects to an app to be controlled from your phone or tablet.
This is, to put it bluntly, an absolutely insane amount of gear to pack into the SeeStar at this price point, and it's small enough to easily fit in an airplane carry-on bag. I got an email saying my SeeStar S30 was being dispatched the day I was leaving for Starcamp. However, First Light Optics, who I purchased it through, were attending Starcamp themselves and were kind enough to bring it up with them at the last minute for me to collect. (They even refunded my delivery fee without me asking. 10/10 customer service!)
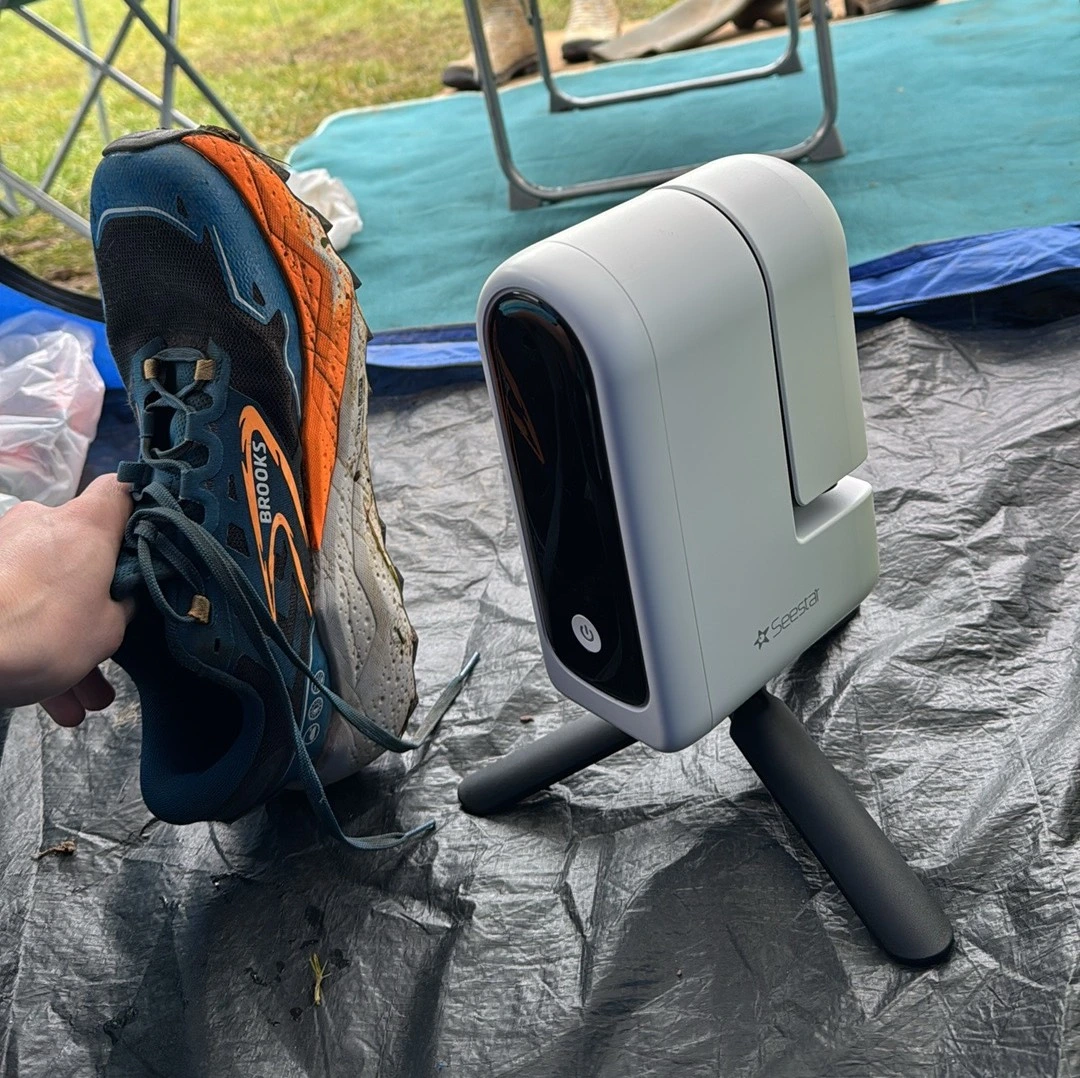
I got my SeeStar S30 out of the box for the first time under clear skies, an unbelievable stroke of luck. I had already downloaded the app weeks before to familiarise myself with it, so I was able to get connected quickly and, within minutes, was capturing my first images.
I'm going to start by sharing the images I captured and some details about them, then later I'll talk about the set-up of the SeeStar and details of the user experience for those who are interested in that side of things.
The Horsehead and Flame Nebulae
I had decided the first target for the SeeStar would be the Horsehead (IC434; middle) and Flame (NGC2024; left) Nebulae. These are two very bright nebulae in Orion's belt and would make an ideal first target under the Bortle 3 skies of Kielder Forest. I shot without the built-in dual-narrowband filter, given the very dark skies, allowing me to capture the nebulae in true colour.
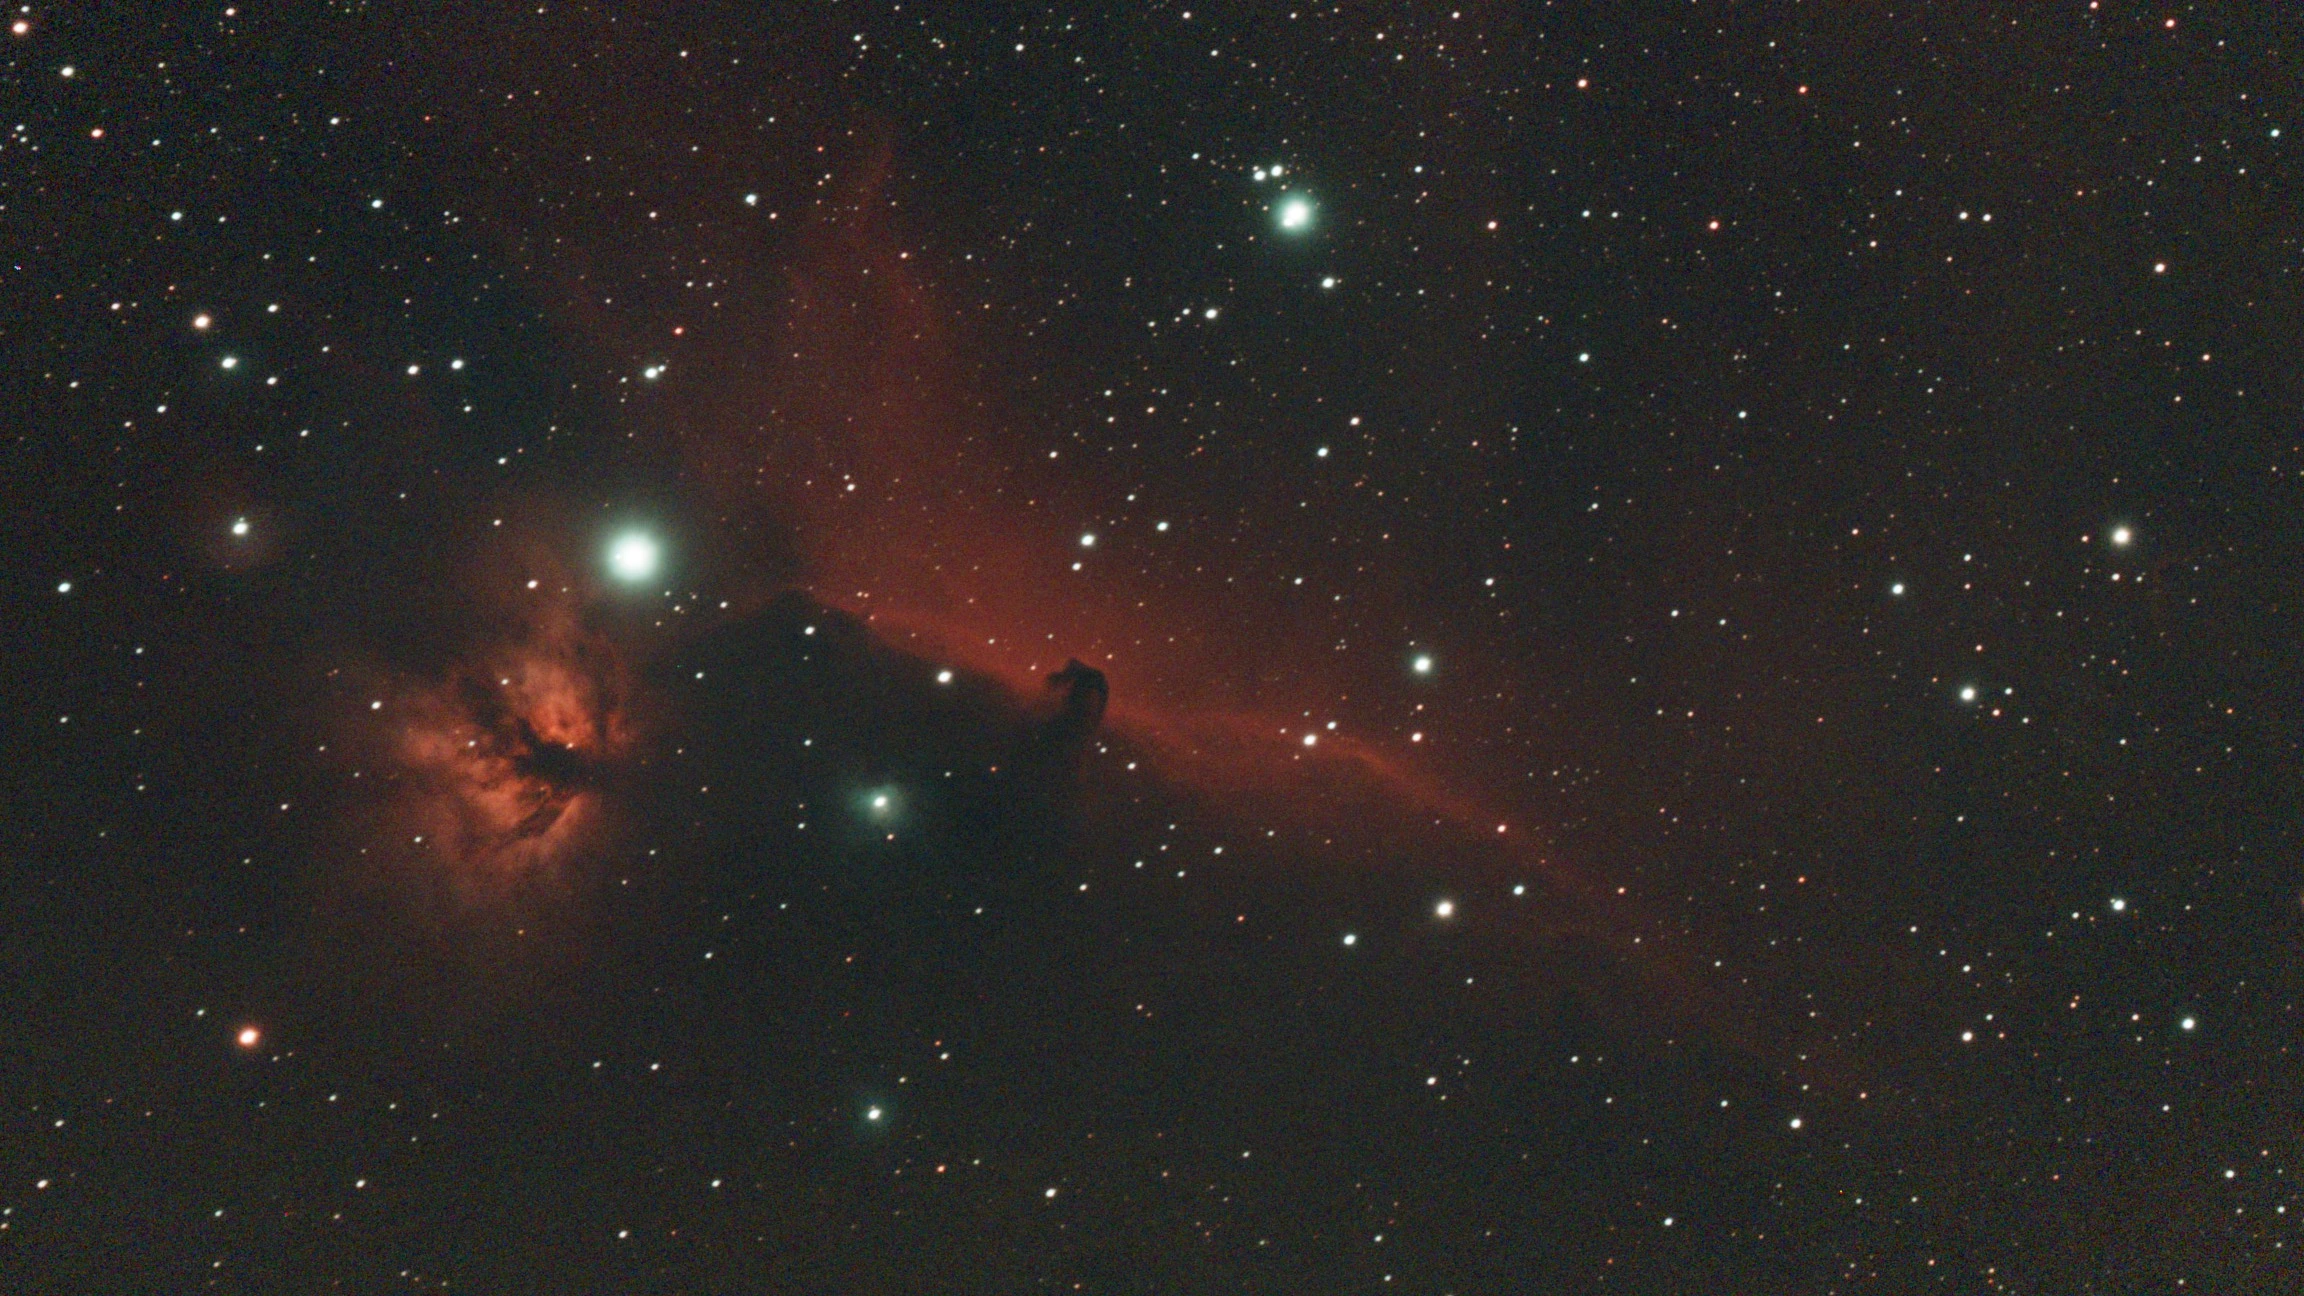
The final image was composed of 596 10-second exposures, with a 1.4x mosaic applied (meaning the SeeStar was capturing multiple frames around the target and stitching them together to increase the field of view). I took the stacked RAW file from the SeeStar by connecting it to my laptop, and did my usual processing flow using GraXpert and Siril. I was blown away by the final result. Of course, the moonless, unpolluted skies helped a lot, but for only 1.5 hours with a £370 smart telescope the size of a shoe, I thought this was an amazing result.
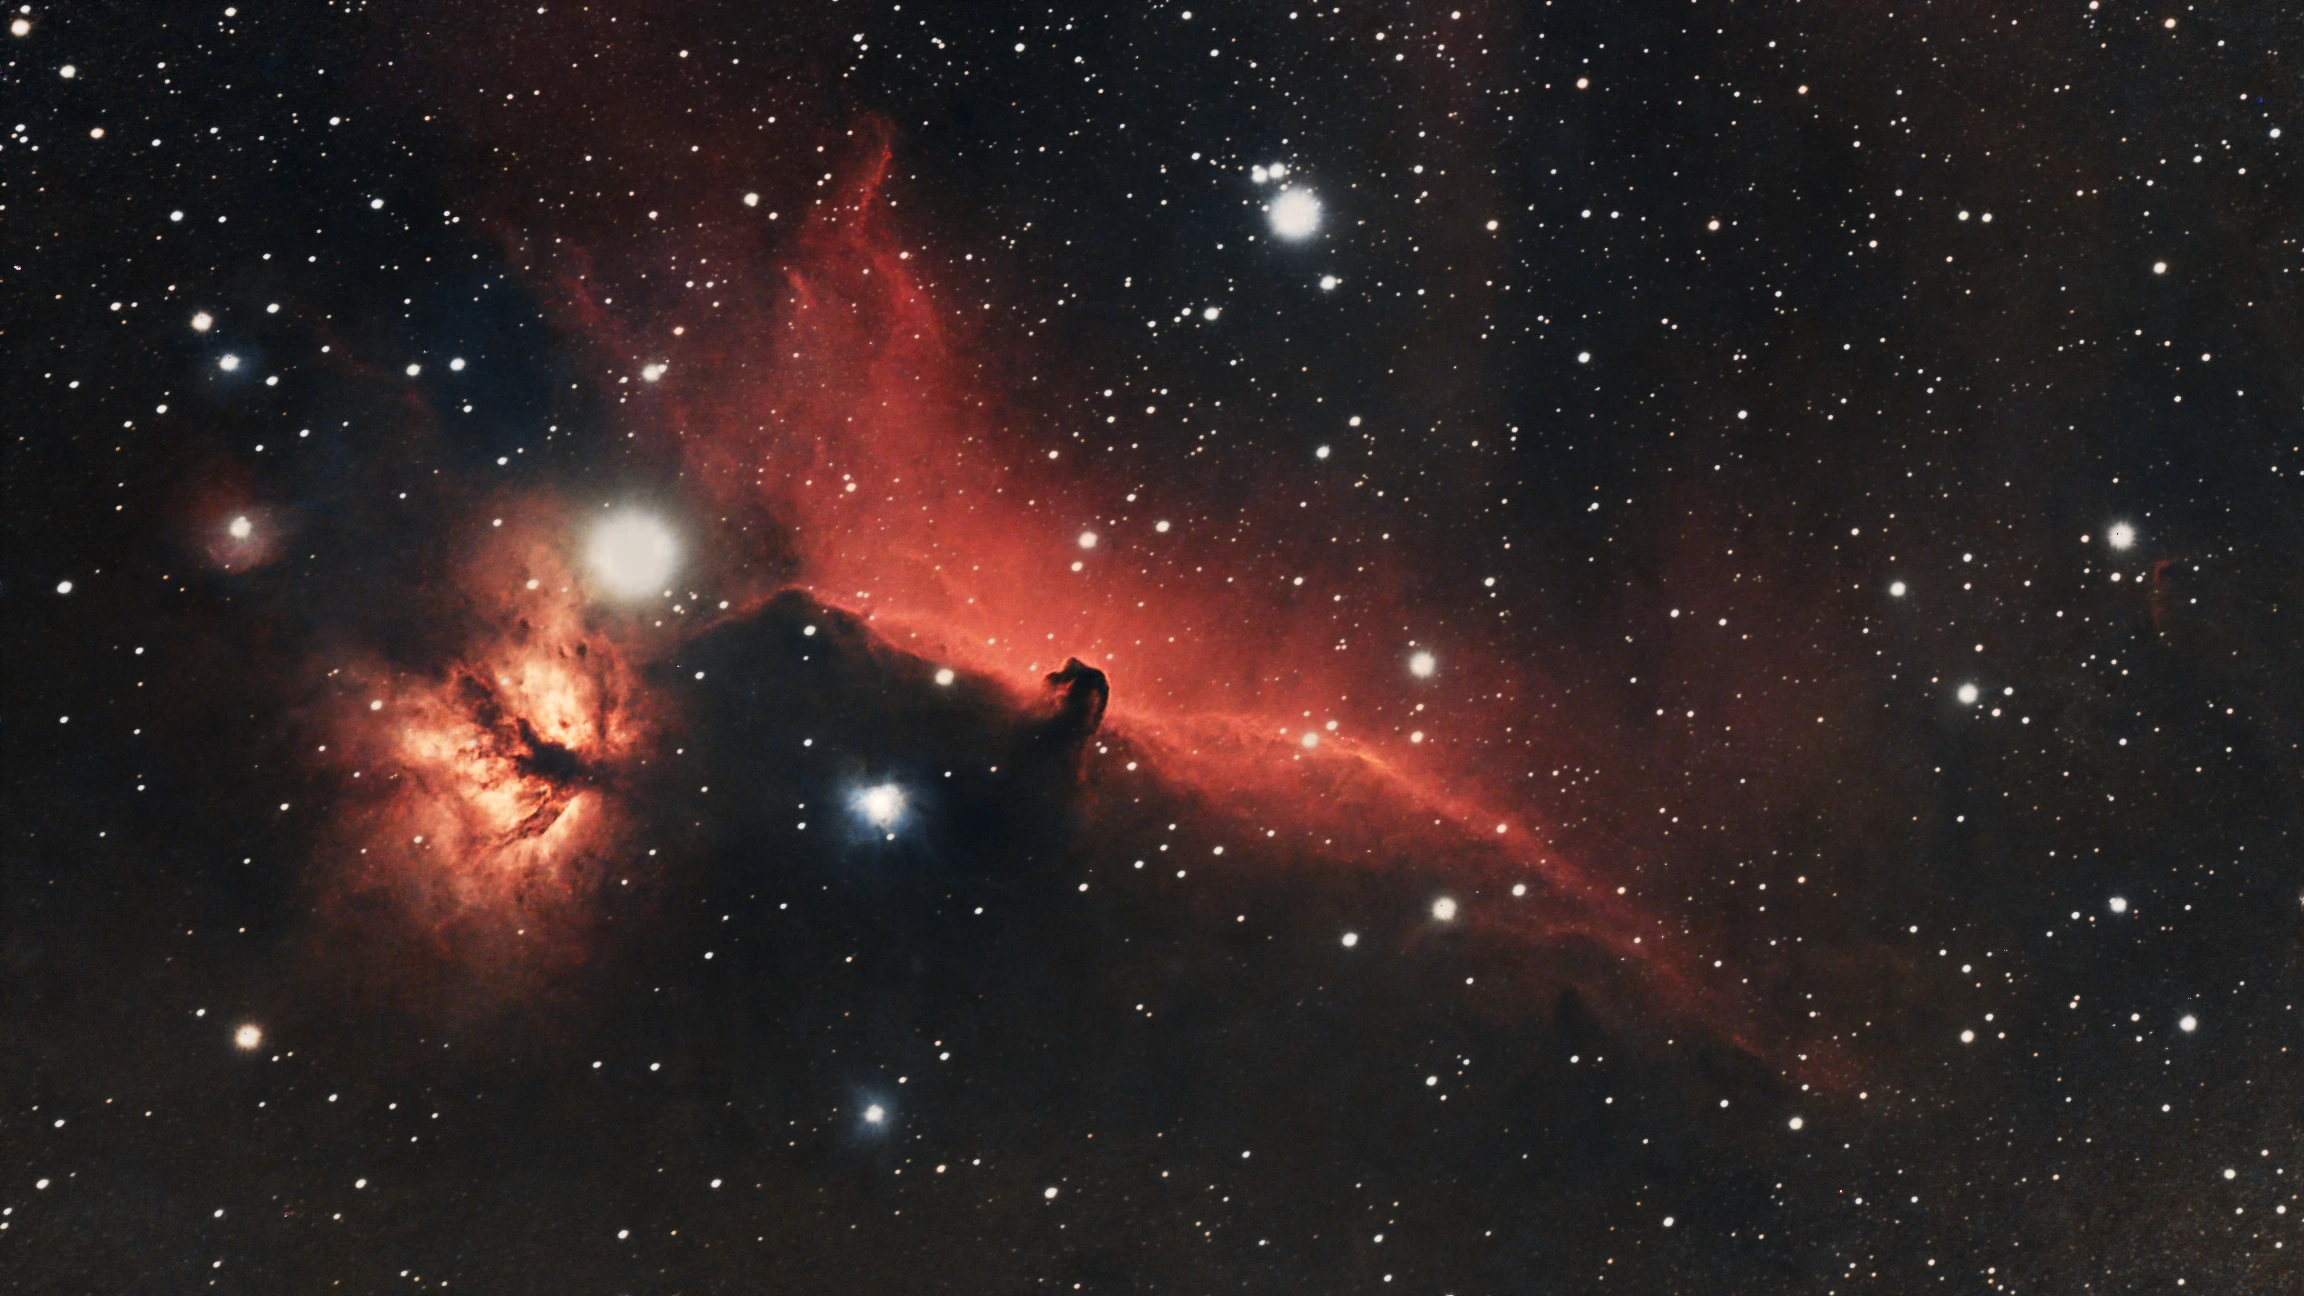
The Horsehead Nebula specifically refers to the dark nebula in the centre of the image. This column of dust shaped like a horse's head blocks the light from the glowing hot hydrogen gas behind it, leading to a striking feature. While the accompanying Flame Nebula looks almost like an extension of the same object, it is actually 25 light years closer to us than the Horsehead nebula, which itself lies 1,375 light years away from Earth.
While to us this distance of 25 light years, or roughly 240 trillion kilometres, seems immense, both are a part of the greater Orion Molecular Cloud Complex (which also contains the Orion and Running Man nebulae I'll share later). This huge star-forming region is hundreds of light years in both depth and diameter, making the Flame and Horsehead practically roommates on a galactic scale.
The Leo Triplet
Unfortunately, I didn't have visibility of the Horsehead and Flame Nebulae all night as Orion's belt went behind a tree, but this gave me the opportunity to test the SeeStar on a very different target, a small group of galaxies 35 million light years away known collectively as the Leo Triplet, as they can be found in the constellation of Leo.
This is a particularly challenging target for such a small scope, as the 150mm focal length doesn't provide much magnification on such small targets. The small 2.9 micron pixels in the SeeStar's camera sensor help to recover some resolution, but certainly this is far from an ideal set-up to be imaging distant galaxies. Since the galaxies were so small in the field of view, I had no need to mosaic and simply cropped out the field rotation artefacts after stacking.
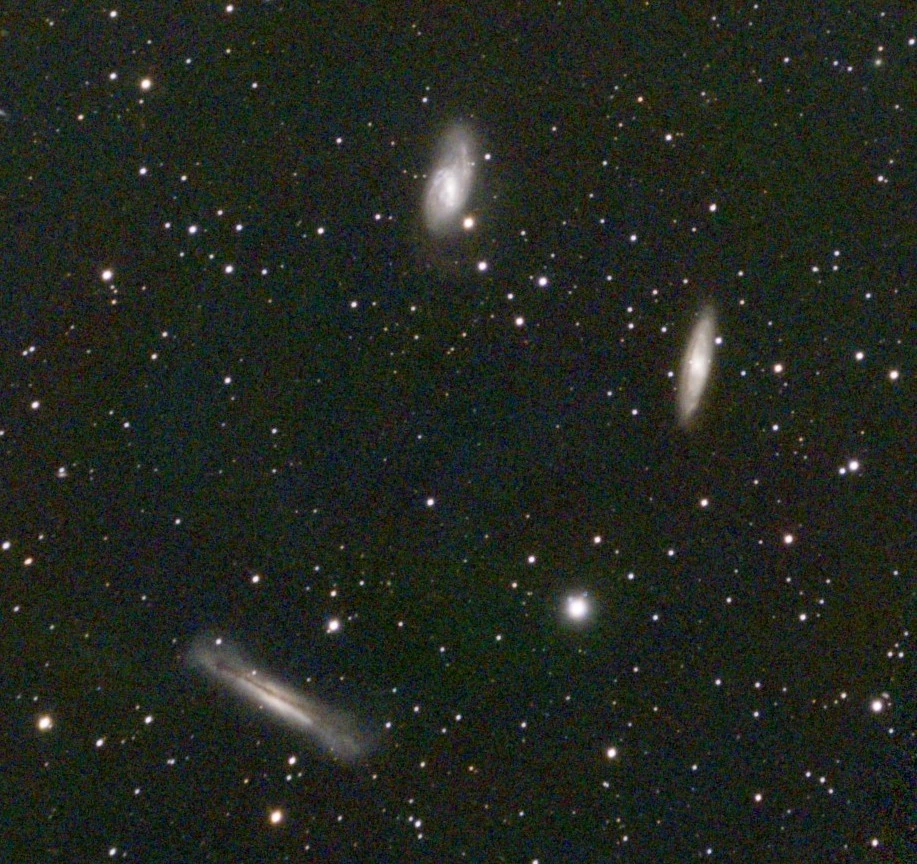
For this image, I captured 528 x 10s sub-exposures, though since I wasn't using a mosaic to increase the field-of-view, the effective total exposure time in the image is greater than for the Horsehead and Flame nebulae. Given I had to crop in a lot, the image is quite noticeably pixelated, but even so I was impressed at how much detail the little scope had captured, particularly the long filament of dust intersecting NGC 3628 (bottom left).
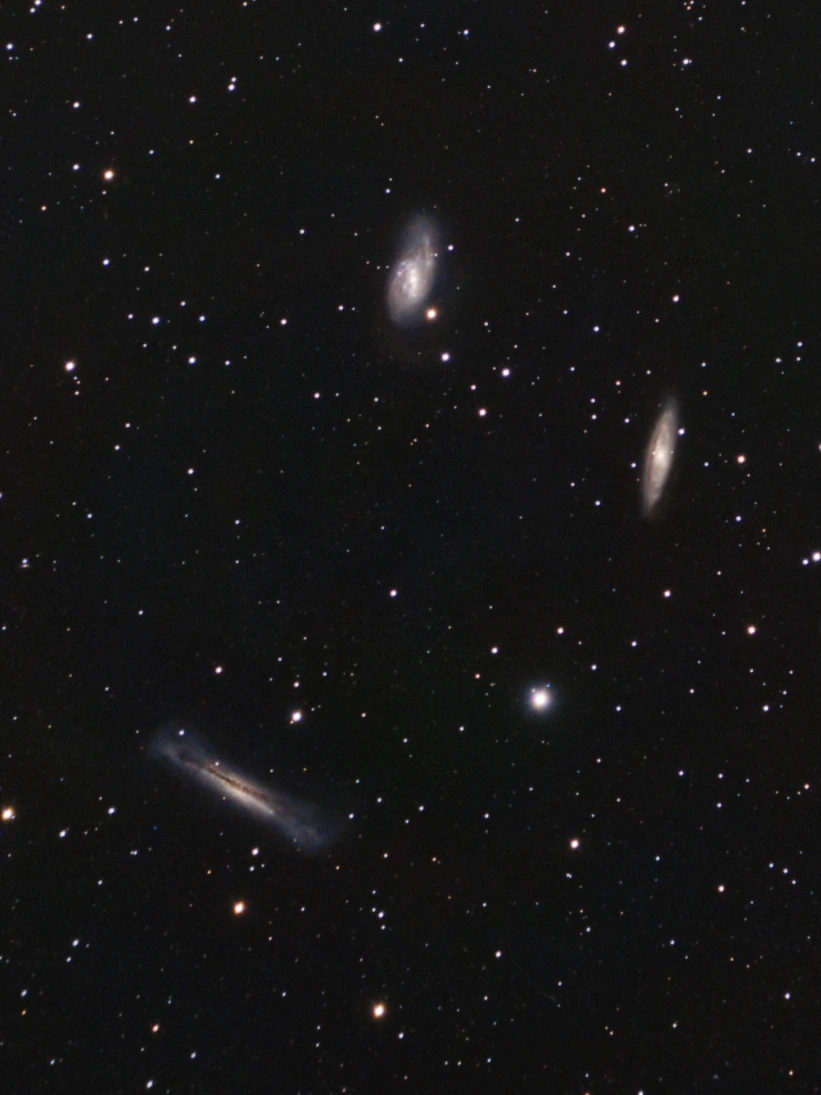
Yet again, I was so impressed with how much detail had been picked up, especially given how small these targets are in the SeeStar's field of view. NGC 3628 showed so much dynamic colour, and you can even faintly make out little details within the dust filament itself. In M66 (top), pinkish hues were just starting to be visible, and another clear dust filament in M65 (middle right) can be seen.
I find the Leo Triplet fascinating because we get to see three similar spiral galaxies in close proximity to each other, but from very different angles. NGC 3628 is edge on to us, hence why we clearly see dust in the galactic plane bisecting its profile. Meanwhile, M66 is almost face on to us, giving us a view into the spiral arms of the galaxy itself, and somewhere between the two sits M65, where the spiral arms can just be made out, alongside a long filament of dust crossing the galaxy. I think the Leo Triplet really provides a reminder of the vastness of space, with the different inclinations providing a sense of depth and dimensionality to the image that can sometimes be missing in other works of astrophotography.
The Orion and Running Man Nebulae
After shooting two targets and getting great results on Thursday night, when darkness rolled in and the skies were still clear on Friday, I couldn't wait to get the SeeStar out again and go for the real show-stopper target, the Orion Nebula (M42). With the SeeStar S30 field-of-view, I would also be able to frame the Running Man Nebula (NGC 1977) just above with only a slight mosaic used to set the orientation and help pad the edges of the image.
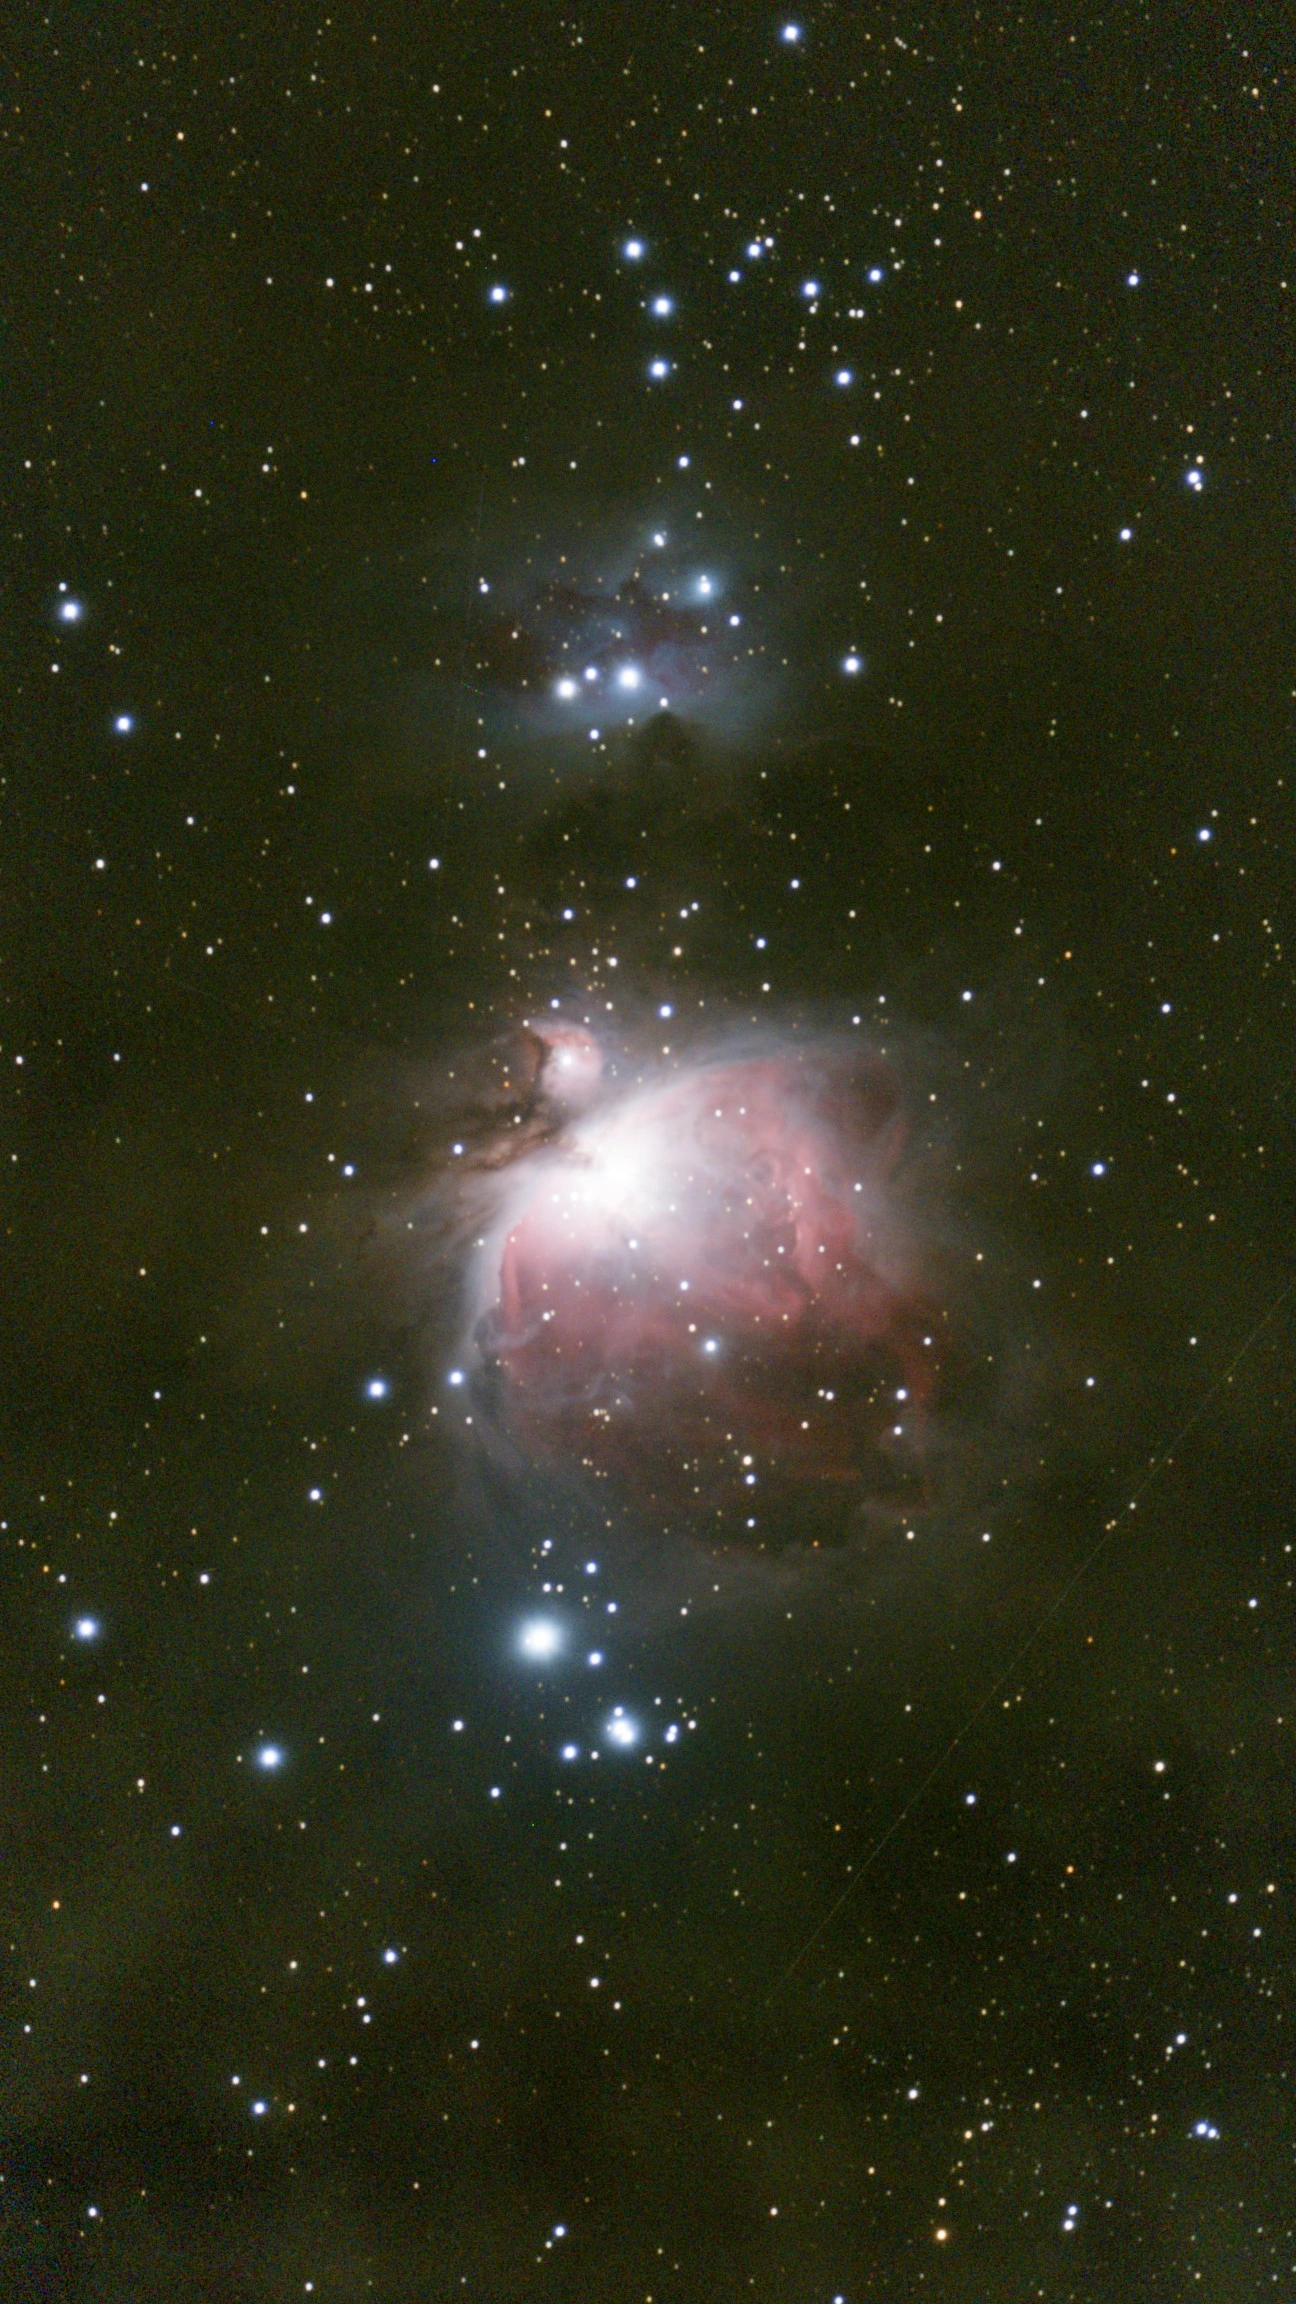
The Orion nebula is the closest major star-forming region to Earth and, as such, is an ideal target for beginner astrophotographers. Its brightness and apparent size in the sky make it suitable for capture with a wide range of equipment, and excellent detail can be brought out with relatively little total exposure time.
I used a very slight mosaic to avoid field rotation artefacts in the final image, and was only able to get 44 minutes of imaging before it was no longer visible from the observing site. Nonetheless, I think even these 44 minutes were enough to capture a stunning image, thanks to the nebula's proximity to us.
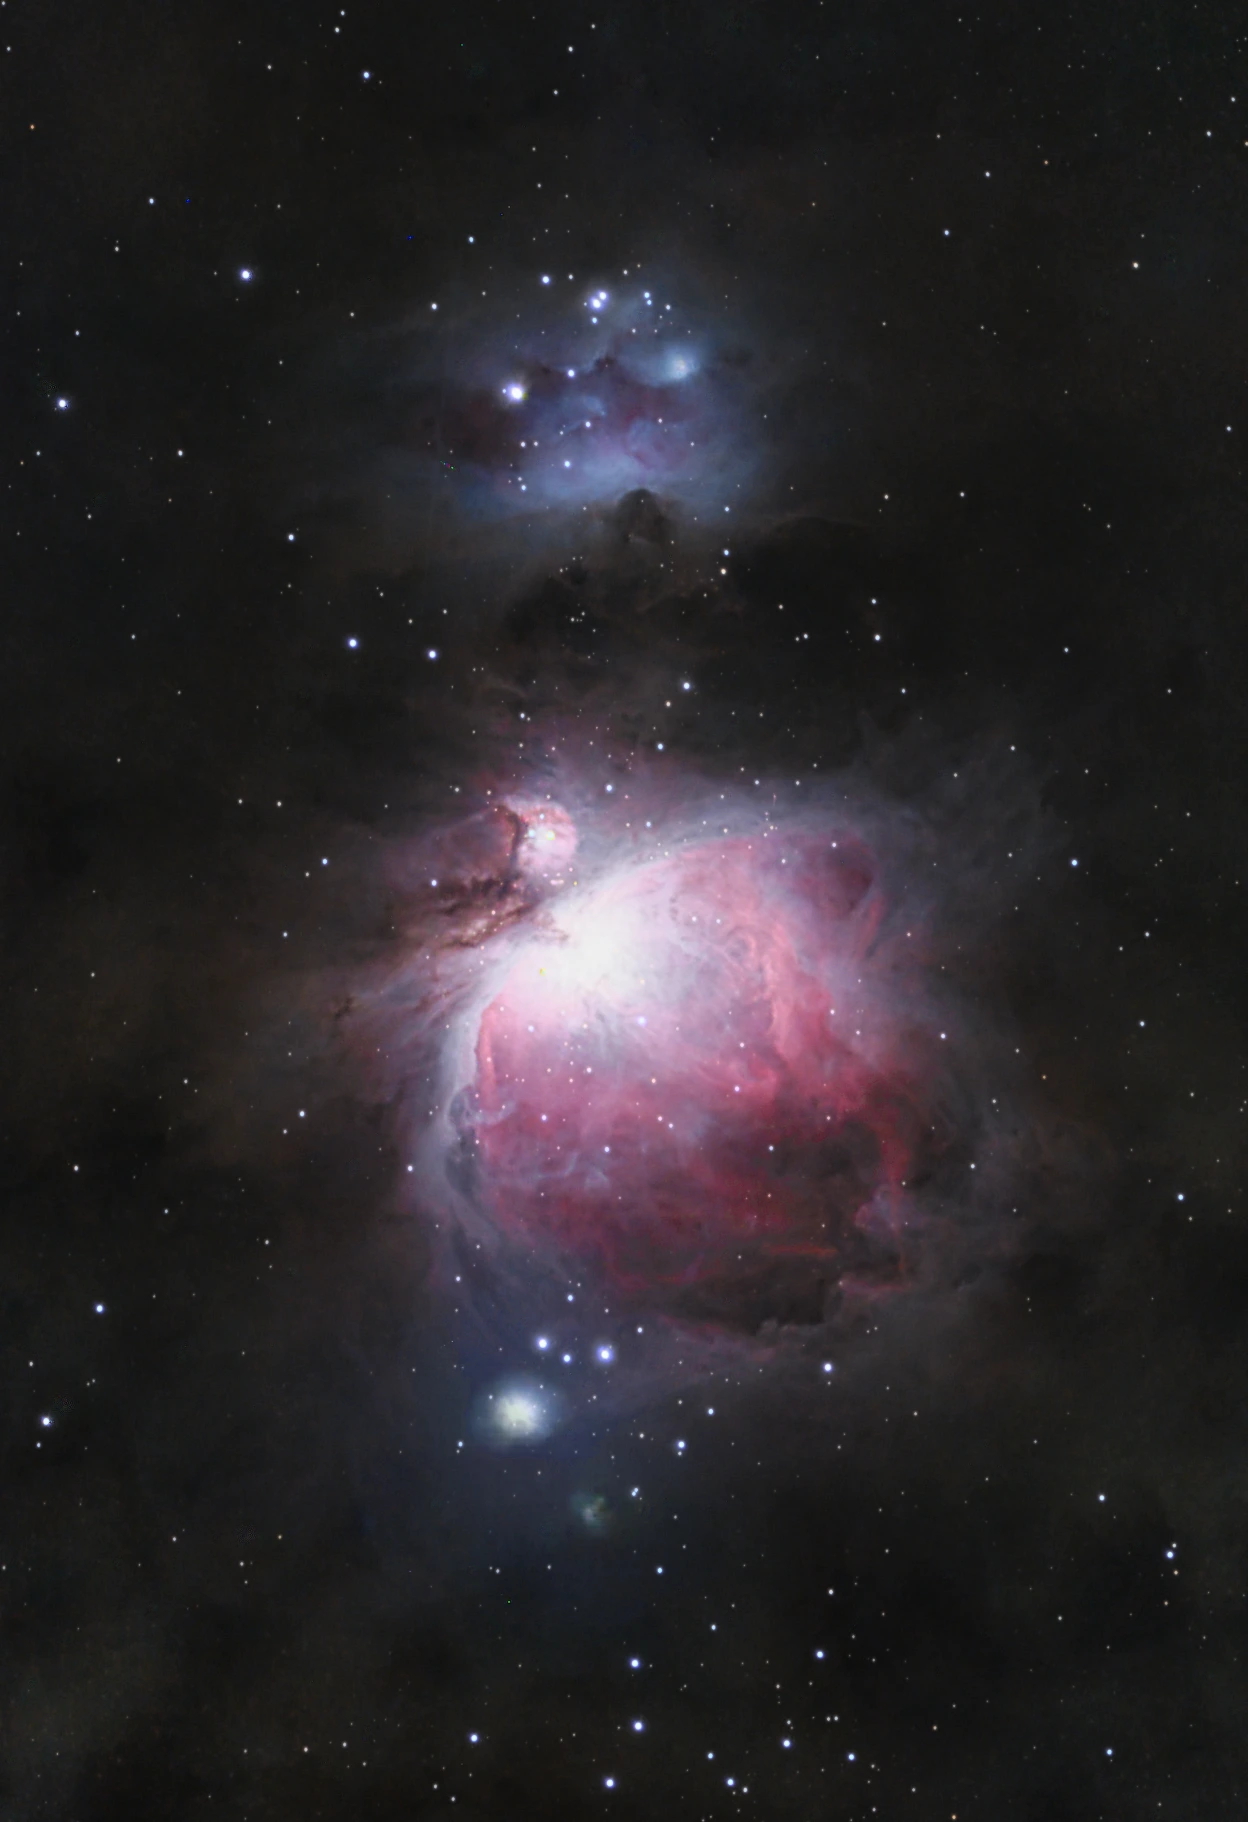
As I mentioned previously, the Orion and Running Man nebulae are part of the Orion Molecular Cloud Complex, along with the Flame and Horsehead nebulae. Within this image, different types of nebulae can be seen. The blueish-white dust components encircling Orion and the Running Man are perfect examples of reflection nebulae, clouds of gas and dust which themselves emit no light, but rather reflect the light of bright stars nearby. Towards the centre of the image we can see a dark nebula element. This is again a cloud of dust; however, it is not illuminated by any nearby stars and thus instead appears to us as a dark patch because it blocks / absorbs light behind it. Then, in the cores of the nebulae, we can see the tell-tale pinkish-red glow of emission nebulae. At the cores of these star forges, the radiation is intense enough to excite hydrogen gas, causing it to emit its own light with a specific colour / frequency (thanks to quantum mechanics, but I won't get into that here, see here for a great explanation).
Using the SeeStar
I have to give huge credit to SeeStar for how smooth the app experience is. There is a large database of celestial objects to choose from, and a planetarium-style "sky-atlas" where you can view and frame targets using the mosaicking mode (but I'll get onto that more later!).
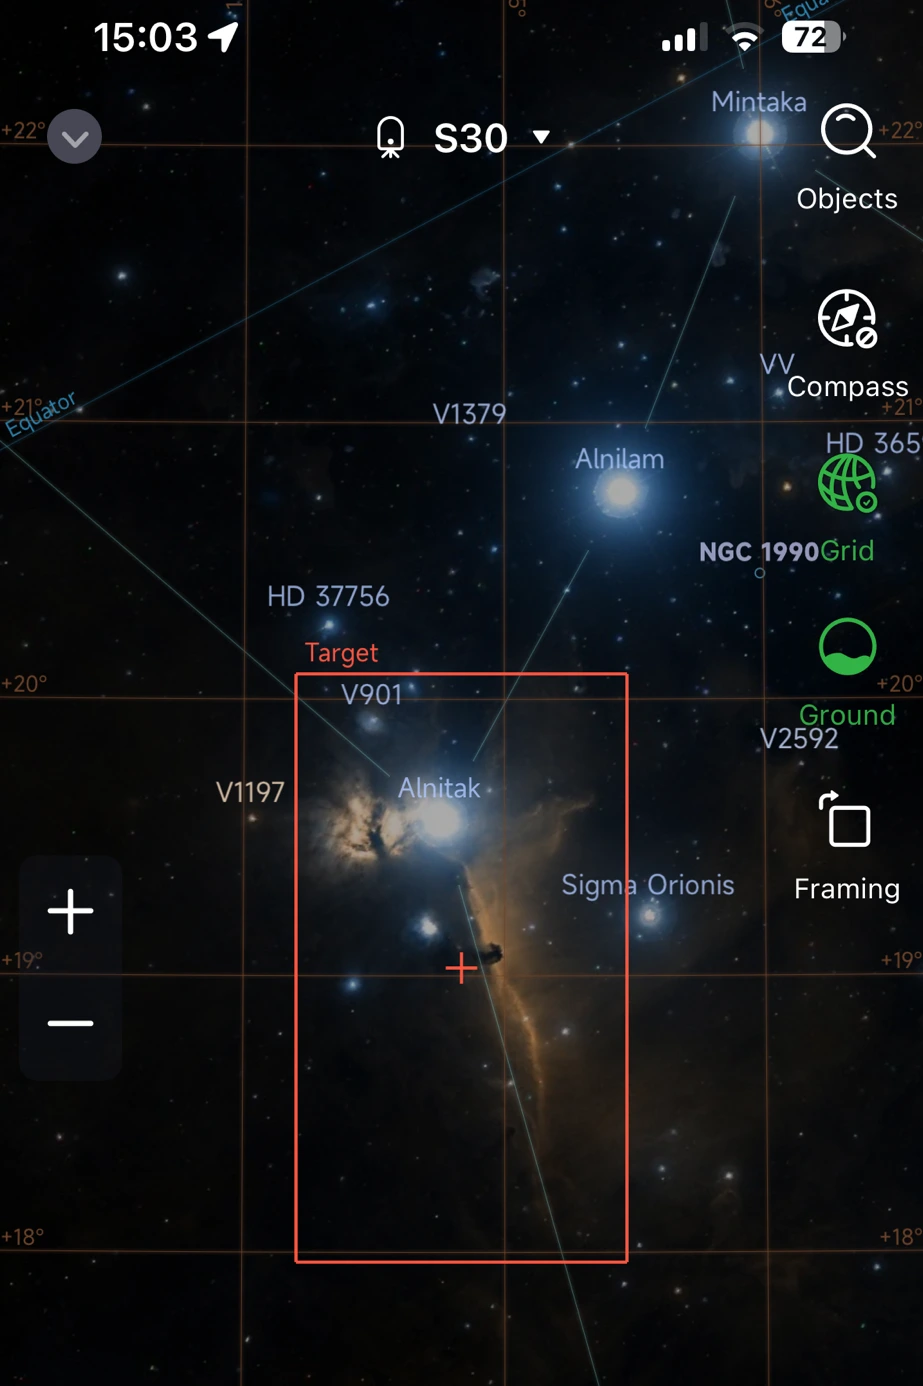
Once a target is selected, the SeeStar will first attempt to locate it in the sky. It will automatically slew and triangulate its position. If you have it roughly facing where you want to image in advance, this only takes a couple of minutes and requires no other input from the user.
Then, after the target is located, it will switch to the dark filter and shoot some dark frames. These will automatically be subtracted from any images captured that night. Finally, the SeeStar will perform a horizontal calibration, to account for any deviation in tracking due to it not being perfectly level. It's a good idea to try to get it as level as possible though, else you may lose more frames due to star trailing.
The SeeStar uses an alt-az tracking system, meaning it can move up/down and left/right. Since the celestial pole is not at the zenith, most astrophotography set-ups need equatorial tracking systems, where the mount points to the celestial pole. This is a compromise made to save on space and improve portability. Though SeeStar are working on an equatorial mode which will allow you to align the SeeStar to the celestial pole with additional accessories.
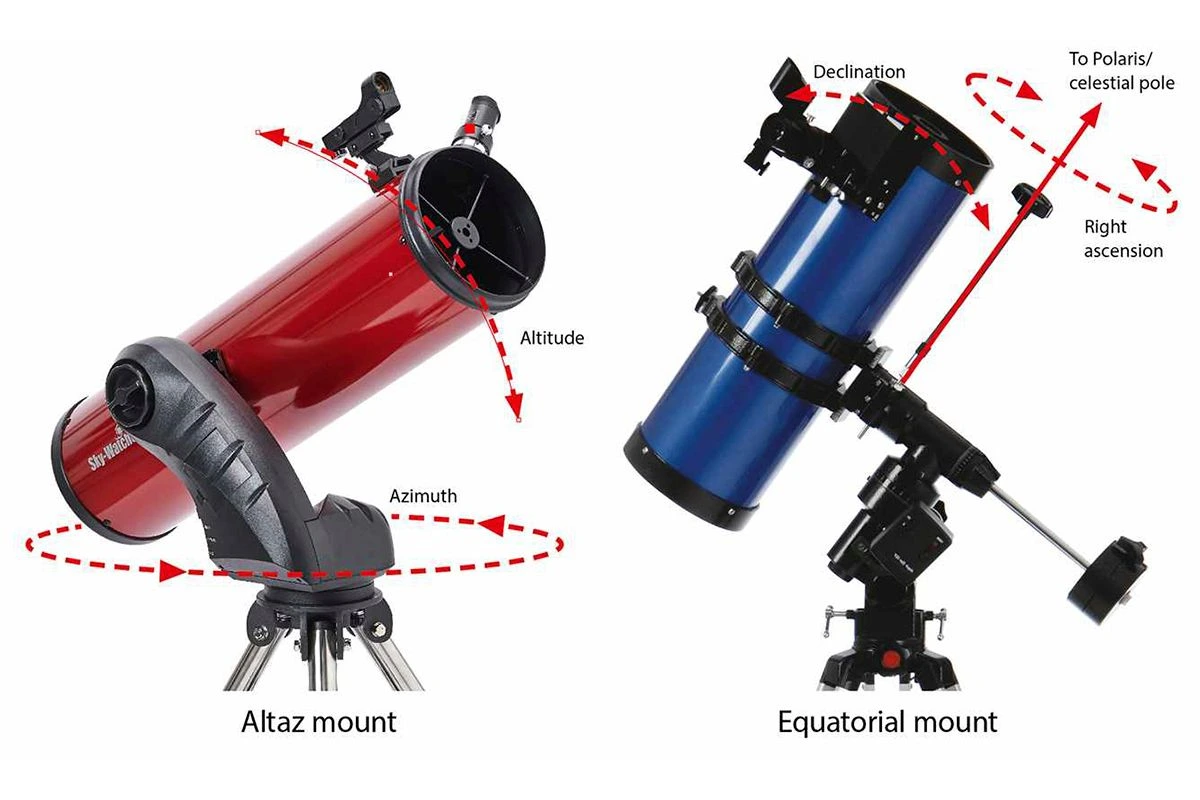
There are two key compromises of alt-az tracking compared to equatorial tracking. Firstly, individual sub-frame exposures must be much shorter or risk star-trailing. The SeeStar allows 10s, 20s and 30s exposures, but I stuck to 10s to avoid losing as many frames as possible to star trails. Secondly, because the SeeStar is not tracking in the plane of rotation of the sky, over time, subjects will rotate within the frame, an issue called field rotation. This leads to a loss of usable image area after stacking. However, SeeStar has also made available a mosaic mode, which allows you to capture a larger area by taking multiple frames around a point and stitching them together. Mosaic mode also alleviates the issue of field rotation because of this and allows you to change the orientation of the subject in the field of view.
And that's pretty much everything about the set-up of this little smart scope. Once you're comfortable with the app, it really only takes 5 minutes before you're getting the first images coming through onto your phone.
Conclusions
Whilst I didn't really intend this post as a review of the SeeStar and as such I haven't covered all its features / capabilities (solar imaging with the solar filter, lunar imaging, and advanced app features), I hope it may still be useful to prospective buyers in deciding whether the S30 (or a SeeStar in general) is for them. In particular, I think it's always helpful to hear about someone's experience using a product and see results obtained with that product.
So, to finish, I'll say this: I don't think there is any better way to get into astrophotography than with a smart telescope like the SeeStar S30 or S50. Yes, it is an all-in-one system which means you can't upgrade it over time, but the ease of use and price point make it immediately accessible for people to start imaging the night sky.
I love my 'traditional' imaging rig, but if I could go back to when I first placed the order for my equatorial mount, guiding equipment, etc., I would tell myself: "Save your money, get a SeeStar. Then, if you enjoy the hobby and want to take it further, you can invest in larger, more traditional set-ups". The first 3 times I went out with my traditional rig, I didn't manage to capture anything because there was so much I had to learn about how to use it.
Astrophotography isn't for everyone; it is a lot of troubleshooting and sitting around in the cold and dark for hours. But the SeeStar is a step towards making astrophotography for everyone, allowing those with limited time to explore the night sky from anywhere with ease. Simultaneously, with features like mosaicking and equatorial mode, those like me who enjoy trying to squeeze every drop of imaging performance out of their equipment will be able to do so and produce incredible results with the SeeStar. I really think anyone from the complete beginner to the most advanced astrophotographer will find the SeeStar a joy to use.